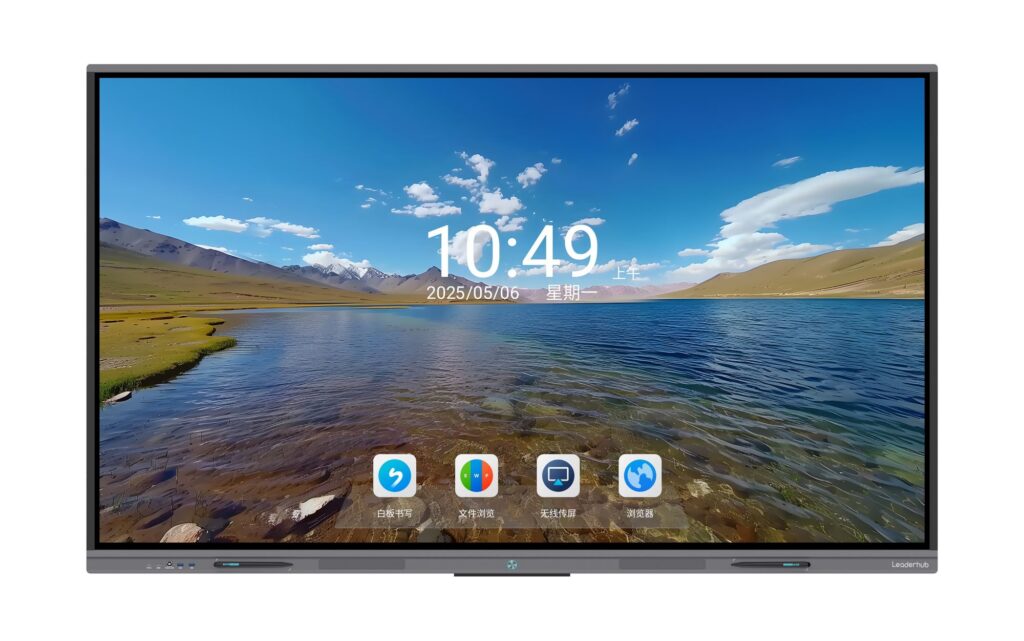
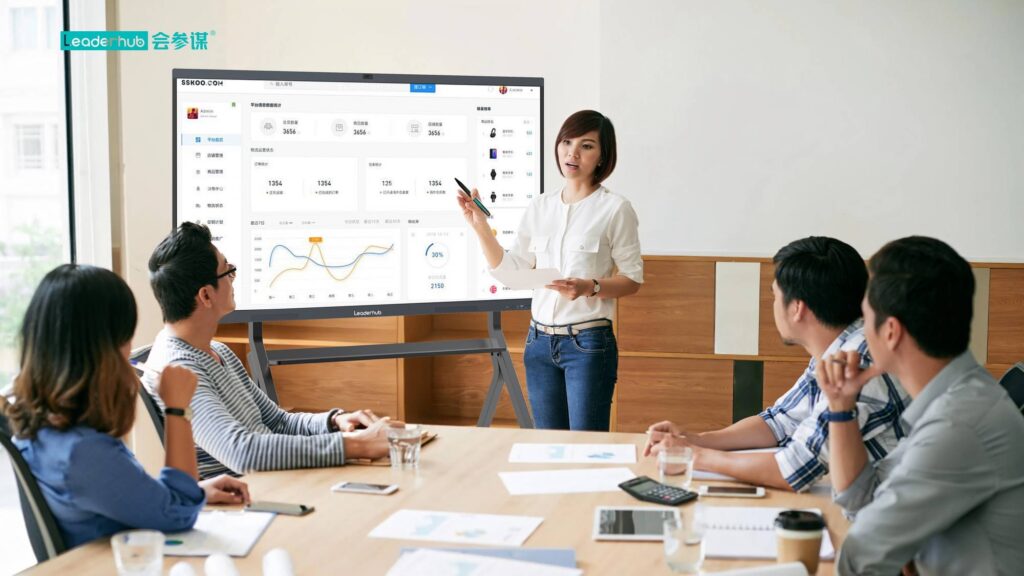
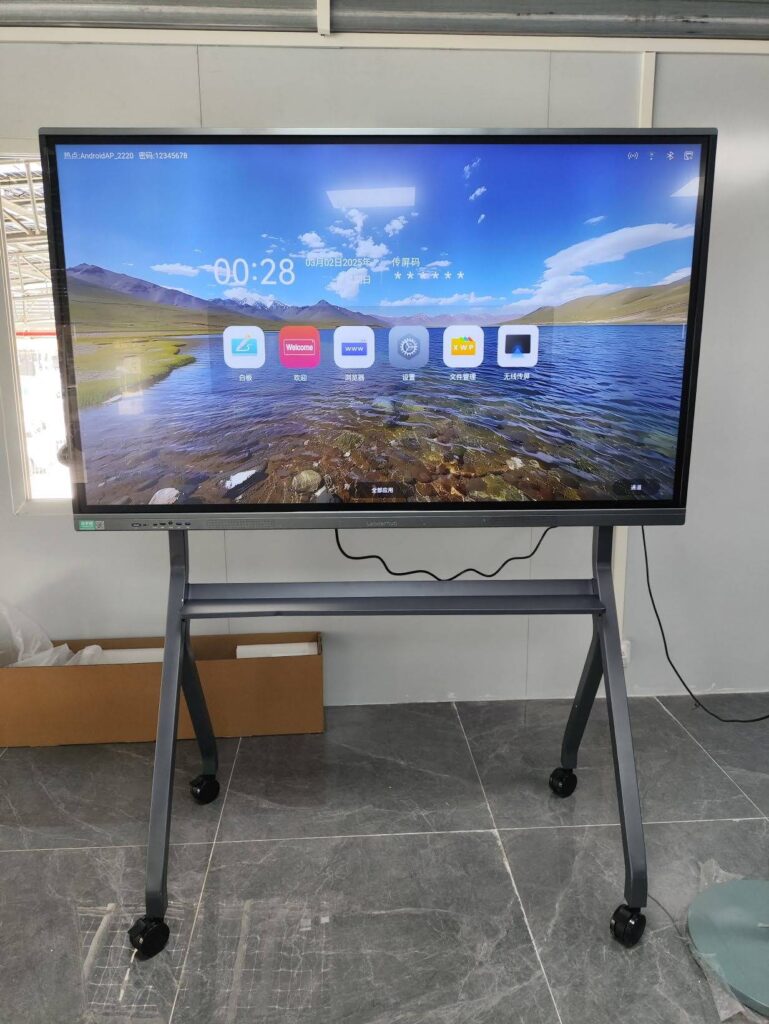
Screen sharing to a smart board is one of the fastest ways to turn a presentation, lesson, or meeting into an interactive session. Whether you are using a laptop, phone, or tablet, the process is usually simple once you know the connection type your board supports.
In most classrooms and conference rooms, the goal is the same: get your screen onto the board quickly, keep the connection stable, and make sure everyone can see and collaborate in real time. If you are also planning a larger setup, take a look at our smart whiteboards, mini PCs, and interactive flat panel options for different room sizes and use cases.
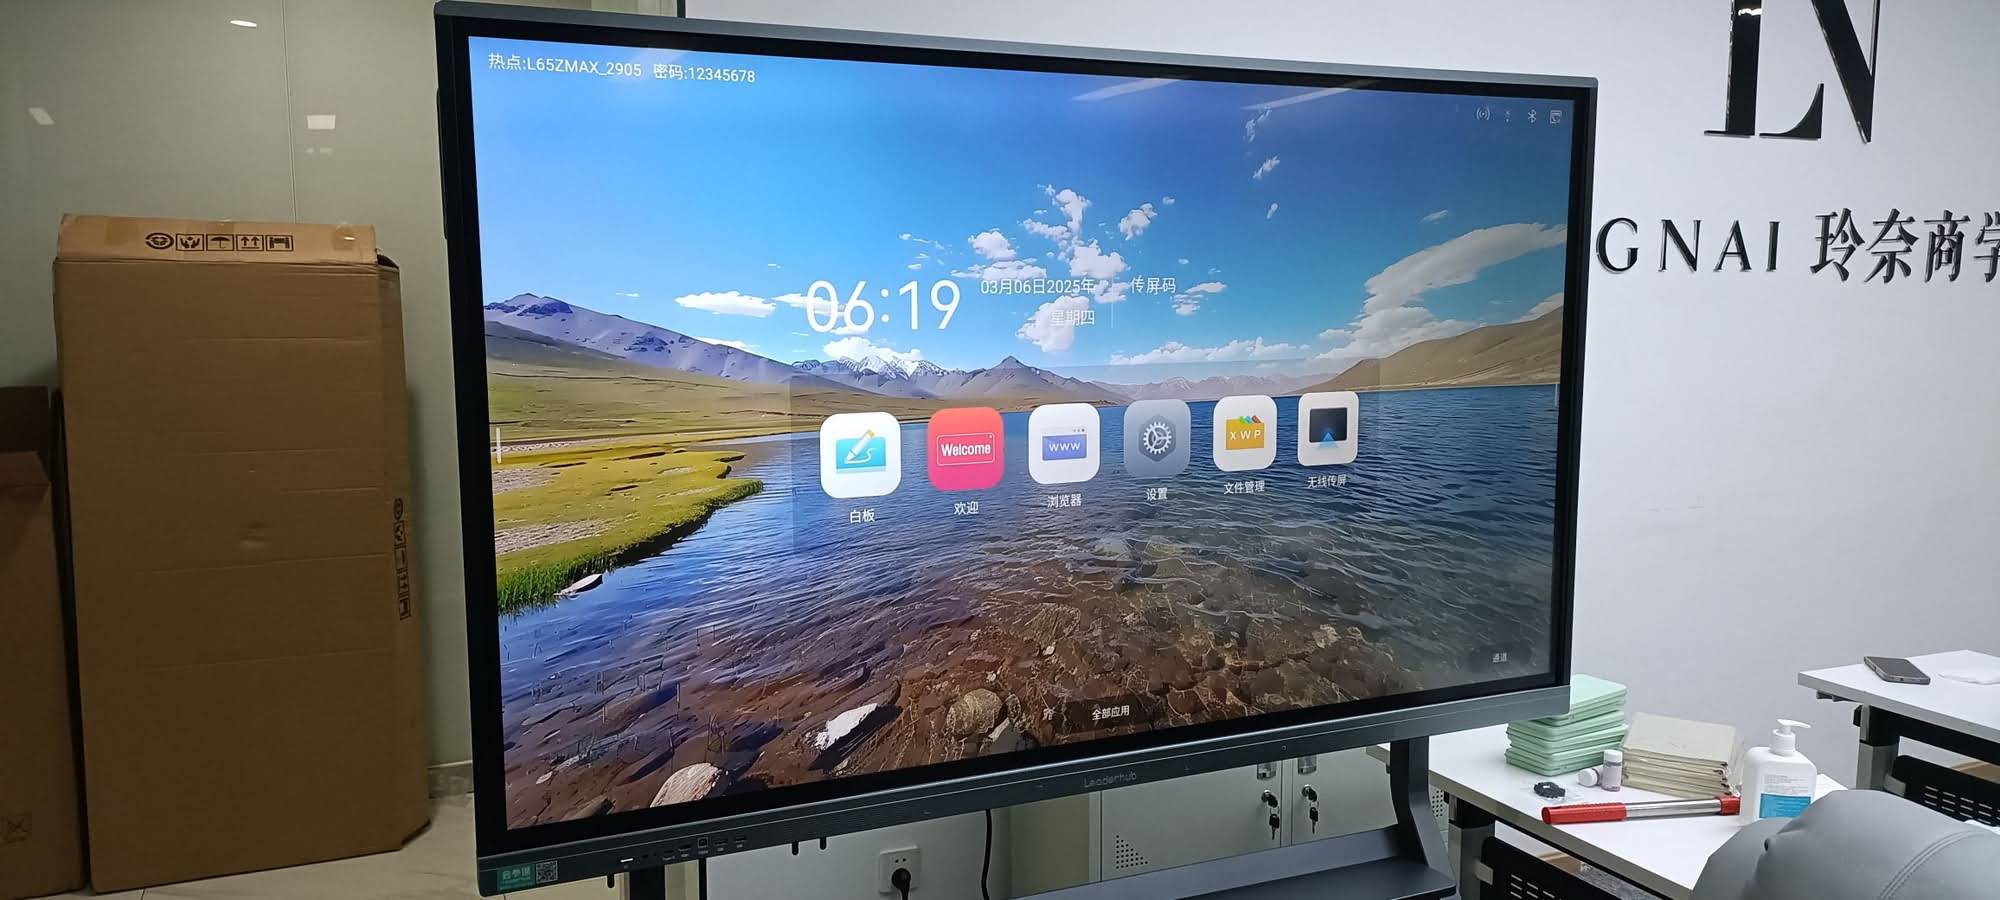
What You Need Before You Start
Before you begin, check a few basics. This saves time and prevents most connection issues.
- Confirm the board’s input method — HDMI, USB-C, wireless casting, Miracast, AirPlay, or built-in screen share.
- Make sure the smart board is on the correct source so it can receive the image.
- Keep both devices on the same Wi-Fi network if you are using wireless casting.
- Update drivers and firmware when possible for smoother compatibility.
- Close unnecessary apps to reduce lag and audio issues.
| Connection Type | Best For | Main Benefit |
|---|---|---|
| HDMI cable | Laptops, conference rooms, classrooms | Simple, reliable, low latency |
| USB-C | Modern laptops and tablets | Video, audio, and touch support in one cable |
| Wireless casting | Meetings, BYOD spaces, hybrid rooms | No cable clutter, quick sharing |
| Built-in app/receiver | Interactive boards with native software | Easy access and collaboration tools |
How to Screen Share to a Smart Board: Step by Step
-
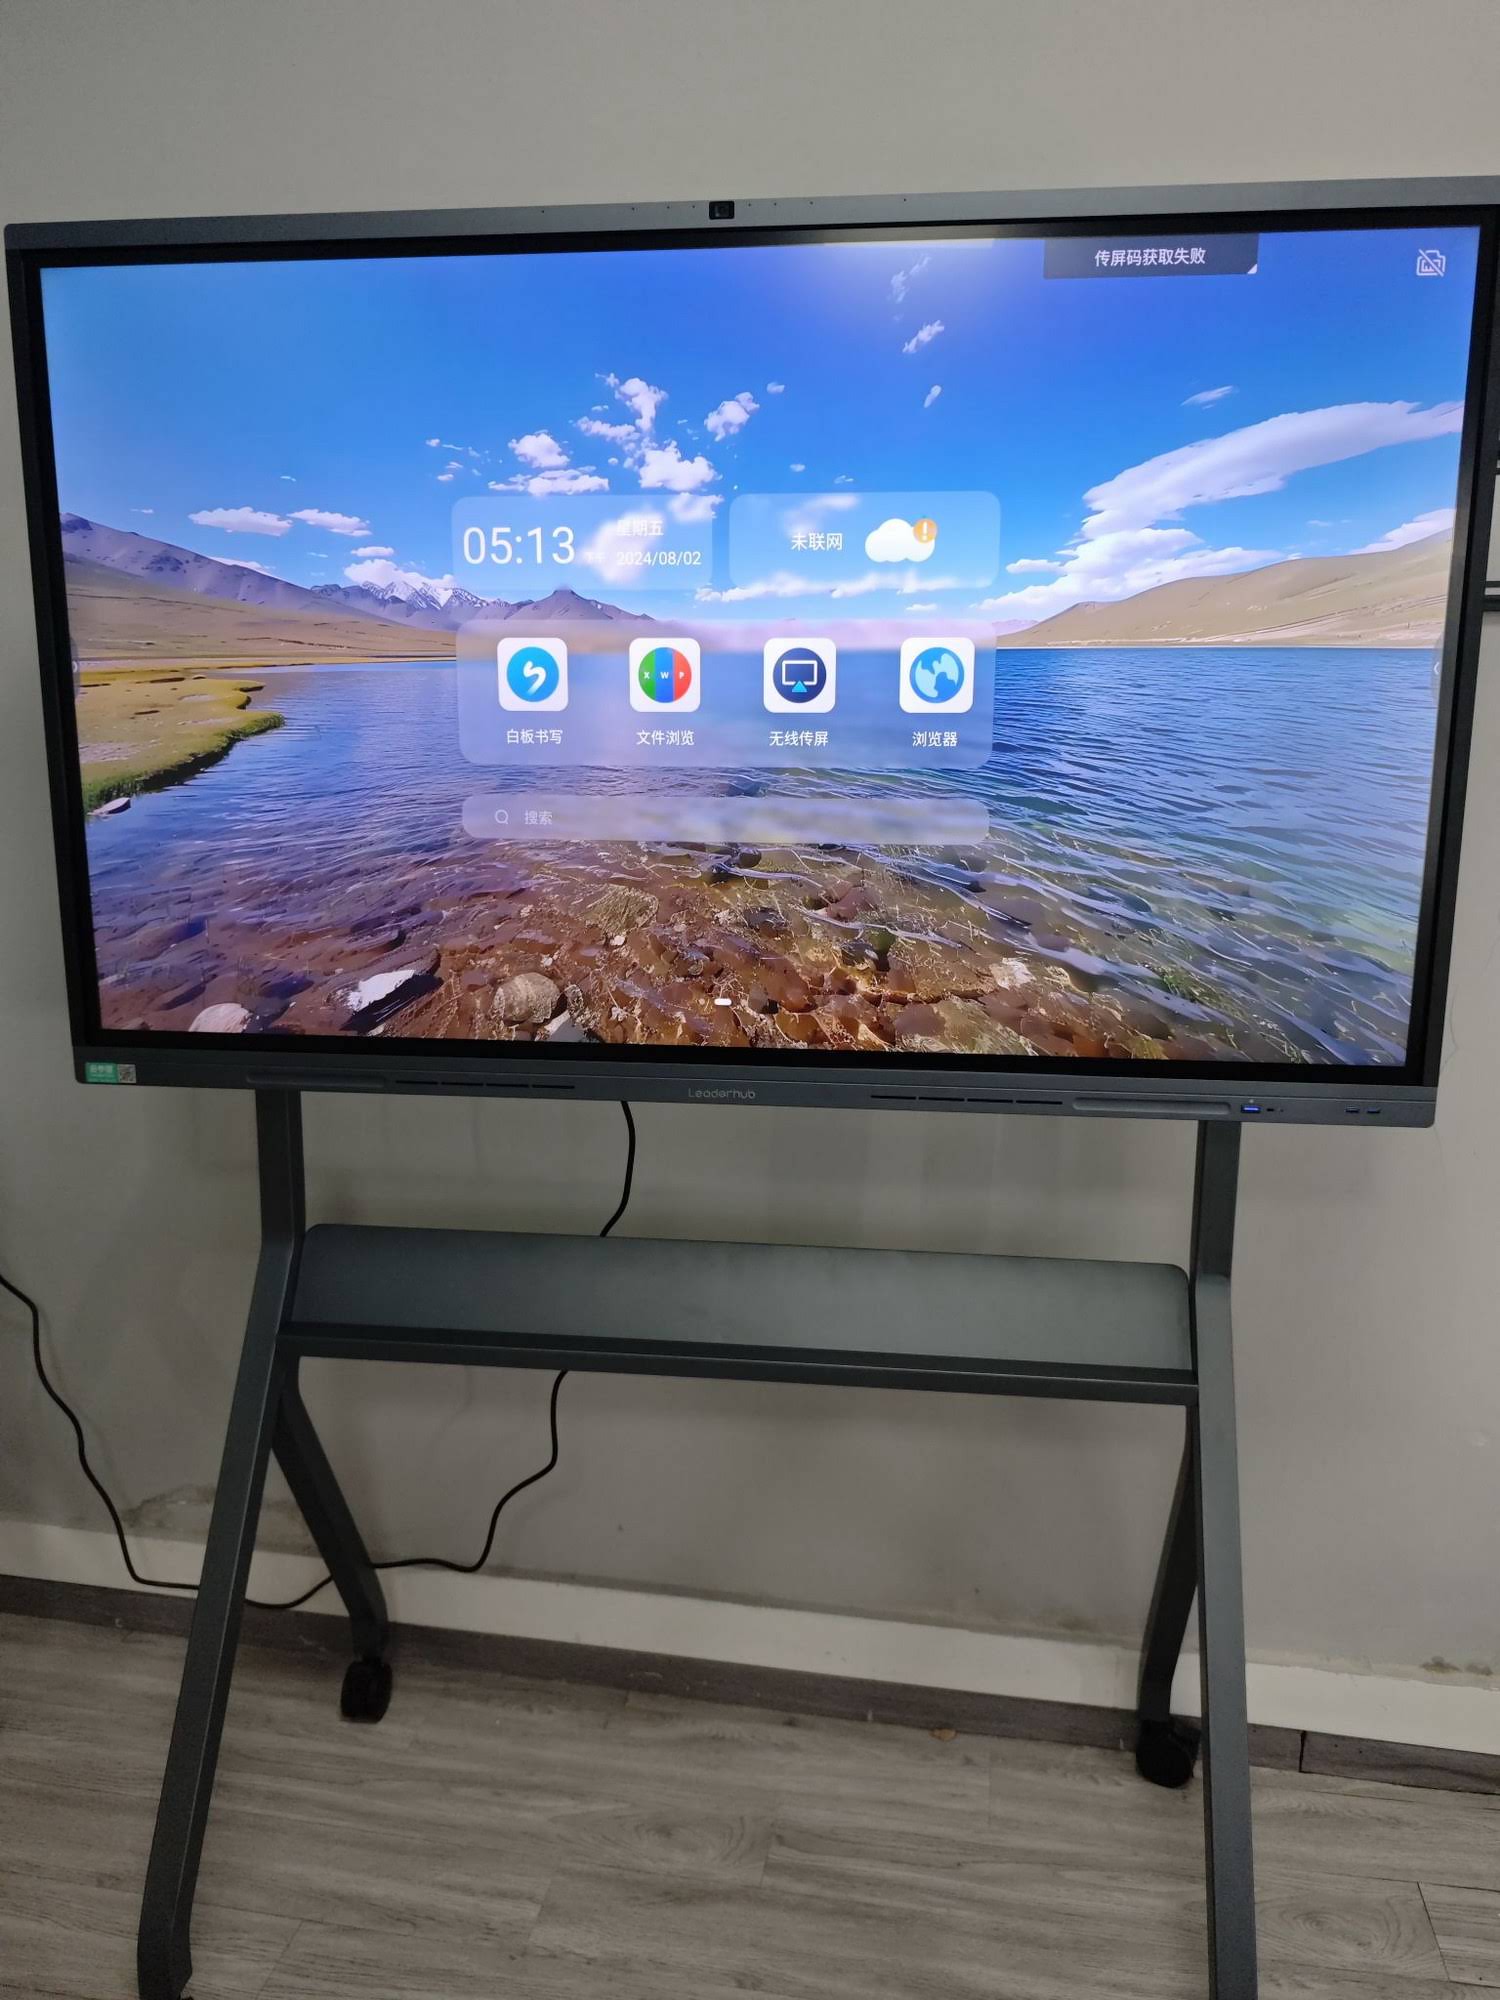
Turn on the smart board and select the correct input or casting mode.
This is the most common step people miss. -
Choose your connection method:
- Wired: connect HDMI or USB-C from your device to the board.
- Wireless: open the board’s screen mirroring feature or casting app.
-
Open screen sharing on your device.
- On Windows: use Win + K or the display menu.
- On Mac: use AirPlay if supported.
- On Android: tap Cast, Smart View, or Screen Mirroring.
- On iPhone/iPad: use Screen Mirroring from Control Center.
- Select the smart board from the list of available devices.
- Allow any prompt or pairing code if the board asks for confirmation.
- Adjust display settings such as resolution, scaling, and audio output if needed.
- Test touch, pen input, and sound before your presentation starts.
For Windows Users
Windows devices usually connect well through HDMI, USB-C, Miracast, or a wireless presentation tool. If your board supports casting, press Win + K and choose the display name. If you are in a classroom or boardroom, wired HDMI is often the fastest way to avoid delays.
For Mac Users
Mac users should check whether the board supports AirPlay or a compatible receiver. If AirPlay is available, open Control Center and select Screen Mirroring. If not, use a USB-C to HDMI adapter and switch the board to the correct source.
For iPhone and iPad Users
Open Control Center, tap Screen Mirroring, and select the board. If the connection fails, confirm that both devices are on the same Wi-Fi network and that the board’s mirroring function is enabled.
For Android Users
Most Android phones support casting through a built-in feature such as Cast, Smart View, or Wireless Display. Tap the feature, find the board, and approve the connection. If the board supports a companion app, install it for a smoother experience.
Best Practices for a Smooth Screen Share
- Use a strong Wi-Fi network for wireless sharing.
- Keep the device close to the board if you are using a dongle or direct receiver.
- Match resolution settings to the board’s native display for the clearest image.
- Mute notifications to avoid interruptions during meetings or lessons.
- Check permissions if your organization has security restrictions.
- Use a dedicated meeting device when possible for consistent performance.
| Problem | Likely Cause | Quick Fix |
|---|---|---|
| Board not appearing | Wrong network, receiver off, discovery disabled | Reconnect Wi-Fi, enable casting, restart receiver |
| Lag or delay | Weak Wi-Fi or too many apps running | Switch to HDMI or improve network strength |
| No sound | Audio output not routed correctly | Select the board as the audio device |
| Touch not working | USB cable missing or driver issue | Reconnect USB and update drivers |
When Wireless Sharing Is Better Than Cable
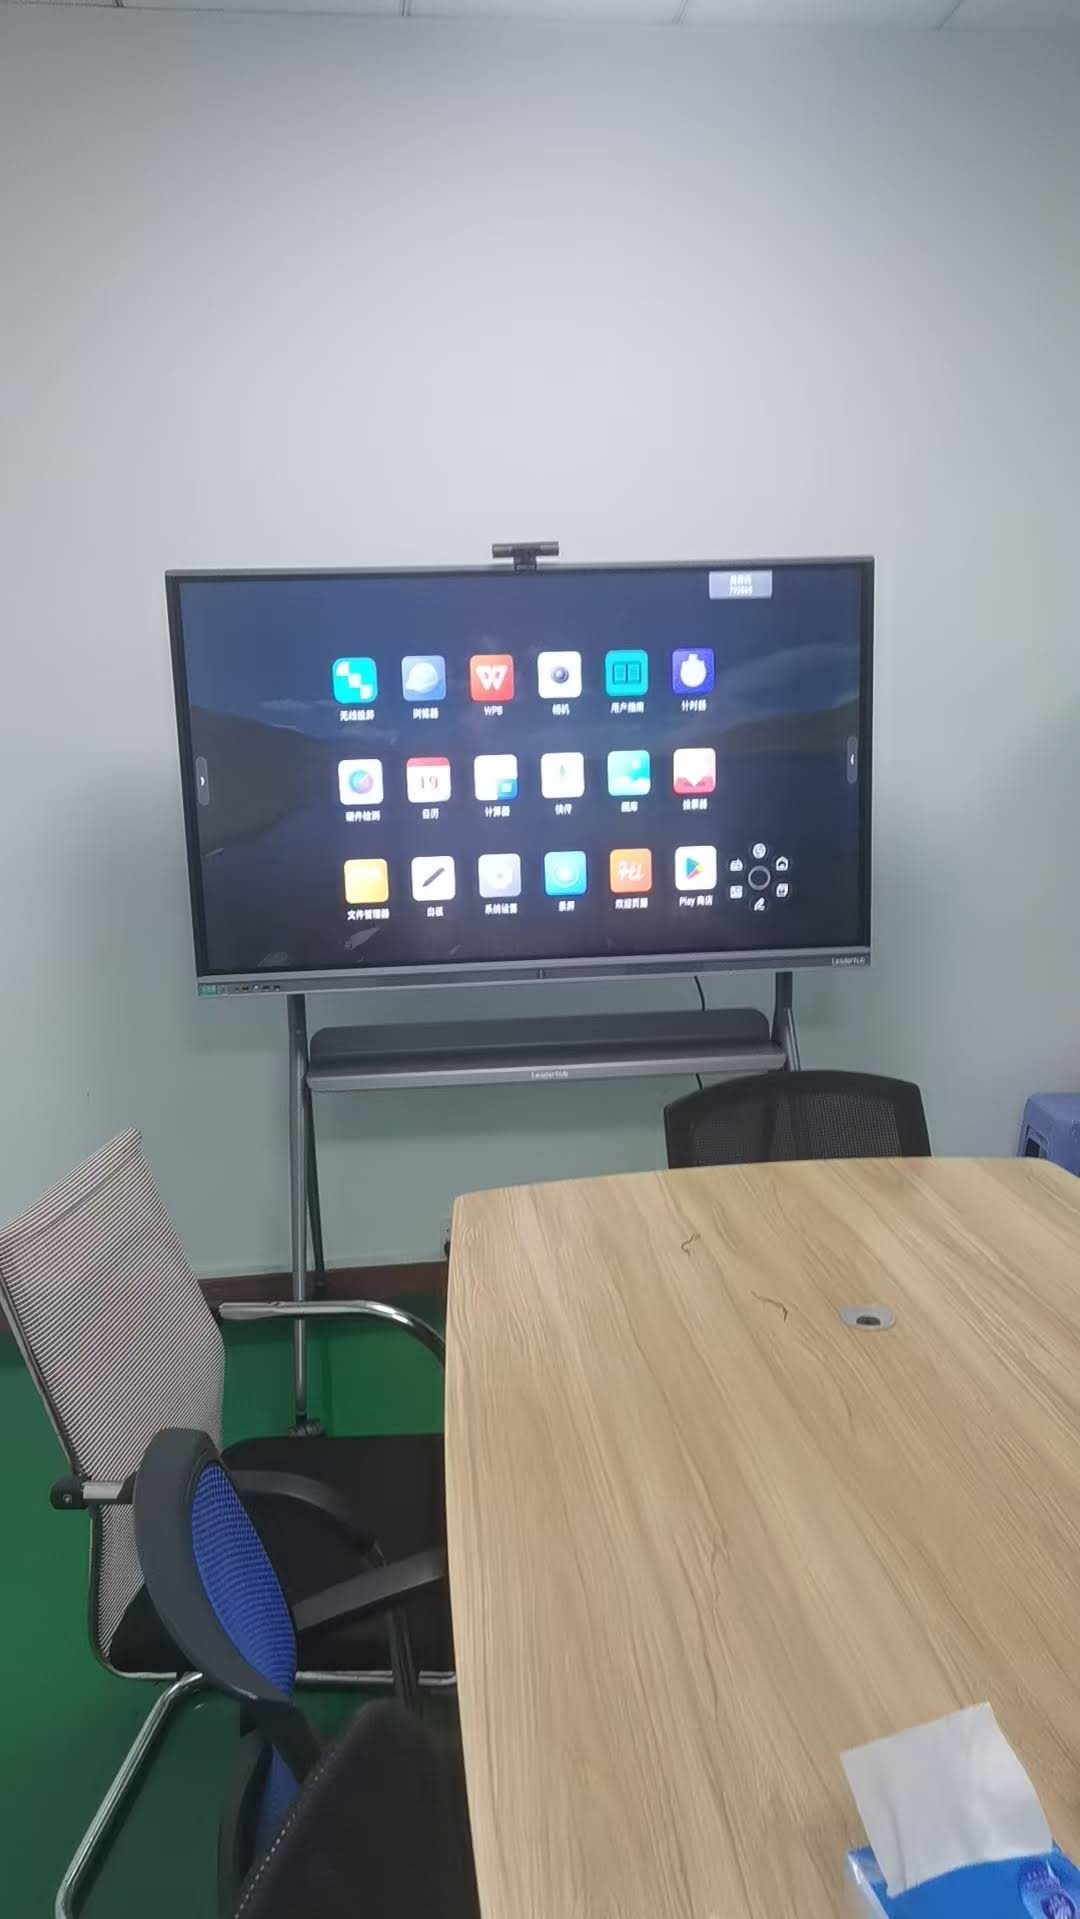
Wireless screen sharing is ideal when you want a cleaner setup, fast switching between speakers, or a more flexible meeting flow. Cable connection is still better for maximum stability, high-motion video, and rooms where the network is unreliable. In practice, many organizations keep both options available.
- Choose wireless for brainstorming sessions and guest presenters.
- Choose HDMI or USB-C for training sessions, video playback, and mission-critical demos.
- Use built-in collaboration tools when multiple users need annotation, whiteboarding, or file sharing.
Why Smart Boards Are So Effective for Learning and Meetings
Interactive displays work well because they combine visual clarity, touch interaction, and collaboration in one screen. Research from organizations such as UNESCO Technology Recommendations and OECD Digital Education highlights the importance of choosing technology that supports real learning outcomes and practical classroom use. A smart board is most effective when it helps people communicate clearly and participate actively.
Helpful Links for Your Setup
- Browse compatible display solutions
- Contact us for room planning support
- See smart whiteboard models
LeaderHub develops interactive display solutions for education, business, and collaboration environments, helping teams share screens more easily and present with confidence.
Quick Checklist Before Presenting
- Board powered on and input selected
- Device connected through the right method
- Same Wi-Fi network for wireless casting
- Audio tested and notifications muted
- Touch and annotation tools checked
If you follow these steps, how to screen share to smart board becomes a quick routine instead of a technical challenge. The best setup is the one that matches your room, your devices, and your users’ daily workflow.