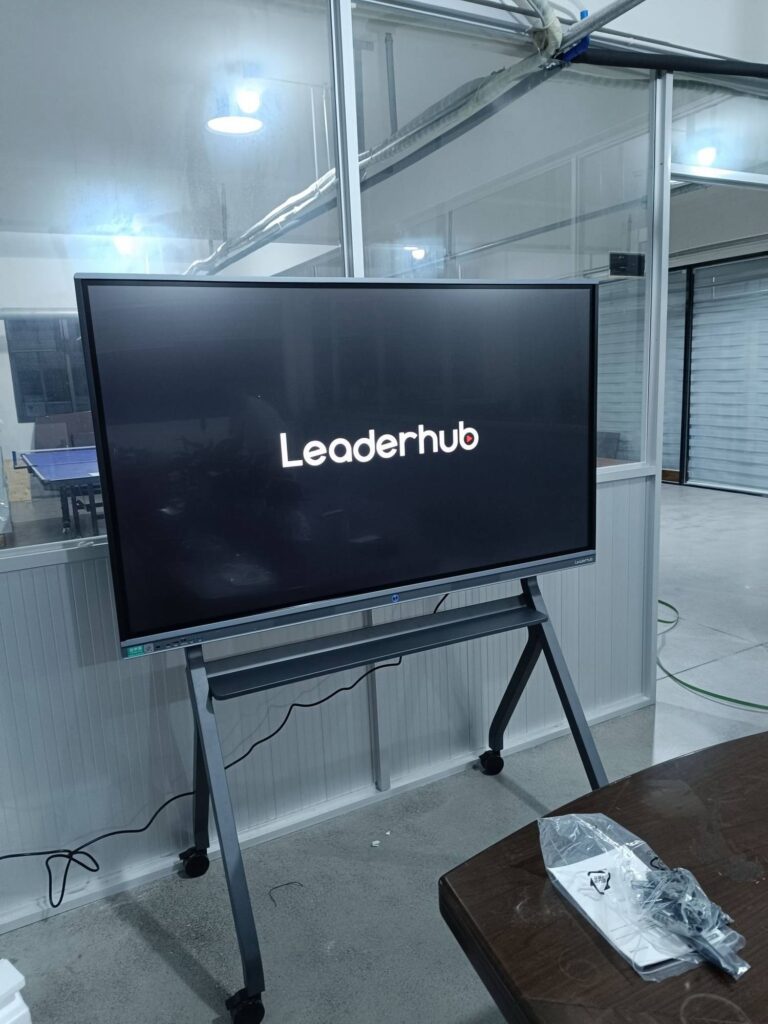
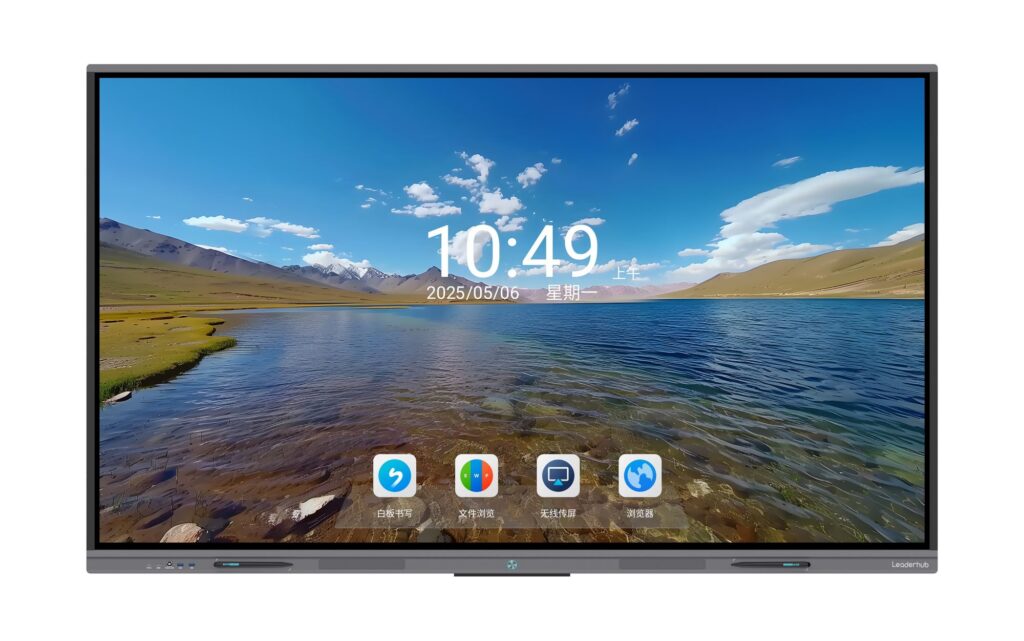
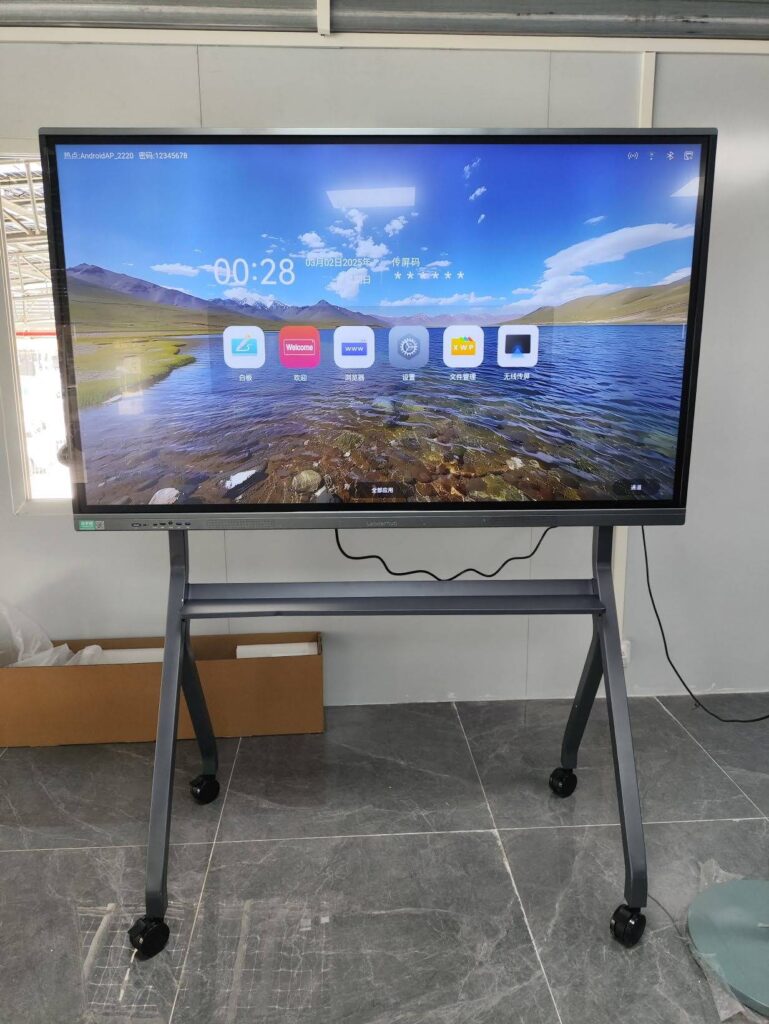
Choosing the right smart whiteboard size for your meeting room is one of the most important decisions you’ll make when upgrading your office collaboration technology. A screen that’s too small will strain viewers’ eyes and reduce engagement during presentations, while an oversized display can overwhelm a compact space and waste budget. This guide walks you through the practical factors that determine the ideal interactive whiteboard size, based on real-world installation experience across corporate offices, training centers, and educational institutions.
Over the past several years, workplace collaboration has shifted dramatically toward hybrid and video-first meetings. According to industry research, over 70% of enterprise meeting rooms now include some form of interactive display, yet many organizations still struggle with sizing decisions that affect both usability and return on investment.
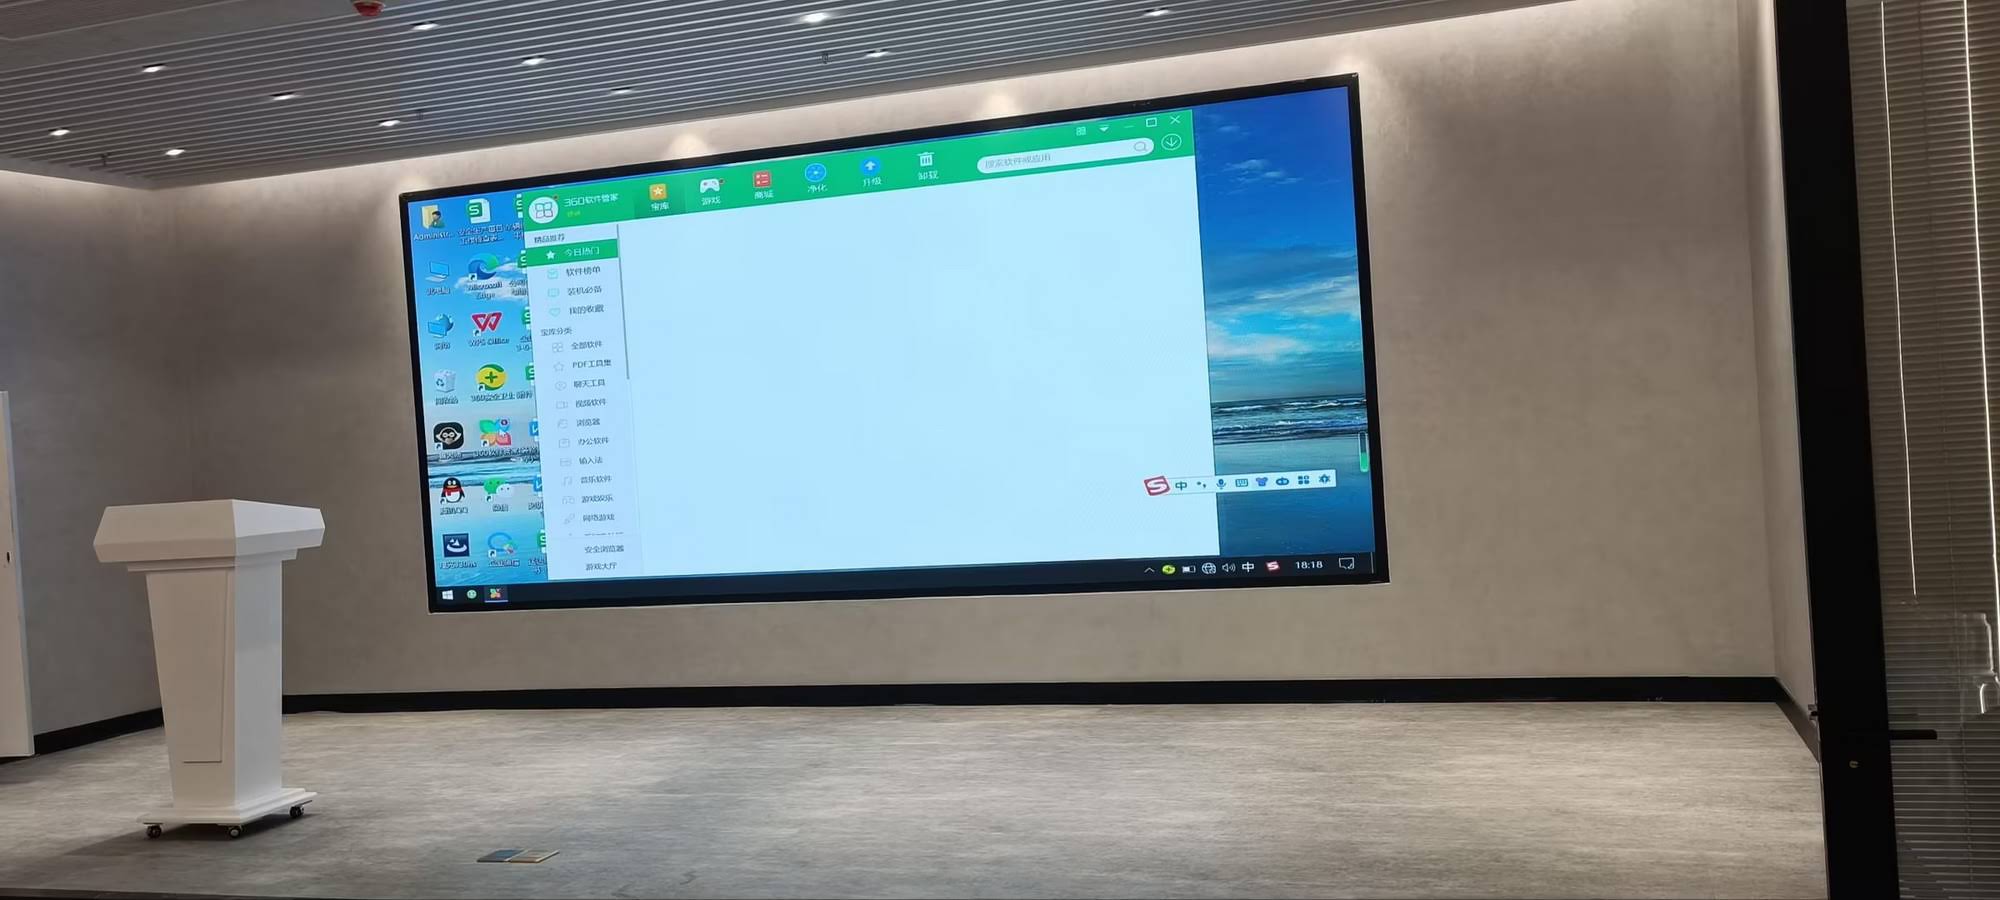
Why Smart Whiteboard Size Matters
The size of your smart whiteboard directly impacts three critical outcomes: readability, participant engagement, and space efficiency. A display that’s improperly sized for the room creates friction — attendees squint to read text, or a bulky panel dominates a small huddle room and makes movement difficult.
From our experience working with businesses across 82 countries, the most common mistake is selecting a screen size based purely on budget rather than room dimensions and viewing distance. This often results in costly re-purchases within the first year of use.
Key Factors That Determine the Right Size
- Room dimensions — length and width of the space
- Farthest viewing distance — how far the last row of seats is from the screen
- Number of participants — larger groups need bigger, higher-resolution displays
- Content type — detailed spreadsheets and CAD drawings require more screen real estate than simple slides
- Room shape — narrow, long rooms need different sizing than square rooms
General Sizing Guidelines by Room Type
Below is a practical reference table based on common meeting room configurations. These recommendations reflect industry best practices and feedback from thousands of installations.
| Room Type | Room Size (Approx.) | Recommended Screen Size | Ideal Seating Capacity |
|---|---|---|---|
| Huddle Room | 10–15 m² | 55″–65″ | 2–6 people |
| Standard Conference Room | 15–25 m² | 65″–75″ | 6–12 people |
| Large Meeting Room | 25–40 m² | 75″–86″ | 12–20 people |
| Boardroom / Training Hall | 40+ m² | 86″–110″ | 20+ people |
Calculating Viewing Distance
A widely used industry formula for interactive displays suggests that the optimal viewing distance is roughly 1.5 to 2 times the diagonal screen size. For example, if you install a 75″ display, the closest seat should be at least 1.9–2.5 meters away, while the farthest seat shouldn’t exceed 6–7 meters for comfortable text readability.
If your room is long and narrow, prioritize a larger screen even if the floor area is modest — viewing distance matters more than square footage. Conversely, in wide but shallow rooms, a mid-sized panel paired with proper mounting height often works better than an oversized unit.
Resolution and Content Considerations
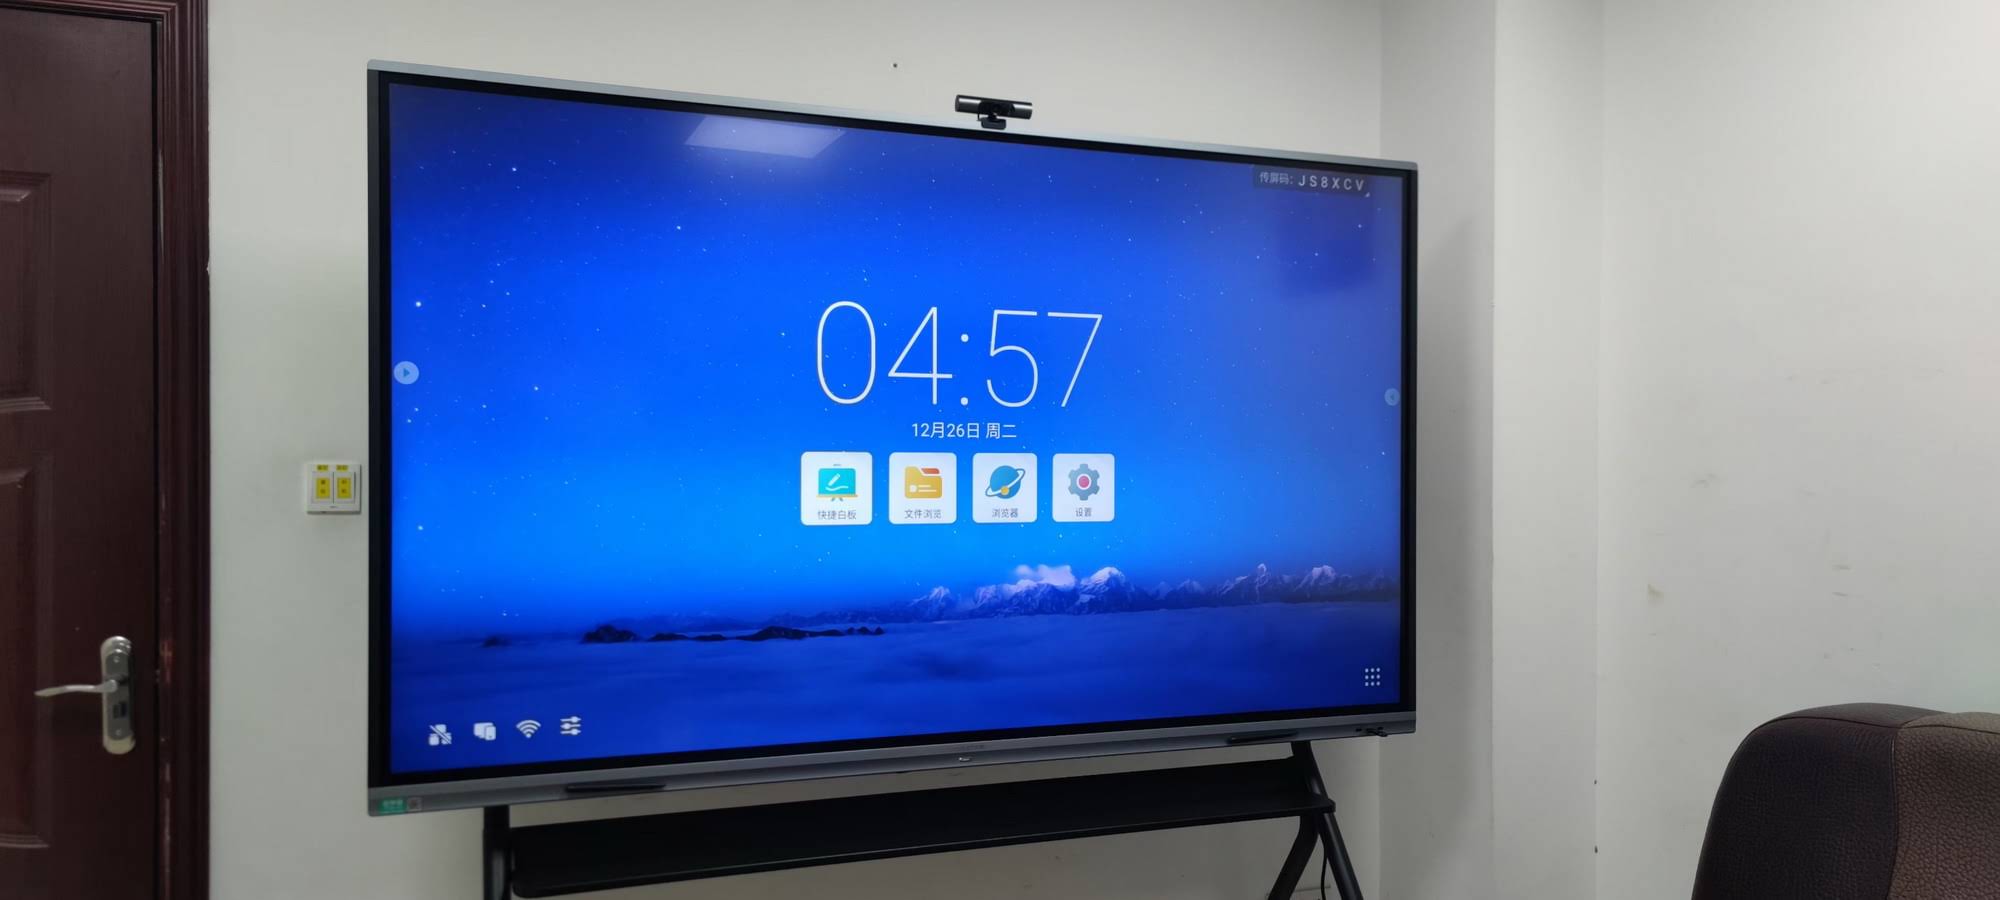
Screen size isn’t the only variable — resolution plays an equally important role. A 4K interactive flat panel displays significantly sharper text and imagery than a 1080p unit at the same size, which matters especially when sharing spreadsheets, engineering drawings, or fine-print documents.
Common Use Cases and Recommended Setup
| Primary Use | Recommended Size | Notes |
|---|---|---|
| Video conferencing | 65″–75″ | Wide viewing angle preferred |
| Design/CAD review | 75″–86″ | 4K resolution recommended |
| Training/education | 65″–86″ | Touch responsiveness matters |
| Executive boardroom | 86″–110″ | Premium finish, wide compatibility |
Mounting Height and Placement Tips
Beyond screen size, correct mounting height significantly affects usability. As a general rule, the bottom of the screen should sit around 100–110 cm from the floor, so the center of the display aligns roughly with seated eye level. For rooms with mixed seated and standing use, adjustable or motorized stands are worth considering.
- Avoid placing the display directly opposite windows to reduce glare
- Leave at least 30 cm of clearance on each side for ventilation and cable management
- Ensure the mounting wall or stand can support the panel’s weight — larger sizes like 86″ and 110″ units are considerably heavier
Real-World Case Example
A mid-sized fintech company recently upgraded three of its meeting rooms — a small huddle space, a standard conference room, and a large boardroom. After conducting a room assessment, they installed a 65″ panel in the huddle room, a 75″ unit in the standard conference room, and an 86″ display in the boardroom. Post-installation surveys showed a 32% increase in meeting engagement scores and significantly fewer complaints about screen visibility compared to their previous generic-sized displays. This mirrors a broader pattern we’ve observed: matching screen size precisely to room function consistently improves user satisfaction more than simply buying the largest available model.
Budget Considerations
Larger displays cost significantly more, not just in the panel itself but often in mounting hardware, installation labor, and compatible accessories. It’s worth calculating cost-per-seat rather than focusing solely on the sticker price. A well-sized 75″ panel serving 10 people may deliver better value than an oversized 110″ unit in the same room that exceeds actual viewing needs.
Popular Smart Whiteboard Options by Size
| Model | Size | Best For |
|---|---|---|
| LeaderHub L65HM | 65″ 4K | Small meeting rooms |
| LeaderHub L75HM | 75″ 4K | Standard conference rooms |
| LeaderHub L86HM | 86″ 4K | Large meeting spaces |
| LeaderHub L110H | 110″ | Boardrooms and training halls |
Common Mistakes to Avoid
- Ignoring viewing distance — a screen may look impressive in a showroom but be too small once installed in an actual large room
- Overlooking room lighting — anti-glare coating matters more in rooms with heavy natural light
- Choosing size before checking wall/stand support — always confirm structural compatibility before purchase
- Focusing only on price — the cheapest option per inch isn’t always the most cost-effective over the display’s lifespan
How LeaderHub Can Help
As a Shenzhen-based technology company with 16 years of experience in the interactive panel industry, LeaderHub has helped organizations across 82 countries select and deploy the right-sized smart whiteboards for their specific meeting environments. Our team combines hardware expertise with practical installation knowledge to guide customers toward configurations that actually improve meeting outcomes, not just fill wall space.
Final Recommendations
When choosing a smart whiteboard size, start by measuring your room and identifying the farthest seat from the wall where the display will be mounted. Use the 1.5–2x viewing distance rule as your baseline, then adjust based on content type and group size. Don’t hesitate to consult with a smart whiteboard specialist who can walk through your specific room dimensions before finalizing a purchase.
Ultimately, the “right” size isn’t about getting the biggest screen possible — it’s about matching the display to how your team actually works, communicates, and collaborates. A well-sized interactive panel pays for itself many times over through improved meeting efficiency, better engagement, and fewer technical frustrations.

Quick Reference Checklist
- Measure room length, width, and ceiling height
- Identify the farthest viewer’s seat distance
- Match screen size using the viewing distance formula
- Choose resolution based on content complexity
- Confirm wall or mount weight capacity
- Factor in lighting conditions and glare control
- Compare cost-per-seat across size options before purchasing
By following these steps, you’ll be well-equipped to select a smart whiteboard size that truly fits your meeting room’s purpose, layout, and long-term collaboration needs.