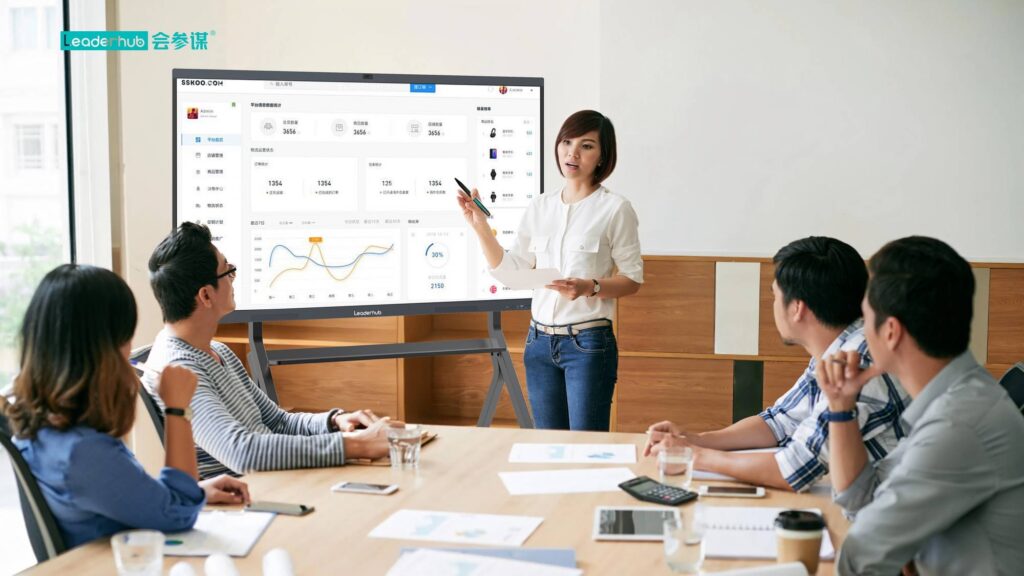
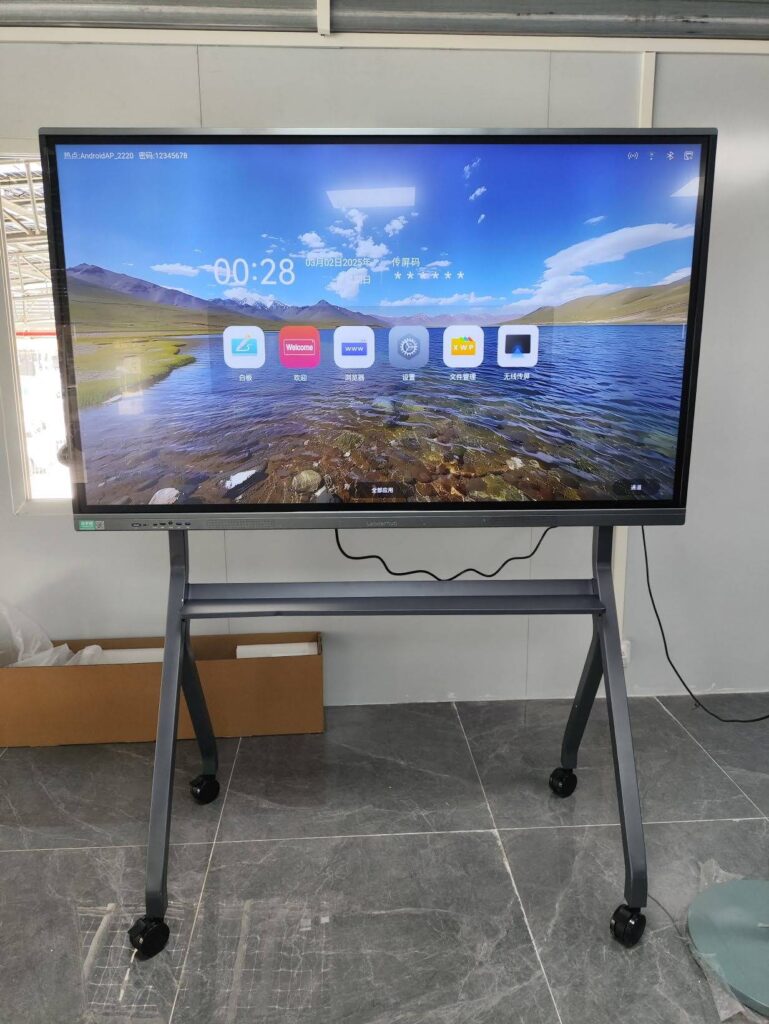
Connecting a smart board to your laptop, PC, or mobile device transforms how you present, collaborate, and teach. Whether you’re setting up for a business presentation, classroom lesson, or remote meeting, understanding the connection process ensures smooth operation and maximizes your interactive display’s capabilities. This comprehensive guide walks you through every connection method, troubleshooting common issues, and optimizing your setup for professional use.
Understanding Smart Board Connection Options
Modern smart boards offer multiple connectivity options to accommodate different devices and use cases. The most common connection methods include HDMI cables, USB-C connections, wireless screen mirroring, and network-based connections. Each method has specific advantages depending on your hardware, software requirements, and workspace setup.
According to recent industry data, approximately 78% of educational institutions and 65% of corporate environments now use interactive displays with multiple connectivity options. This flexibility allows users to switch between devices quickly during presentations or collaborative sessions without technical interruptions.
Connecting Your Laptop or PC via HDMI
HDMI remains the most reliable and widely used connection method for linking laptops and desktop computers to smart boards. This wired connection provides stable video and audio transmission with minimal latency, making it ideal for professional presentations and interactive teaching.
Step-by-Step HDMI Connection Process
- Locate the HDMI port on both your laptop and the smart board. Most modern laptops feature standard HDMI ports, while some ultrabooks may require a USB-C to HDMI adapter.
- Connect the HDMI cable firmly into both devices. Ensure the connection is secure to prevent signal interruption.
- Power on the smart board and select the correct HDMI input source using the remote control or on-screen menu.
- Configure display settings on your laptop by pressing Windows + P (Windows) or accessing System Preferences > Displays (Mac).
- Choose your display mode: Duplicate (mirror), Extend (separate workspace), or Second Screen Only.
For touch functionality, connect a USB cable from your laptop to the smart board’s USB port. This enables interactive features, allowing you to control your computer directly from the touchscreen. Windows and macOS typically recognize touch-enabled displays automatically without additional driver installation.
Troubleshooting HDMI Connection Issues
| Problem | Possible Cause | Solution |
|---|---|---|
| No display signal | Incorrect input source selected | Verify the smart board is set to the correct HDMI input |
| Touch not working | USB cable not connected | Connect USB cable for touch functionality |
| Poor image quality | Low resolution settings | Adjust display resolution in system settings to match the panel’s native resolution |
| Audio not playing | Wrong audio output device | Select smart board as audio output in sound settings |
USB-C Connection for Modern Devices
USB-C connections offer a streamlined single-cable solution that transmits video, audio, power, and data simultaneously. This connection method has become increasingly popular with newer laptops, particularly MacBook Pro models, Dell XPS series, and Microsoft Surface devices.
When connecting via USB-C, ensure your smart board supports USB-C DisplayPort Alternate Mode. This feature allows video signal transmission through the USB-C cable while simultaneously enabling touch functionality. Some high-end smart boards, including models from LeaderHub, also provide power delivery through USB-C, charging your laptop while connected.
Advantages of USB-C Connections
- Single cable simplicity reduces desk clutter and setup time
- Reversible connector eliminates incorrect insertion attempts
- Higher bandwidth supports 4K resolution at 60Hz refresh rate
- Power delivery can charge compatible laptops up to 100W
- Universal compatibility works across multiple device brands and operating systems
Wireless Screen Mirroring Solutions
Wireless connectivity eliminates cable management challenges and enables flexible workspace arrangements. Multiple wireless protocols allow laptops, tablets, and smartphones to connect to smart boards without physical cables.
Miracast for Windows Devices
Miracast technology enables Windows 10 and 11 devices to wirelessly mirror displays. To connect using Miracast:
- Ensure your smart board supports Miracast reception
- Open the Action Center on your Windows device (Windows + A)
- Select “Connect” and wait for available displays to appear
- Choose your smart board from the list of available devices
- Follow any on-screen pairing instructions if required
Miracast connections typically experience 200-300ms latency, which is acceptable for presentations but may be noticeable during video playback or gaming applications.
AirPlay for Apple Ecosystems
Apple devices use AirPlay for wireless screen mirroring. Smart boards with built-in AirPlay support allow seamless connection from MacBooks, iPads, and iPhones:
- Ensure both devices are connected to the same Wi-Fi network
- On your Mac, click the Control Center icon in the menu bar
- Select “Screen Mirroring” and choose your smart board
- Enter the AirPlay code displayed on the smart board if prompted
For iOS devices, swipe down from the top-right corner to access Control Center, tap Screen Mirroring, and select your smart board.
Proprietary Wireless Solutions
Many manufacturers provide dedicated wireless connectivity solutions. These systems often include hardware dongles and companion software that offer enhanced features beyond basic screen mirroring, such as multi-device collaboration, annotation tools, and file sharing capabilities.
Connecting Mobile Phones to Smart Boards
Mobile connectivity has become essential as smartphones increasingly serve as primary computing devices in educational and business contexts. Smart boards accommodate mobile connections through both wired and wireless methods.
Wired Mobile Connections
For direct wired connections, use appropriate adapters based on your phone model:
- Android devices: USB-C to HDMI adapter or MHL adapter (for older devices)
- iPhones: Lightning to HDMI adapter (Lightning Digital AV Adapter)
Connect the adapter to your phone, then run an HDMI cable from the adapter to the smart board. Select the corresponding HDMI input, and your phone’s screen will display on the board. Note that some streaming apps block screen mirroring due to content protection policies.
Wireless Mobile Mirroring
Wireless methods provide greater mobility during presentations. Most modern smart boards support standard wireless protocols:
| Protocol | Compatible Devices | Key Features |
|---|---|---|
| AirPlay | iPhone, iPad, Mac | Native iOS/macOS integration, low latency |
| Chromecast | Android, iOS, Chrome browser | Wide device support, app-specific casting |
| Miracast | Windows, Android | Direct peer-to-peer connection, no router required |
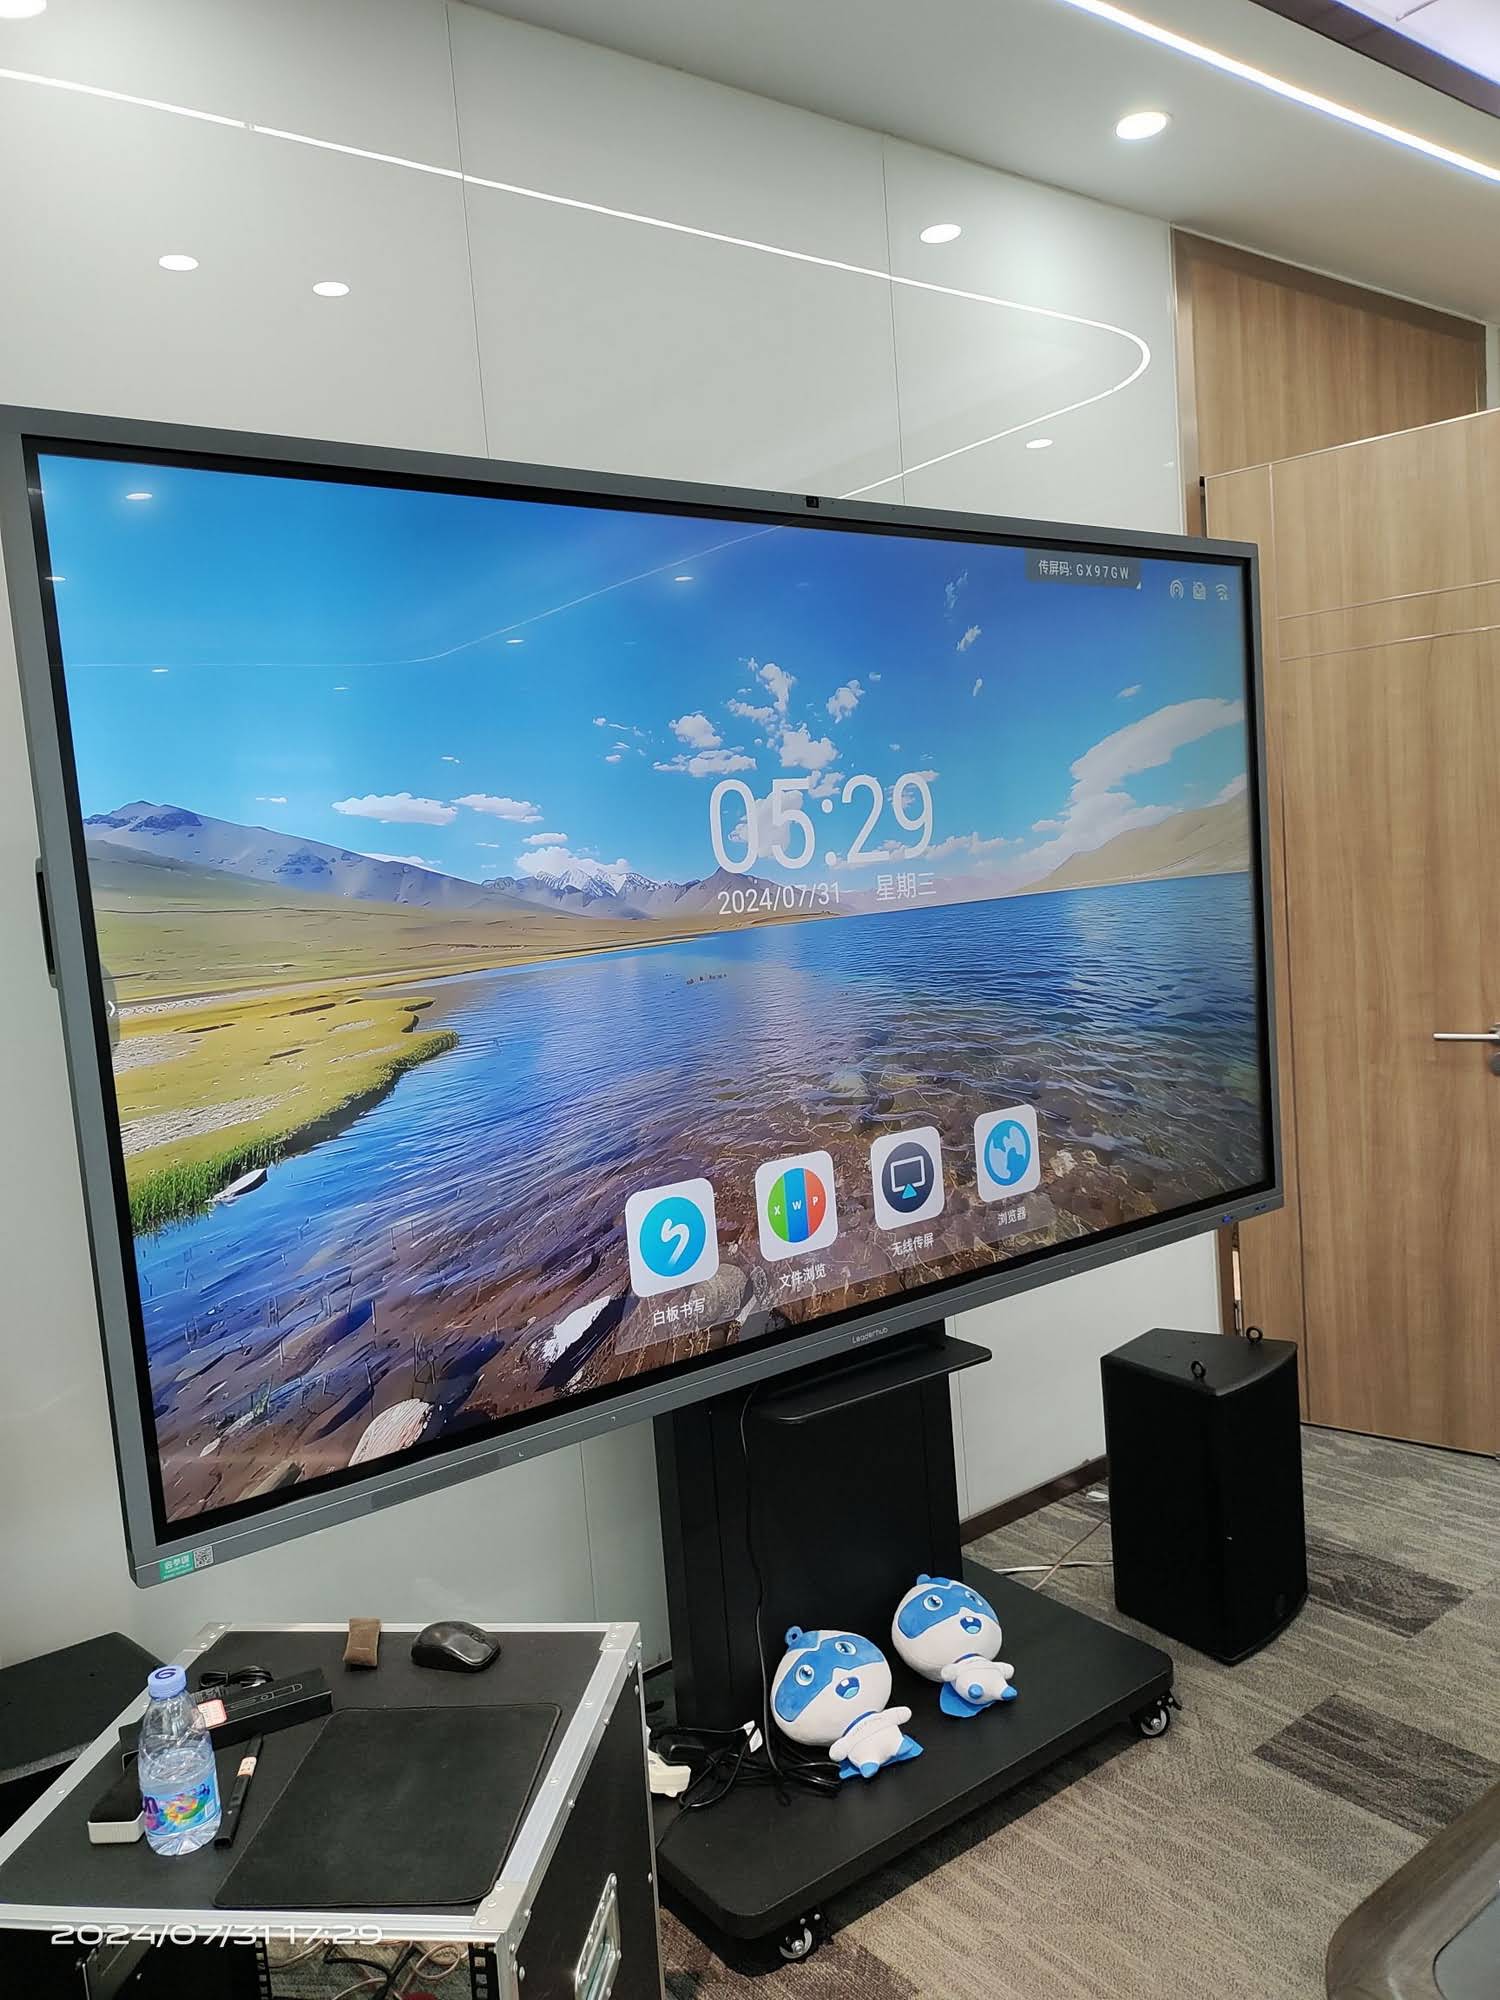
Network-Based Connection Methods
Enterprise and educational environments increasingly rely on network-based connections that enable centralized management, security controls, and multi-user collaboration. These systems integrate smart boards into existing IT infrastructure.
IP-Based Control Systems
Network-connected smart boards can be controlled and monitored through IP addresses. This approach allows IT administrators to:
- Remotely power devices on and off
- Push software updates and content
- Monitor usage statistics and system health
- Configure settings across multiple devices simultaneously
- Implement smart classroom solutions with centralized control
Cloud-Based Collaboration Platforms
Modern smart boards integrate with cloud platforms like Microsoft Teams, Zoom, Google Meet, and specialized educational software. These integrations enable:
- Direct meeting participation without requiring a connected computer
- Real-time collaboration with remote participants who can view and annotate shared content
- Cloud storage access for retrieving and saving files directly from the smart board
- Calendar integration for automatic meeting room scheduling
According to recent workplace technology surveys, organizations using cloud-connected interactive displays report 34% faster meeting setup times and 28% higher participant engagement compared to traditional projection systems.
Software Configuration and Driver Installation
While most operating systems recognize smart boards as standard displays, specific software installation enhances functionality and enables advanced features.
Windows Configuration
Windows 10 and 11 include native touch support for most smart boards. However, installing manufacturer-specific software unlocks additional capabilities:
- Download the latest drivers from the manufacturer’s support website
- Run the installer with administrator privileges
- Restart your computer after installation completes
- Access calibration tools through the installed software to optimize touch accuracy
- Configure pen settings, palm rejection, and gesture controls
Windows also allows calibration through Settings > Devices > Pen & Windows Ink > Calibrate for pen or touch input.
macOS Setup
macOS automatically detects most smart boards as external displays. For full touch functionality:
- Connect the smart board via USB-C or HDMI + USB
- Open System Preferences > Displays
- Arrange displays according to your physical setup
- Download any manufacturer-provided macOS software for advanced features
- Configure accessibility options in System Preferences > Accessibility > Pointer Control
Chrome OS Integration
Chromebooks connect seamlessly to smart boards through HDMI or USB-C. Chrome OS recognizes touch input automatically without additional software installation. For wireless connection, use the built-in Cast feature to mirror your Chromebook’s display.
Optimizing Display Settings for Best Performance
Proper display configuration ensures crisp image quality, accurate colors, and responsive touch interaction. These settings significantly impact user experience during presentations and collaboration sessions.
Resolution and Scaling
Always match your computer’s output resolution to the smart board’s native resolution. Common smart board resolutions include:
- Full HD (1920¡Á1080): Standard for entry-level and mid-range models
- 4K UHD (3840¡Á2160): Premium models offering exceptional clarity
- WQHD (2560¡Á1440): Business-focused displays balancing clarity and performance
If text and icons appear too small at native resolution, adjust scaling in display settings rather than changing resolution. This preserves image sharpness while improving readability.
Refresh Rate Configuration
Set the refresh rate to match the panel’s specifications, typically 60Hz. Higher refresh rates reduce input lag and create smoother pen tracking during annotation. Access refresh rate settings through:
- Windows: Settings > System > Display > Advanced display settings > Refresh rate
- macOS: System Preferences > Displays > Refresh Rate dropdown
Color Calibration
For presentations requiring accurate color representation (design reviews, medical imaging, photo editing), calibrate the display using built-in tools or professional calibration hardware. Most smart boards include preset color modes optimized for different content types:
- Standard mode: Balanced settings for general use
- Presentation mode: Enhanced brightness and contrast for well-lit rooms
- Eye comfort mode: Reduced blue light for extended viewing sessions
Multi-Device Connection Scenarios
Modern collaboration often requires connecting multiple devices simultaneously. Advanced smart boards support various multi-input scenarios.
Picture-in-Picture (PiP) Mode
Display content from two sources simultaneously, with one appearing as a smaller window over the primary display. This feature proves valuable when:
- Presenting from a laptop while monitoring a video conference on a tablet
- Displaying reference materials alongside main presentation content
- Comparing documents from different devices side-by-side
Split Screen Functionality
Divide the display into separate zones, each showing content from different input sources. Users can interact with either zone independently, enabling true multi-device collaboration.
Quick Source Switching
Modern interactive displays allow rapid switching between connected devices without disconnecting cables. Use the input selector on the remote control or on-screen menu to toggle between sources instantly.
Security Considerations for Smart Board Connections
As interactive displays become network-connected devices, security becomes paramount. Organizations should implement these protective measures:
Network Segmentation
Place smart boards on isolated network segments separate from sensitive business systems. This limits potential attack vectors if a display becomes compromised.
Firmware Updates
Regularly update smart board firmware to patch security vulnerabilities. Enable automatic updates when available, or establish scheduled maintenance windows for manual updates.
Access Control
Implement password protection for administrative functions and network settings. Restrict physical access to USB ports and other connection interfaces to prevent unauthorized device connections.
Wireless Security Protocols
When using wireless connectivity, ensure the smart board supports WPA3 encryption. Disable legacy protocols like WEP that provide inadequate security. For screen mirroring, require PIN codes or confirmation prompts before allowing connections.
Data Privacy
Configure smart boards to automatically clear session data after use, including cached files, whiteboard content, and browsing history. Disable data collection features that transmit usage information to manufacturers unless required for support purposes.
Professional Installation Best Practices
Proper installation ensures optimal performance and longevity. Whether installing in classrooms, conference rooms, or collaborative workspaces, follow these guidelines:
Height and Positioning
Mount the smart board at appropriate height for primary users. Standard mounting heights range from 30-36 inches from floor to bottom edge for educational settings, and 36-42 inches for corporate environments. Consider adjustable mounting solutions for spaces serving users of varying heights.
Cable Management
Implement professional cable management to prevent damage and maintain clean aesthetics:
- Use cable raceways or in-wall conduits for permanent installations
- Leave sufficient slack to accommodate panel removal during maintenance
- Label all cables clearly for easy identification
- Use cable ties and clips rated for the cable weight and environment
Power Considerations
Ensure adequate electrical capacity for the smart board and connected devices. Large-format displays may require dedicated circuits. Install power outlets at appropriate locations to minimize visible cables.
Ventilation and Cooling
Smart boards generate heat during operation. Maintain adequate ventilation space around the display, particularly for built-in computer modules. Avoid enclosed installations without proper airflow, as overheating reduces component lifespan and may trigger thermal shutdowns.
Troubleshooting Common Connection Problems
Despite straightforward connection procedures, users occasionally encounter technical challenges. This section addresses frequent issues and their solutions.
Touch Calibration Drift
If touch points become misaligned over time, recalibrate the touchscreen:
- Access the calibration utility through the smart board’s settings menu
- Follow on-screen prompts to touch specified points accurately
- Test calibration by selecting small targets in different screen areas
- Repeat if accuracy remains suboptimal
Persistent calibration issues may indicate hardware problems requiring professional service.
Intermittent Wireless Connection
Wireless connection instability often stems from environmental factors:
- Wi-Fi interference: Move routers away from other electronic devices, or switch to 5GHz networks to reduce congestion
- Distance limitations: Ensure devices remain within effective wireless range, typically under 30 feet for optimal performance
- Firmware conflicts: Update both the smart board and source device to latest firmware versions
- Network bandwidth: Dedicated networks for screen mirroring prevent competition with other network traffic
Audio Sync Issues
When audio lags behind video, adjust audio delay settings if available in the smart board’s menu system. Alternatively, use the computer’s audio output directly through external speakers rather than the HDMI audio connection, which may introduce latency.
Partial Display or Incorrect Aspect Ratio
If content appears cropped or stretched:
- Verify the computer’s display resolution matches the panel’s native resolution
- Disable overscan in the smart board’s picture settings
- Adjust scaling settings in the operating system rather than the display itself
- Check that cables support the required bandwidth for the selected resolution
Future-Proofing Your Smart Board Setup
Technology evolves rapidly. Implement these strategies to maximize the longevity and adaptability of your smart board installation:
Invest in Quality Cables
Premium cables with proper shielding and bandwidth ratings ensure compatibility with future devices and higher resolutions. Certified cables (Premium High Speed HDMI, Thunderbolt 3/4, USB-IF certified USB-C) guarantee performance standards.
Modular Infrastructure
Design installations with upgradability in mind. Wall plates with replaceable modules allow updating connection types without rewiring. Consider running multiple cable types during initial installation, even if not immediately needed.
Software Updates and Support
Choose manufacturers committed to long-term software support. Companies like LeaderHub, with over 16 years in interactive display technology, typically provide extended firmware support and regular feature updates.
Standardization
Organizations deploying multiple smart boards benefit from standardizing on specific models and connection methods. This simplifies training, reduces support complexity, and enables centralized management.
Industry-Specific Connection Requirements
Different sectors have unique connectivity needs based on their workflows and security requirements.
Education
Educational institutions prioritize ease of use and multi-device support. Teachers frequently connect personal laptops, student tablets, and document cameras. Smart boards in education benefit from:
- Wireless connectivity for quick teacher device changes
- BYOD (Bring Your Own Device) support for student presentations
- Integration with learning management systems
- Simple connection procedures students can perform independently
Corporate and Enterprise
Business environments emphasize security, reliability, and video conferencing integration. Corporate smart board installations typically include:
- Room scheduling system integration
- Enterprise wireless protocols with authentication
- Video conferencing peripheral connectivity (cameras, microphones, speakers)
- Dual monitor support for presenter-facing and audience-facing content
Healthcare
Medical facilities require HIPAA-compliant configurations and specialized display modes for diagnostic imaging. Healthcare smart boards need:
- High-resolution displays for medical imaging (DICOM compliance)
- Antimicrobial surface coatings
- Secure connection protocols preventing unauthorized access
- Integration with electronic health record (EHR) systems
Conclusion
Connecting a smart board to laptops, PCs, or mobile devices requires understanding various connection methods and selecting the most appropriate approach for your specific environment. Whether using traditional wired connections for maximum reliability, modern USB-C single-cable solutions for convenience, or wireless protocols for flexible collaboration, proper setup ensures optimal performance and user satisfaction.
By following the guidelines outlined in this article¡ªfrom initial physical connections through software configuration, security implementation, and troubleshooting¡ªusers can establish robust, professional smart board setups that enhance communication and collaboration. As interactive display technology continues advancing, staying informed about emerging connection standards and best practices ensures your investment remains effective and relevant for years to come.
For organizations seeking reliable, professionally-designed smart board solutions backed by experienced technical support, exploring comprehensive product lines from established manufacturers provides access to tested integration methods and ongoing innovation in interactive collaboration technology.