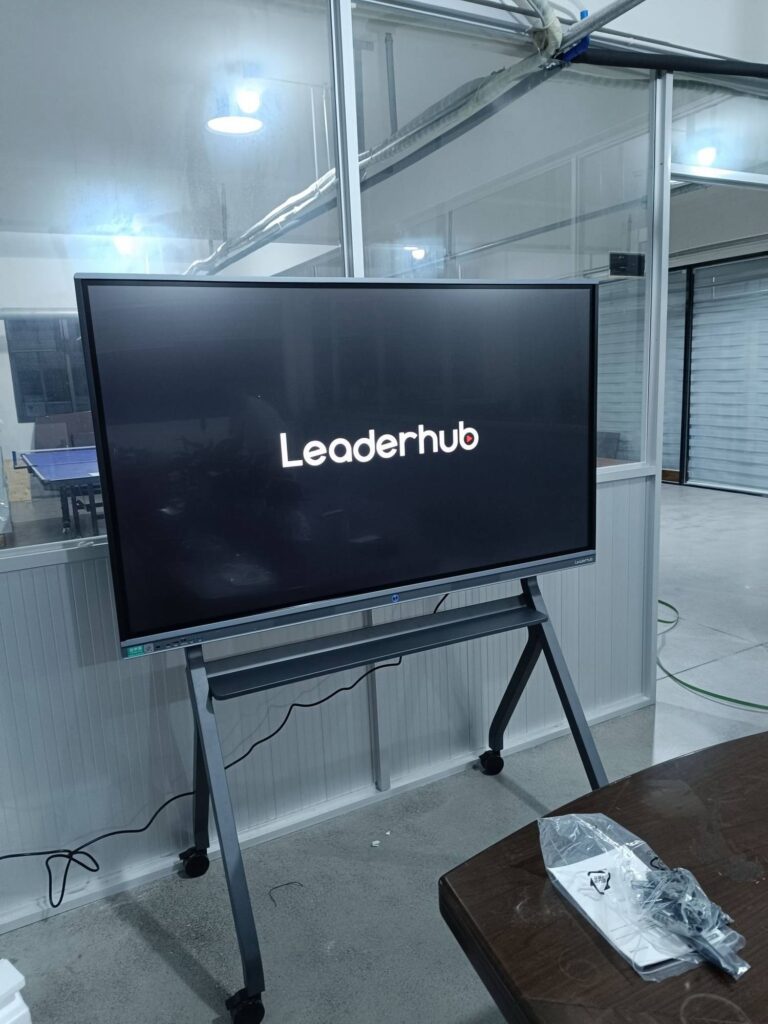
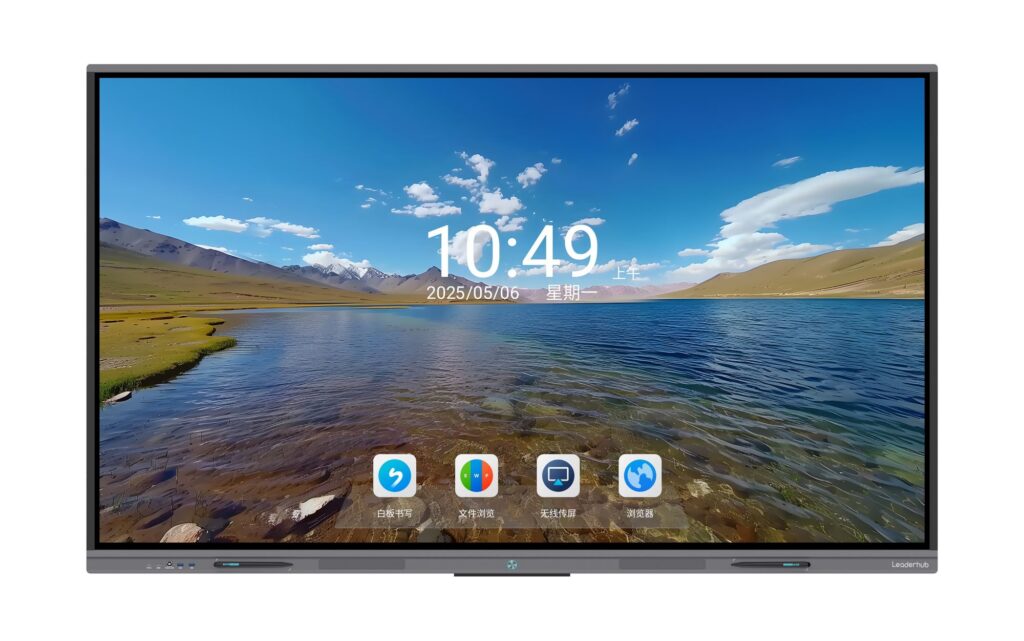
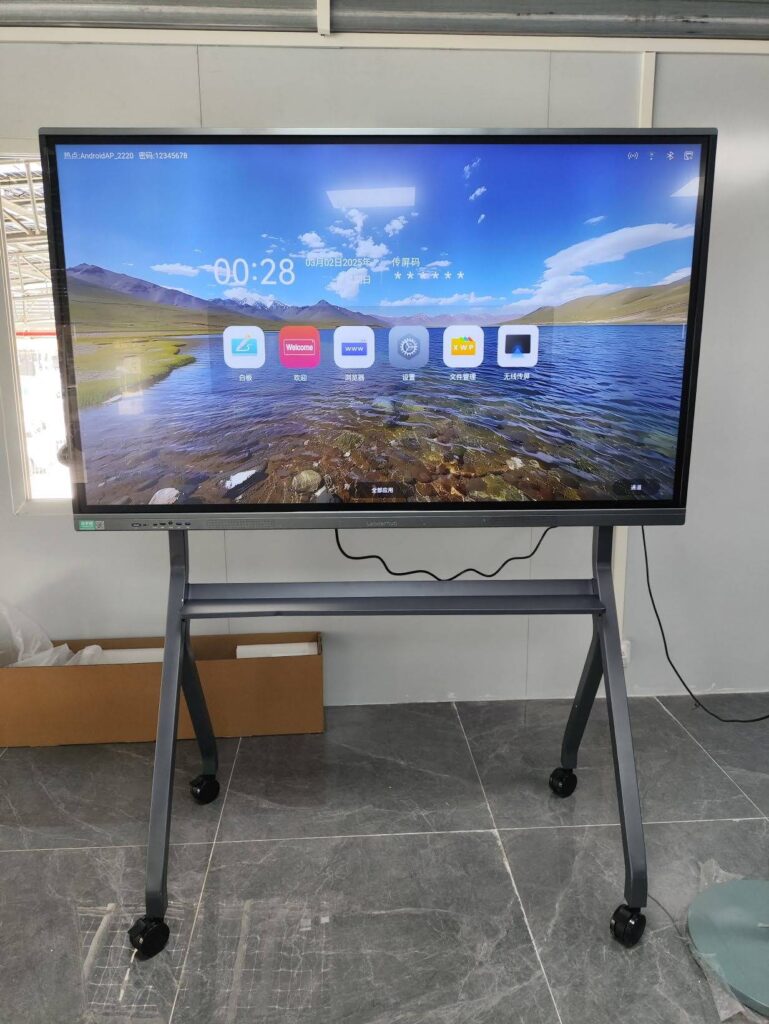
Choosing the right wall-mounted smart whiteboard can transform how your team collaborates, how your classroom engages students, or how your business presents ideas to clients. With dozens of brands, screen sizes, and specifications on the market, making the wrong choice often means wasted budget and frustrated users. This guide breaks down everything you need to know — from panel technology to mounting requirements — so you can make a confident, informed purchase.
Having tested and deployed interactive panels across classrooms, boardrooms, and training centers for over a decade, we’ve seen firsthand which specifications actually matter and which are just marketing buzzwords. This guide reflects real deployment experience, not just spec sheets.
Why Wall-Mounted Smart Whiteboards Matter Today
Traditional whiteboards and projectors are quickly becoming obsolete in modern workspaces and classrooms. A smart whiteboard combines a 4K touchscreen display, built-in Android or Windows operating system, and collaboration software into a single wall-mounted unit. According to industry reports, organizations using interactive displays report up to 30% higher meeting productivity and significantly improved information retention in educational settings compared to traditional whiteboards and projector setups.
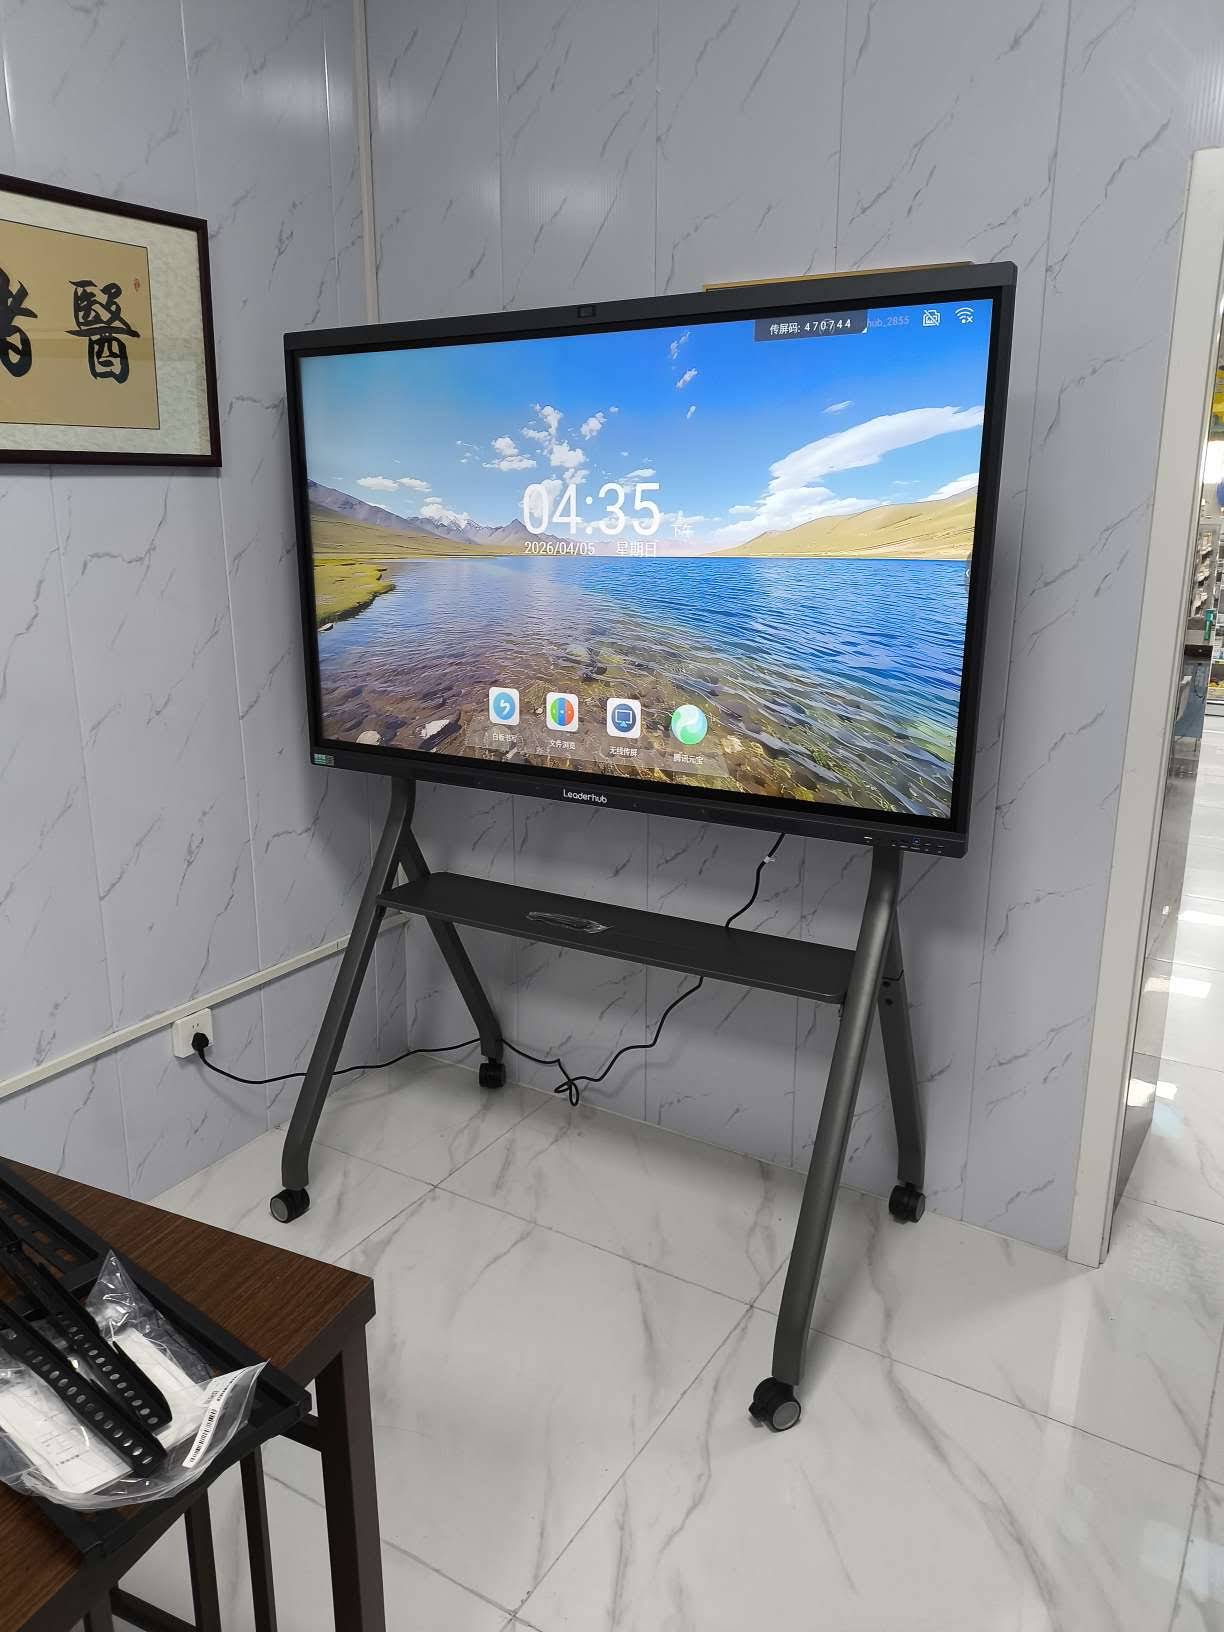
Step 1: Determine the Right Screen Size for Your Space
Screen size is the single most important decision you’ll make, and it depends entirely on room dimensions and viewing distance. A common mistake buyers make is choosing a size that looks great in a showroom but is either too small for the back row of a classroom or too large for a compact huddle room.
| Room Size / Use Case | Recommended Screen Size | Viewing Distance |
|---|---|---|
| Small huddle room / office | 55″ – 65″ | 1.5 – 3 meters |
| Standard classroom | 65″ – 75″ | 3 – 6 meters |
| Medium conference room | 75″ – 86″ | 4 – 8 meters |
| Large auditorium / lecture hall | 98″ – 110″ | 8+ meters |
For example, the LeaderHub L65HM 65″ 4K Interactive Whiteboard is ideal for small-to-medium meeting rooms, while the L110H 110-Inch Interactive Flat Panel suits large lecture halls and auditoriums.
Step 2: Prioritize Display Resolution and Panel Quality
A 4K UHD resolution (3840 x 2160) is now the industry standard for any professional interactive flat panel. Lower resolution panels will show pixelation on text-heavy documents and reduce writing precision. Look for these additional display features:
- Anti-glare glass to reduce reflections under fluorescent lighting
- High brightness (350+ nits) for visibility in bright rooms
- Wide viewing angles (178°) so content is visible from every seat
- Eye-care certification such as low blue-light or flicker-free technology
Step 3: Evaluate Touch Technology and Writing Accuracy
Infrared (IR) touch technology remains the most reliable and cost-effective option for wall-mounted whiteboards, typically supporting 20-40 touch points for multi-user collaboration. When testing panels, pay attention to:
- Palm rejection — allows writing with a stylus while resting your hand on the screen
- Response latency — should be under 8ms for natural writing feel
- Multi-touch support — essential for group brainstorming sessions
Step 4: Check the Operating System and Software Ecosystem
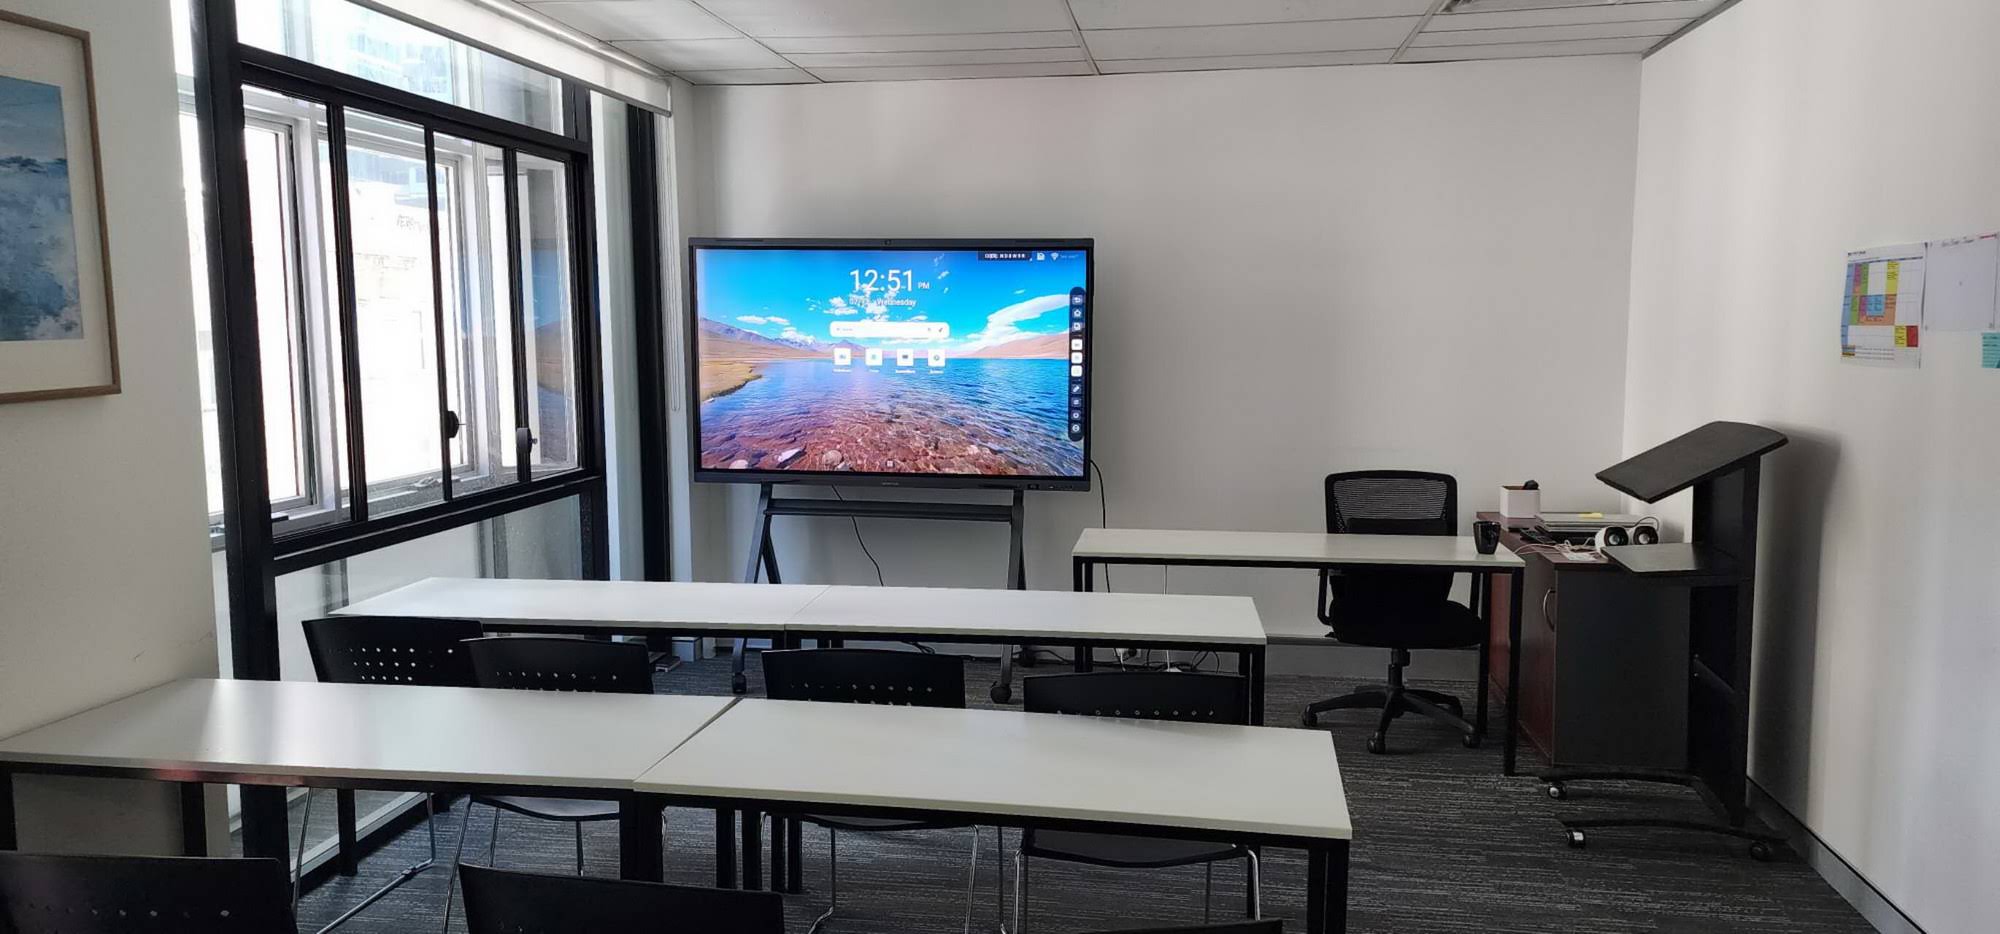
Most modern smart whiteboards run on Android for built-in apps and annotation tools, with an optional Windows OPS module slot for full desktop functionality. If your organization relies heavily on Microsoft Office, Zoom, or Google Workspace, ensure the panel supports a plug-in mini PC module such as the LeaderHub LP5C Mini PC, which slots directly into the panel for a seamless Windows experience without extra cables or external devices.
Software Features Checklist
- Cloud whiteboard saving and sharing (PDF, PNG export)
- Screen mirroring/casting from phone or laptop (wireless)
- Built-in video conferencing camera compatibility
- Annotation tools over any application (PowerPoint, PDF, browser)
- Remote device management (MDM) for IT administrators
Step 5: Consider Mounting, Installation, and Safety
Since this is a wall-mounted device, structural considerations matter as much as specifications. A 75″ panel can weigh 35-50kg, so verify the following before purchase:
| Requirement | Recommendation |
|---|---|
| Wall type | Concrete or reinforced drywall with studs |
| Mount type | VESA-compatible fixed or tilt bracket |
| Mounting height | Screen center at 1.2–1.5m from floor |
| Power & cabling | In-wall conduit recommended for clean install |
We recommend hiring a certified AV installer for panels above 75″ to ensure the mounting bracket is rated for the panel’s weight class and secured into structural framing rather than drywall alone.
Step 6: Match the Panel to Your Use Case
For Education
Classrooms benefit most from durable, anti-scratch glass and simplified lesson-annotation software. The LeaderHub L65ZM Interactive Whiteboard is a popular entry point for schools upgrading from traditional whiteboards, offering a 65″ 4K panel at an accessible price point.
For Business & Corporate Meetings
Enterprise buyers should prioritize video conferencing integration and cloud file sharing. Panels like the LeaderHub L75H Pro Interactive Flat Panel include built-in conferencing-ready hardware suited for hybrid meeting rooms.
For Creative Studios & Training Centers
Creative professionals often need portability alongside wall mounting. Mobile options such as the LeaderHub U55Pro Mobile 4K Smart Display offer flexibility to move between rooms while retaining full 4K interactive functionality.
Step 7: Compare Warranty, Support, and Total Cost of Ownership
Price shouldn’t be your only deciding factor. Consider the full ownership cost:
- Warranty length — 2-3 years is standard; premium brands offer up to 5 years on the panel
- Spare parts availability — replacement touch modules and power boards
- Firmware updates — ongoing software support prevents obsolescence
- Local technical support — critical for schools and enterprises with multiple units
Common Buying Mistakes to Avoid
- Choosing a screen too small for the actual room size
- Ignoring the wall structure and mounting weight limits
- Overlooking OS compatibility with existing software tools
- Skipping a live product demo before bulk purchasing
- Selecting the cheapest option without checking touch response quality
Expert Insight
As a manufacturer with 16 years of experience in the interactive panel industry, LeaderHub has supplied smart whiteboards, interactive flat panels, and mini PCs to organizations in 82 countries, ranking No.1 in its JD.com subcategory. This scale of deployment across education, enterprise, and government sectors provides valuable insight into which specifications hold up under real daily use versus which are marketing-only features.
Frequently Asked Questions
What size smart whiteboard is best for a small office?
For rooms seating 4-8 people, a 55″ to 65″ panel provides comfortable visibility without overwhelming the space.
Do I need a separate computer for a smart whiteboard?
Not necessarily. Most panels include a built-in Android system for basic use, but attaching a slot-in mini PC gives you full Windows functionality for advanced software.
How long does installation typically take?
A standard wall mount installation, including bracket fitting and cable routing, usually takes 1-2 hours per unit when performed by a trained installer.
Final Thoughts
Selecting the right wall-mounted smart whiteboard comes down to matching screen size, touch technology, and software ecosystem to your specific room and use case. Take time to request a live demonstration, verify your wall structure can support the mount, and choose a supplier with proven experience and reliable after-sales support. A well-chosen interactive panel isn’t just a display — it’s a long-term investment in how your team communicates and collaborates every day.