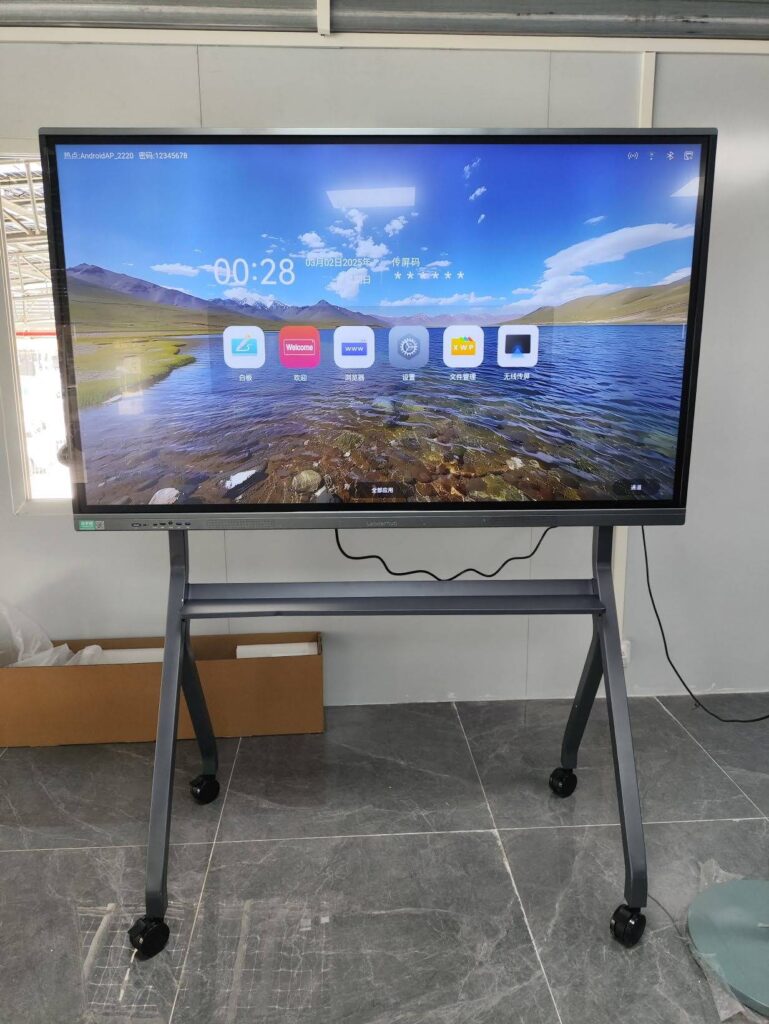
If you want to how to screen share on smart board quickly and without confusion, the process is usually simple: connect your device, open the board’s sharing mode, and choose the correct casting option. Whether you’re teaching, presenting, or running a hybrid meeting, a smooth setup helps everyone see the same content in real time. In this guide, we’ll cover wireless and wired methods, device-specific tips, and the most common fixes so your screen sharing works the first time.
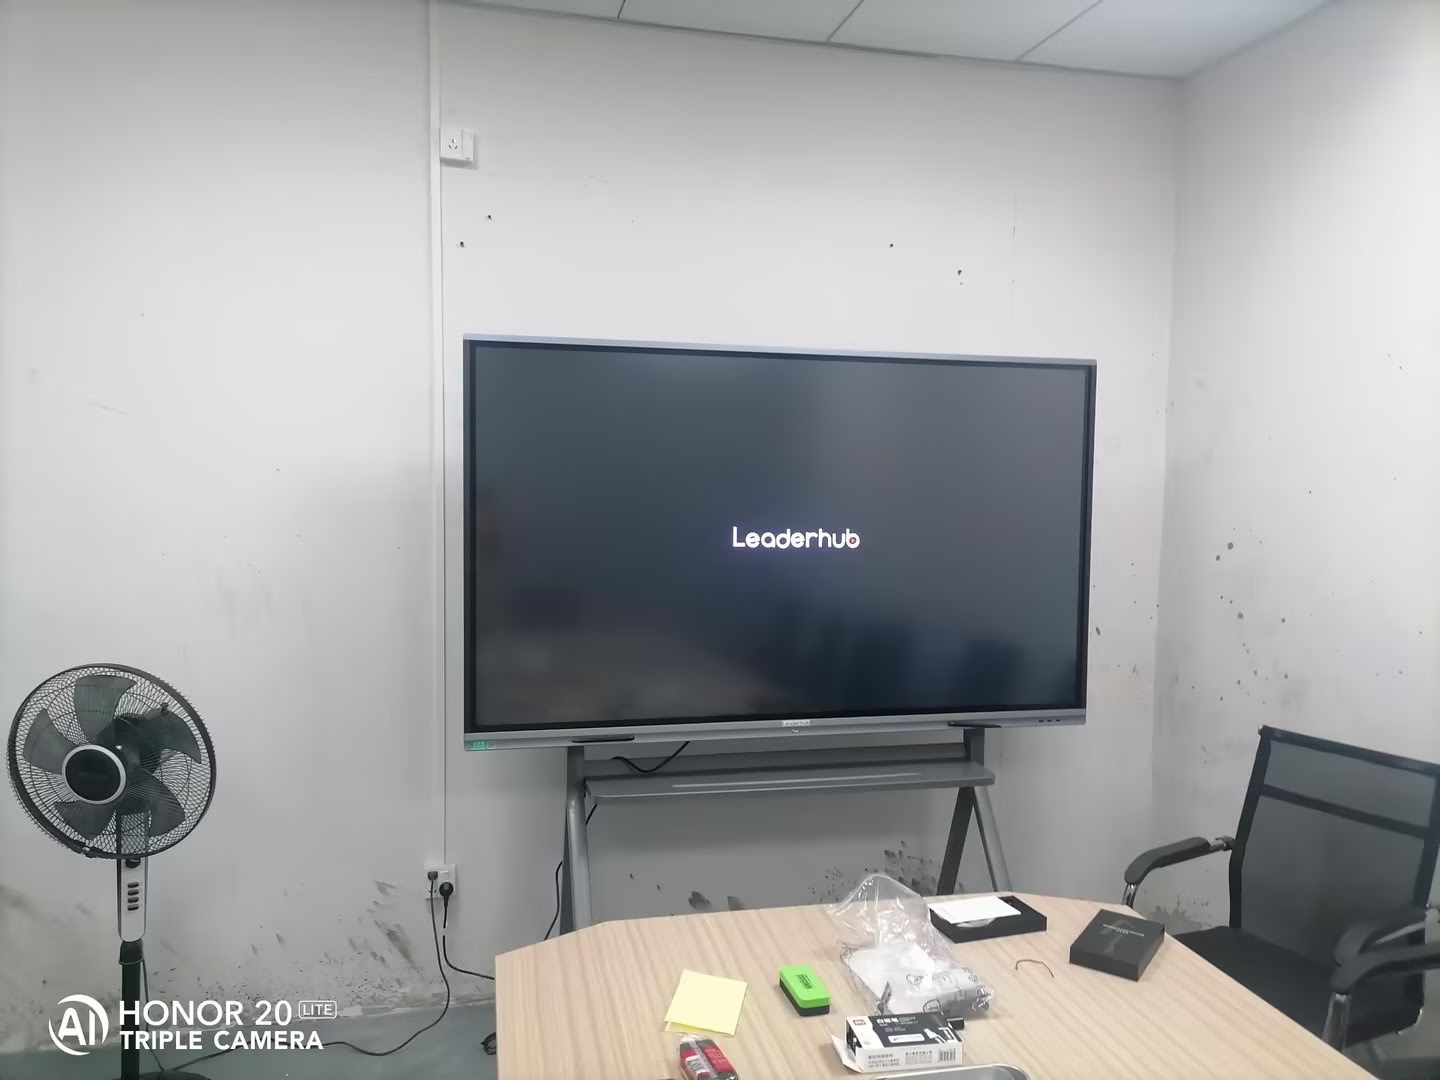
What You Need Before You Start
Before you begin, make sure your setup is ready. A few minutes of preparation can prevent lag, connection failures, and sound issues.
- A smart board with screen mirroring support such as Miracast, AirPlay, Chromecast, or an HDMI input.
- A compatible device like a Windows laptop, MacBook, iPhone, iPad, Android phone, or Chromebook.
- Stable Wi-Fi if you plan to cast wirelessly.
- Optional cable such as HDMI, USB-C to HDMI, or a wireless dongle for backup.
- Updated software on both the smart board and your device.
If you are still comparing hardware options, browse these related pages:
smart whiteboards,
rotating screens, and
mini PCs.
The Two Main Ways to Share Your Screen
Most users share a device to a smart board in one of two ways: wirelessly or with a cable. The best choice depends on your room, your device, and how reliable you want the connection to be.
| Method | Best For | Main Advantage |
|---|---|---|
| Wireless casting | Meetings, classrooms, quick presentations | No cable clutter and easy device switching |
| HDMI / USB-C cable | Stable presentations, higher reliability, low-latency display | Very stable connection with minimal setup issues |
| Wireless dongle | Shared rooms and guest users | Simple one-tap connection for visitors |
Step-by-Step: How to Screen Share on a Smart Board
-
Turn on the smart board and wait until the home screen loads.
Check that the board is connected to Wi-Fi or plugged into the correct input source. -
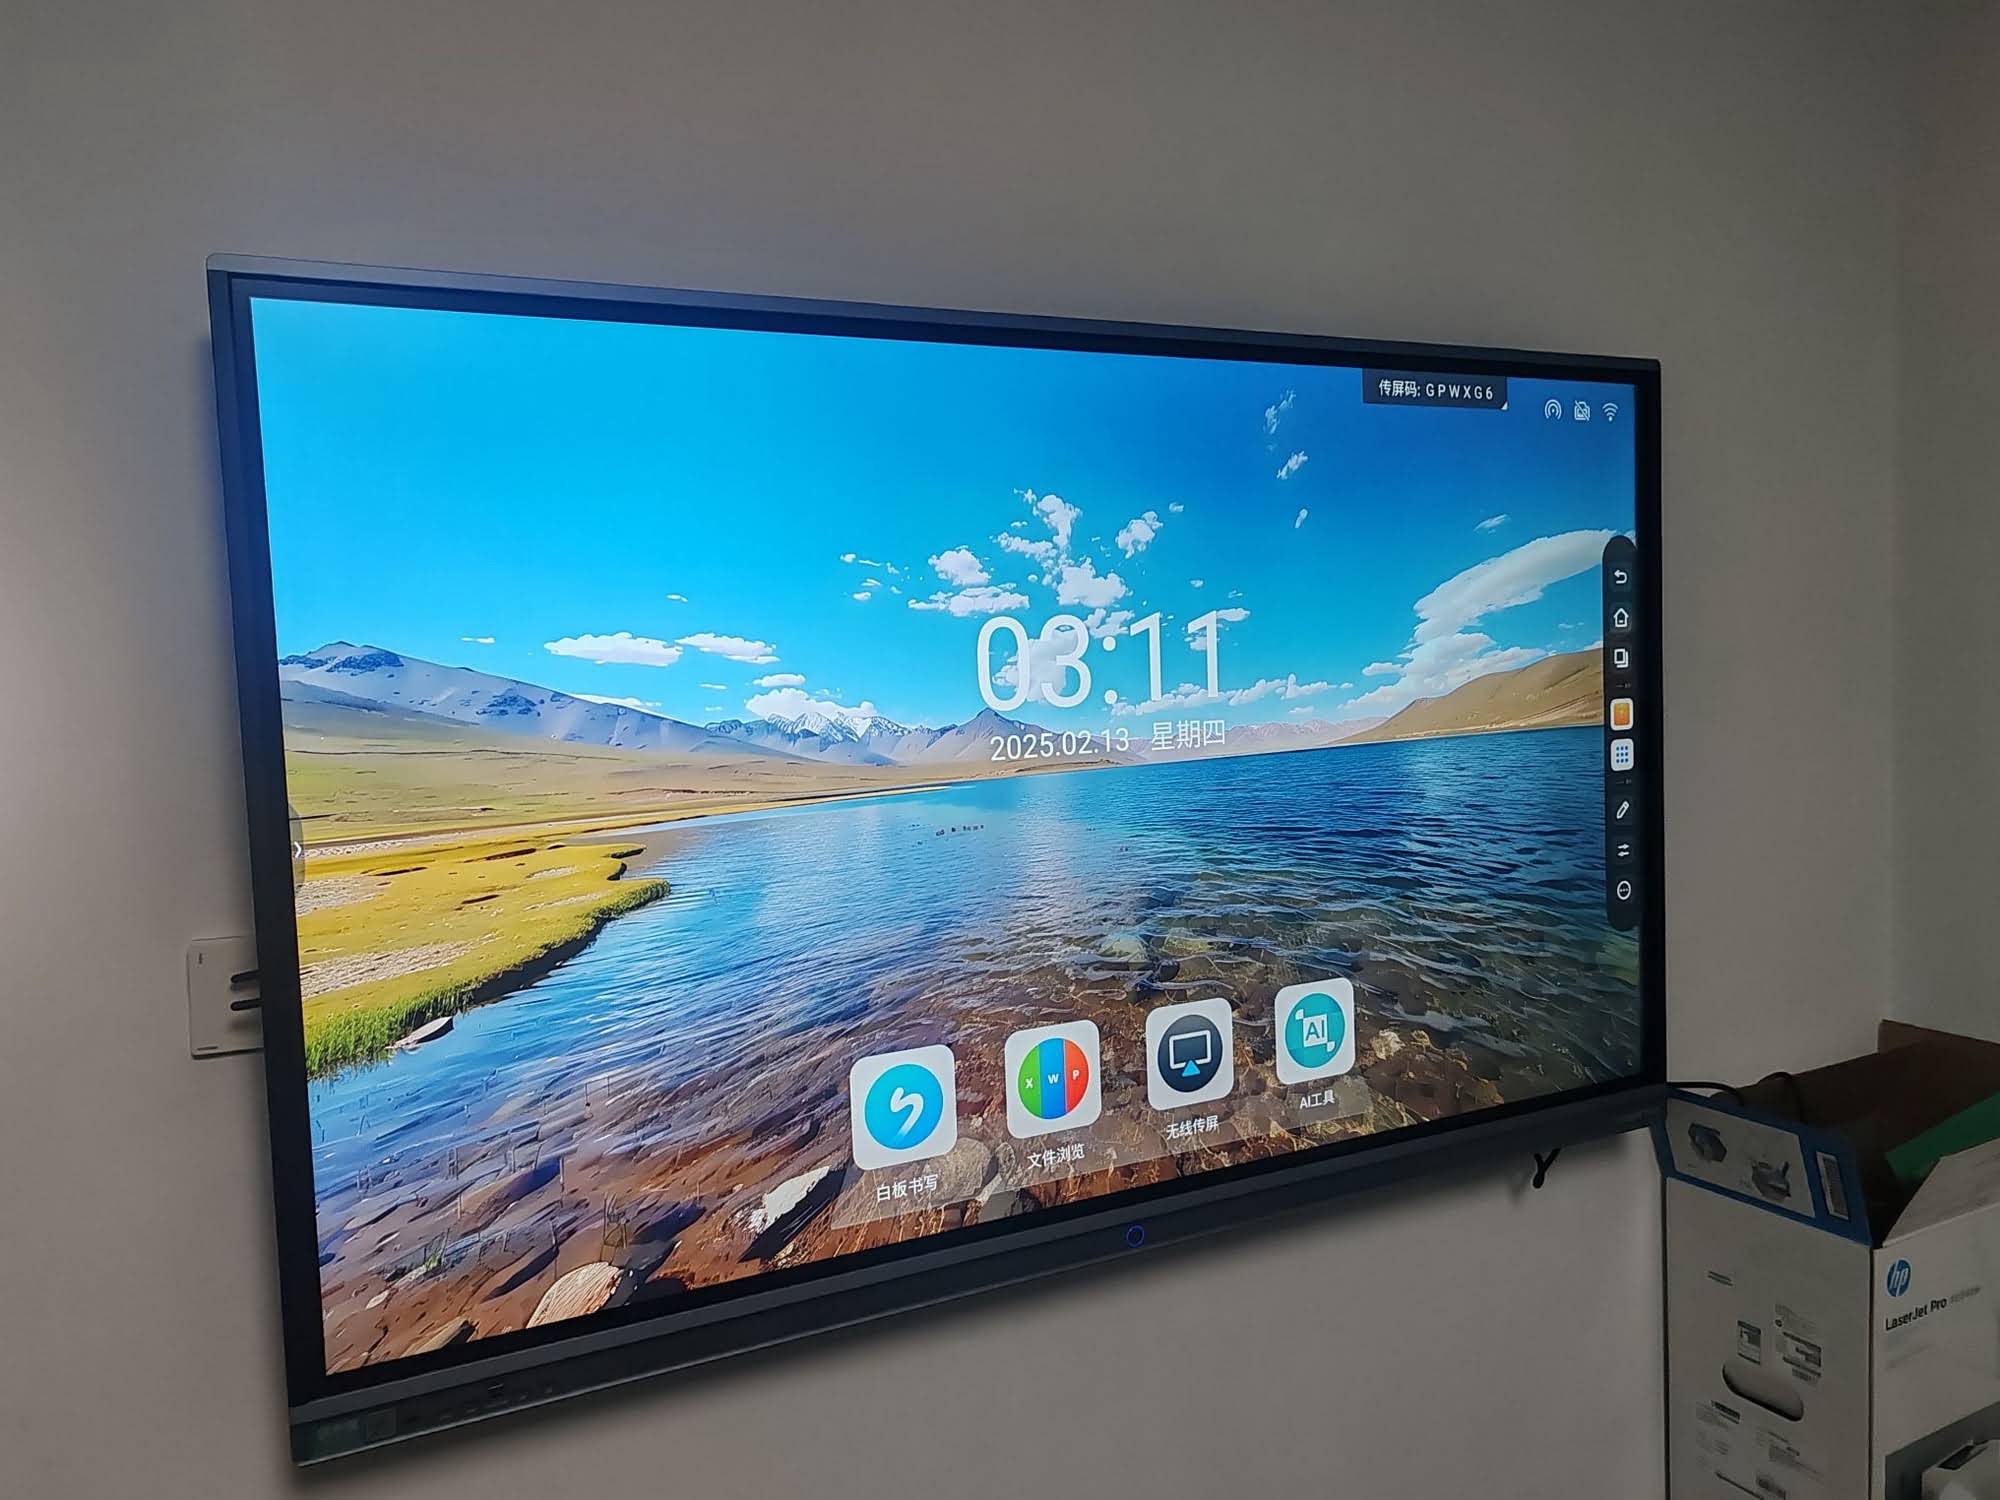
Open the screen sharing or casting app on the board.
On many devices, this may appear as Screen Share, Mirroring, Cast, Wireless Display, or AirPlay. -
Enable sharing on your laptop or mobile device.
Make sure your phone, tablet, or computer is on the same network if wireless casting is required. -
Select the smart board from the available devices list.
A pairing code may appear on the board; enter it if prompted. -
Confirm the display mode.
Choose whether to mirror the entire screen or extend it for a dual-screen workflow. -
Adjust audio and resolution if needed.
If sound is not coming through the board, select the board as the audio output device. - Start presenting and use on-screen tools like annotation, laser pointer, or whiteboard mode if available.
How to Share from Windows
- Press Windows + K to open the Cast panel.
- Select the smart board from the available devices.
- If required, allow the pairing prompt on the board.
- Use Windows + P to switch between duplicate and extend modes.
How to Share from Mac
- Open Control Center and choose Screen Mirroring.
- Select the smart board or AirPlay receiver.
- Enter the code shown on the board if prompted.
- For slides and video, check system sound if you want audio to play through the board.
How to Share from iPhone or iPad
- Swipe down from the upper-right corner to open Control Center.
- Tap Screen Mirroring.
- Choose the board from the list and enter the code if needed.
- Keep both devices on the same Wi-Fi network for the best result.
How to Share from Android
- Open Quick Settings and look for Cast, Smart View, or Screen Share.
- Pick the board from the device list.
- Approve the connection if a pairing request appears.
- If the option is missing, check whether the board supports Miracast or use a cable.
How to Share from Chromebook
- Open the system tray and choose Cast.
- Select the smart board if it appears as a supported receiver.
- If wireless casting is limited, use HDMI or a USB-C adapter for a direct connection.
Quick Troubleshooting Table
If the connection fails, don’t worry. These are the most common causes and the fastest fixes.
| Problem | Likely Cause | Fix |
|---|---|---|
| Board not visible | Different Wi-Fi networks or disabled mirroring | Connect both devices to the same network and reopen casting |
| Black screen | Wrong input source or unsupported format | Switch to the correct input and try HDMI or another mode |
| Lag or stuttering | Weak Wi-Fi signal or too many devices online | Move closer to the router or use a wired connection |
| No audio | Audio output still set to laptop or phone | Select the board or external speakers as the sound output |
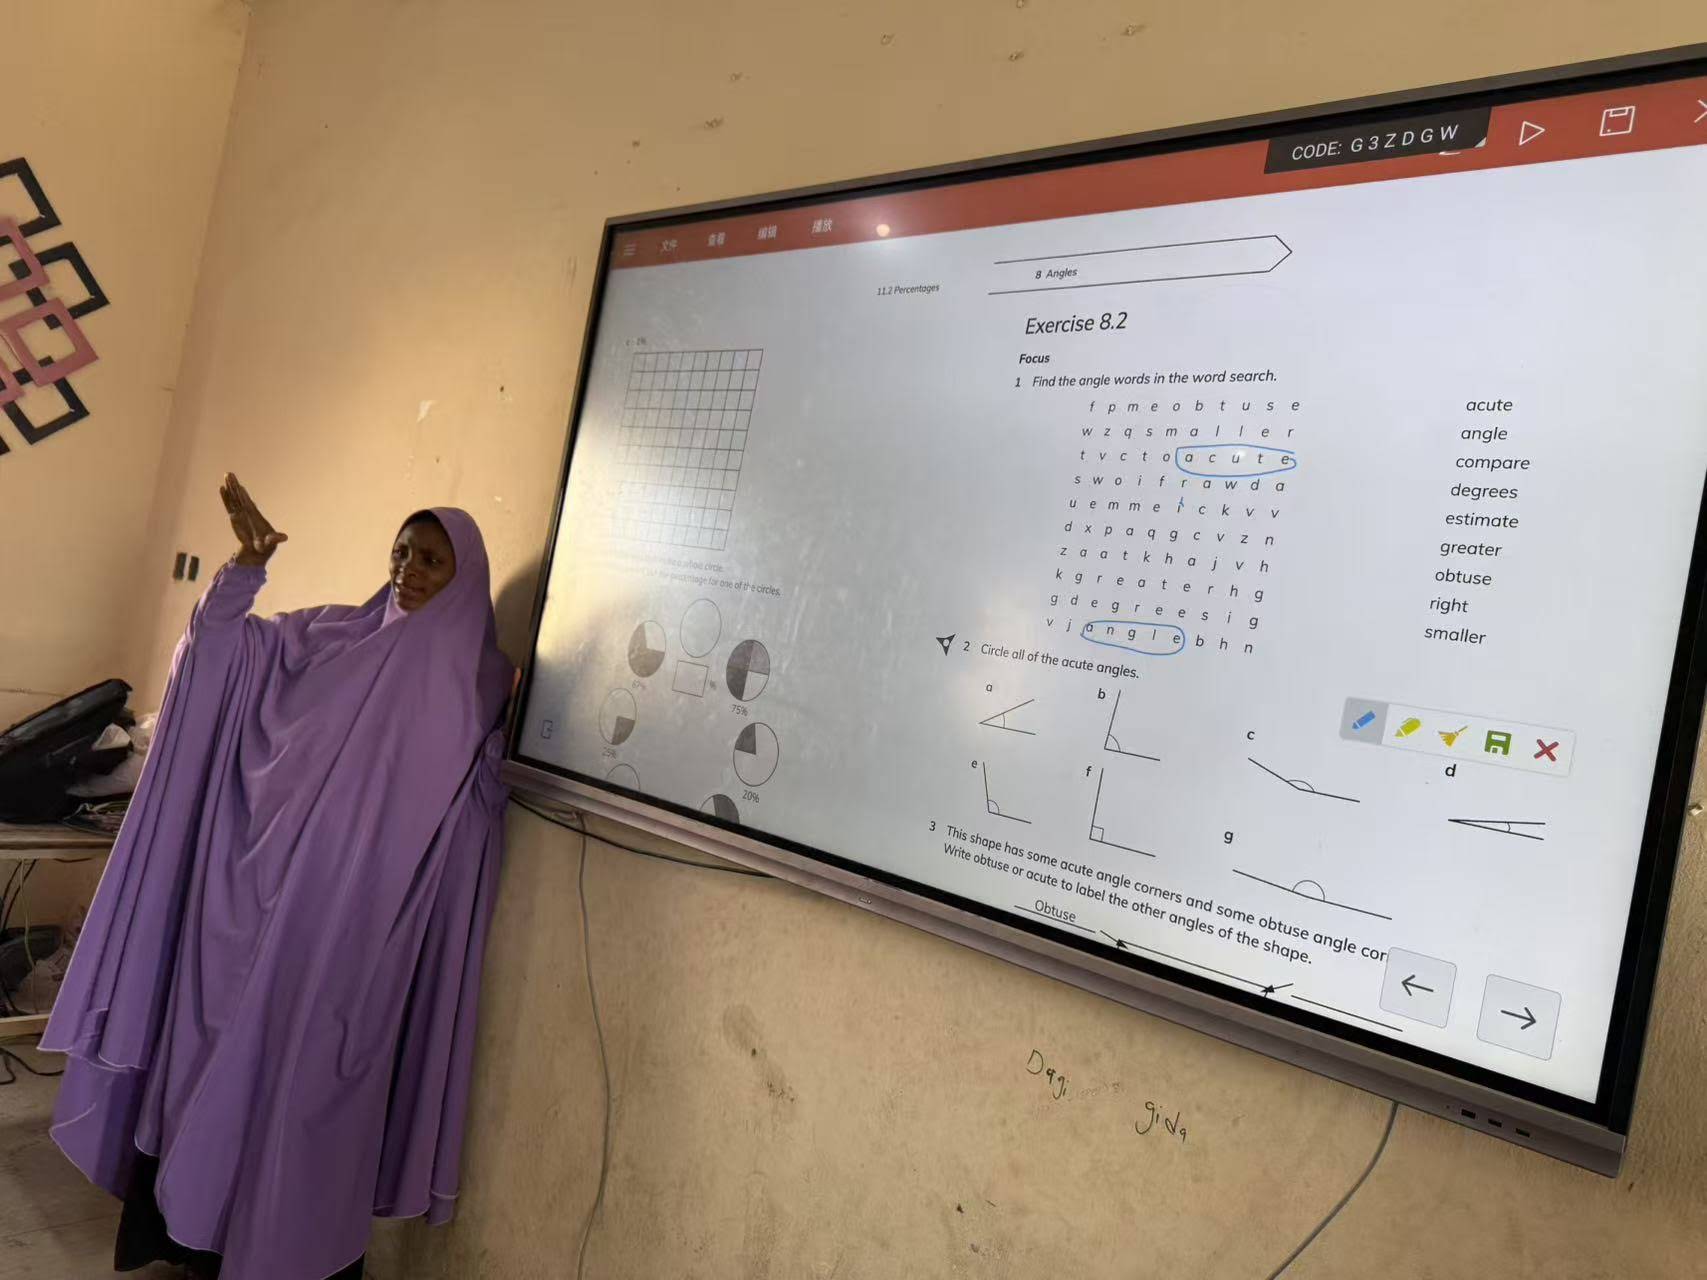
Best Practices for a Smooth Screen Sharing Session
- Test before the meeting starts so you can fix issues privately.
- Keep one backup cable ready in case wireless casting is unstable.
- Use a strong network for video-heavy sessions and online collaboration.
- Close unnecessary apps to reduce lag and notifications.
- Set the correct resolution for cleaner text and sharper charts.
- Choose extend mode when you want presenter notes on your laptop and the main content on the board.
When Screen Sharing Works Best
Screen sharing is especially useful when you need the whole room to see the same content at once. It works well for:
- Classroom lessons and hybrid teaching
- Business presentations and weekly meetings
- Brainstorming sessions and project reviews
- Product demos and client proposals
- Training workshops and remote collaboration
Helpful Standards and Research
If you are planning technology for a classroom or training space, it can help to review trusted guidance on digital learning. See the
UNESCO Technology in Education Report
and the
ISTE Standards
for broader context on effective tech use, collaboration, and classroom readiness.
Choose the Right Smart Board Setup
The easiest way to avoid screen sharing problems is to match the board to your use case. For compact offices, a portable display may be enough. For classrooms or boardrooms, a larger interactive panel can give you more room for annotations, file sharing, and group work. If you need a reliable solution with strong input options and simple collaboration, consider pairing a smart board with a mini PC and a stable wireless network.
For a direct upgrade path, visit the shop or
contact us to discuss the right configuration for your room.