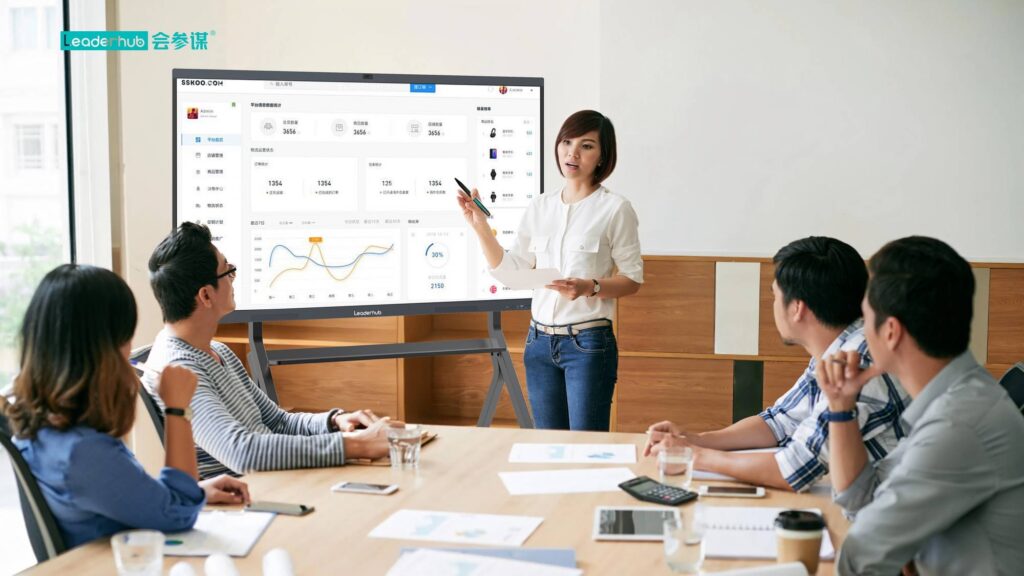
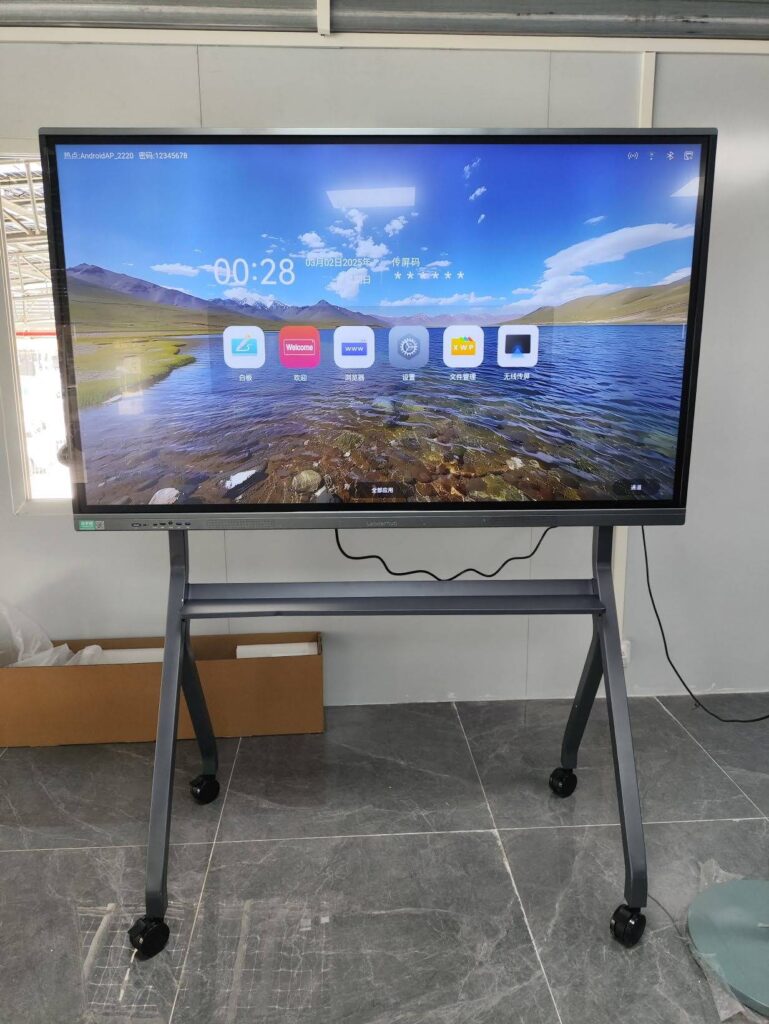
Connecting a smart board to a computer is a fundamental skill for educators, business professionals, and anyone looking to maximize collaboration in modern workspaces. Whether you’re setting up a classroom for interactive flat panels or configuring a conference room for seamless presentations, understanding the proper connection process ensures optimal performance and reliability.
This comprehensive guide walks you through every step of connecting your smart board to a computer, covering multiple connection methods, troubleshooting common issues, and optimizing your setup for the best user experience.
Understanding Smart Board Connection Types
Before connecting your smart board, it’s essential to identify which connection method best suits your hardware and usage scenario. Modern smart boards support multiple connectivity options, each with distinct advantages.
USB Connection
USB connectivity remains the most common and reliable method for connecting smart boards to computers. This connection type supports both touch interaction and data transfer, making it ideal for educational and business environments.
- Supports touch recognition and interactive features
- Provides stable, low-latency performance
- Compatible with Windows, macOS, and Linux systems
- No additional network configuration required
Most professional smart boards, including those from LeaderHub, use USB-B to USB-A cables for direct connection. Some newer models support USB-C for faster data transfer and simplified connectivity.
HDMI Connection
HDMI provides high-quality video transmission from your computer to the smart board display. While HDMI handles video and audio output, it does not support touch functionality on its own¡ªyou’ll need a separate USB connection for interactive features.
| Connection Type | Video Quality | Audio Support | Touch Support |
|---|---|---|---|
| HDMI | Up to 4K @ 60Hz | Yes | No (requires USB) |
| USB | N/A | No | Yes |
| Wireless (Wi-Fi) | Up to 1080p | Yes | Yes (with software) |
Wireless Connection
Wireless connectivity offers maximum flexibility, allowing multiple users to connect without physical cables. This method requires compatible software and a stable network connection.
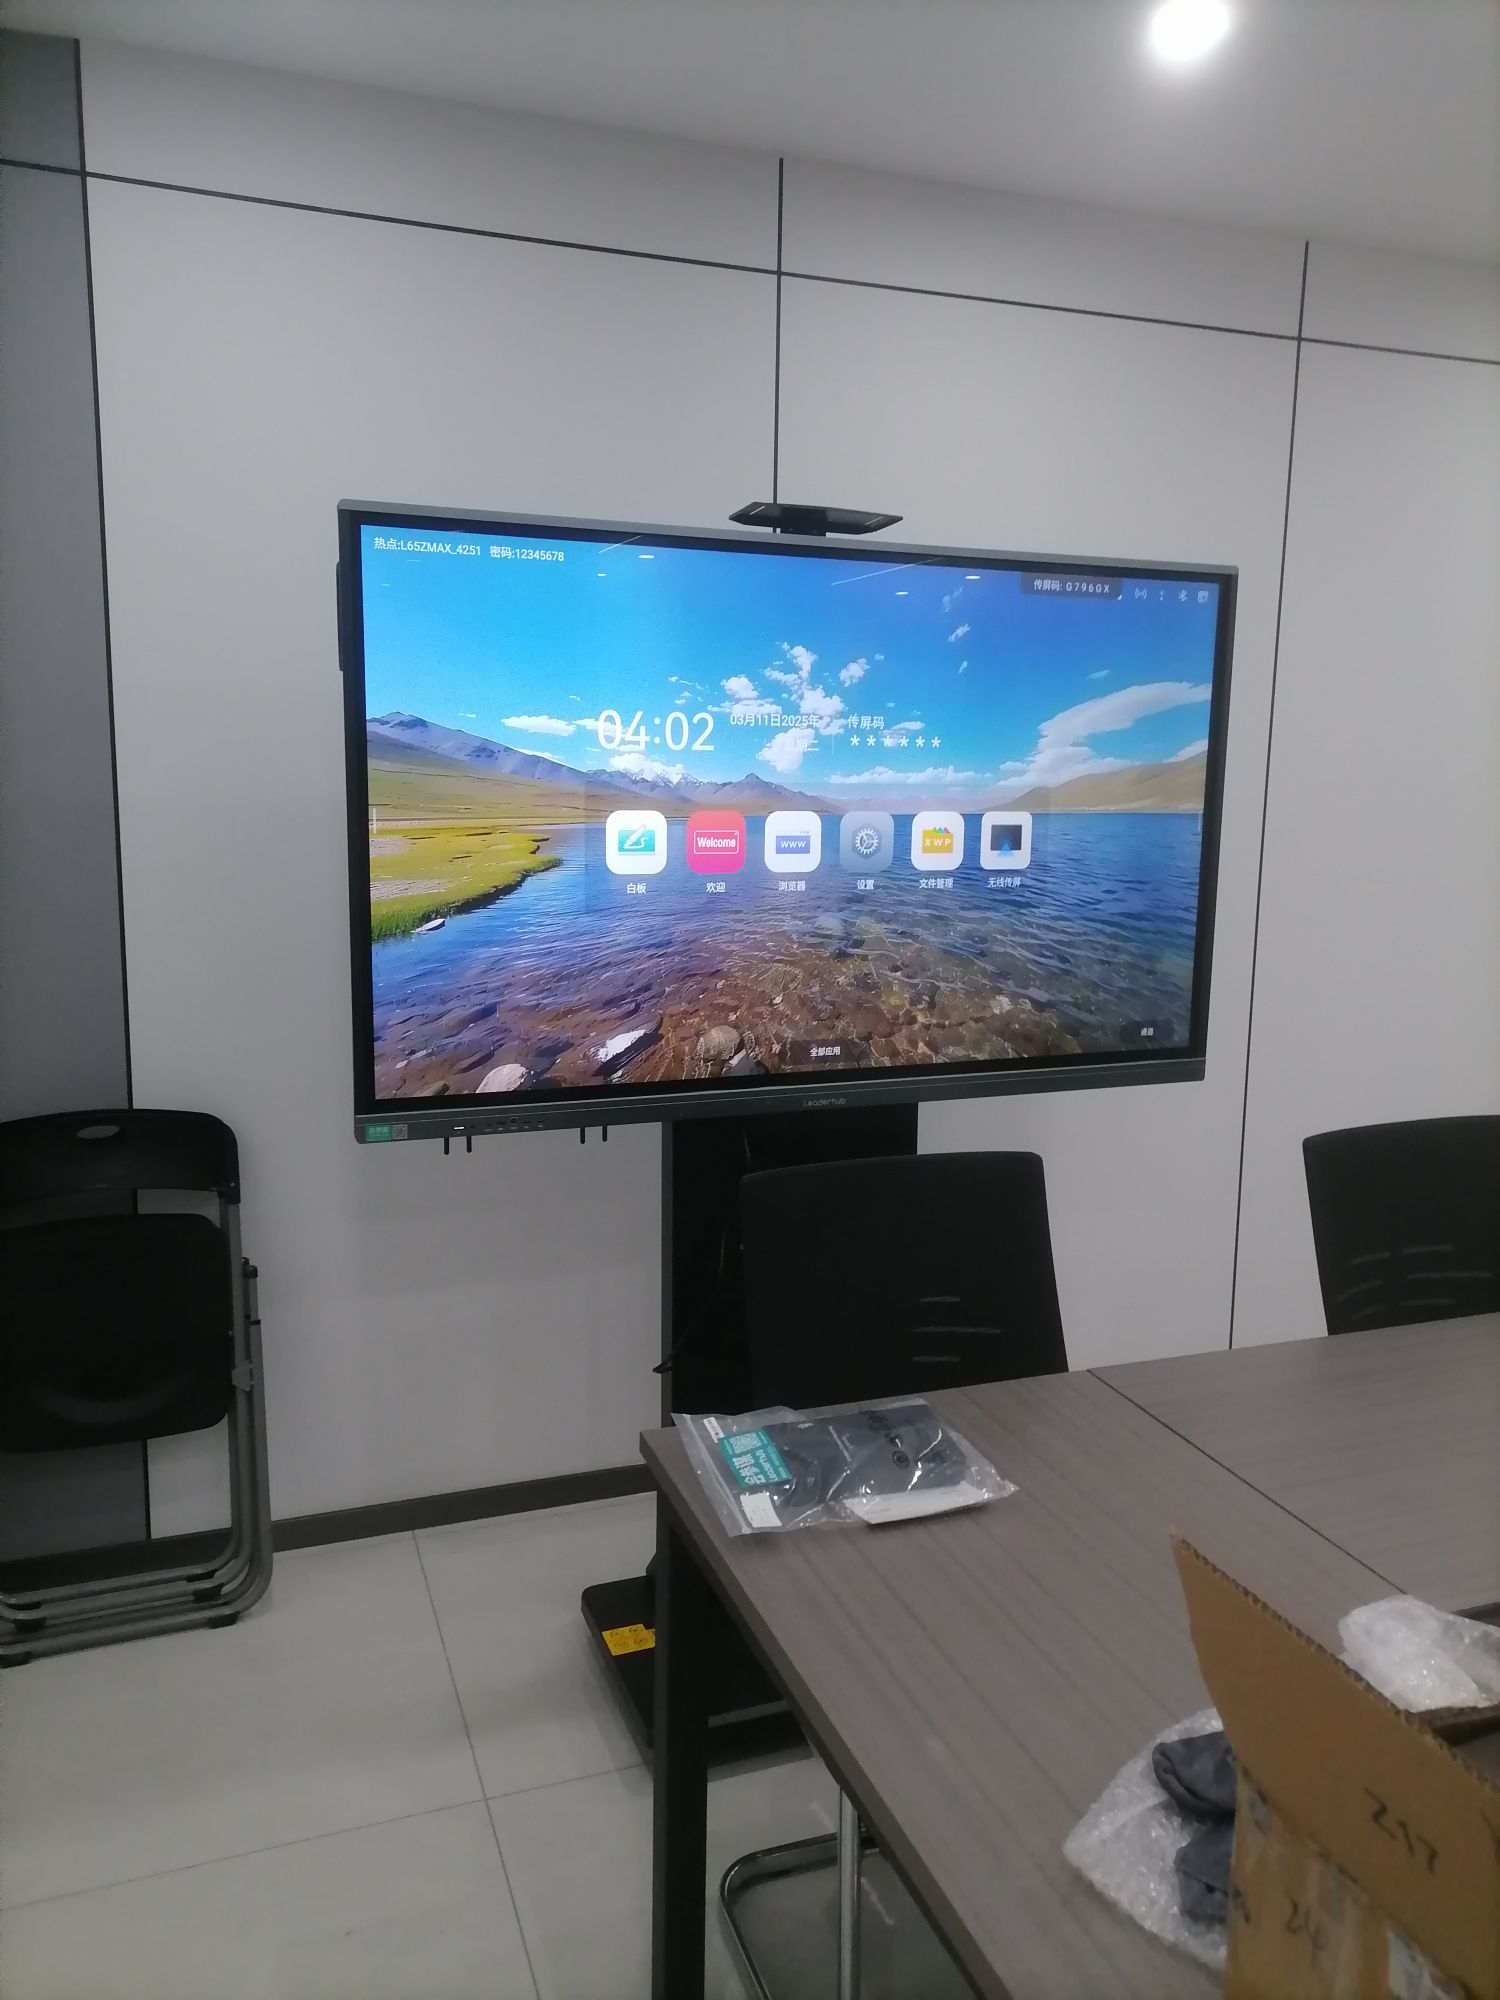
Step-by-Step Connection Guide
Method 1: USB and HDMI Connection (Recommended)
This dual-connection approach provides the most reliable and feature-complete experience, combining high-quality video output with full touch interactivity.
Step 1: Prepare Your Equipment
Before beginning, ensure you have the following items readily available:
- Smart board with power supply connected
- Computer (laptop or desktop) with available HDMI and USB ports
- HDMI cable (preferably HDMI 2.0 or higher for 4K support)
- USB cable (typically USB-B to USB-A, included with your smart board)
- Smart board drivers and software (download from manufacturer’s website if needed)
Step 2: Connect the HDMI Cable
Locate the HDMI output port on your computer¡ªusually found on the side of laptops or rear panel of desktops. Connect one end of the HDMI cable to your computer and the other end to the HDMI input port on your smart board. Most smart boards have multiple HDMI inputs, typically labeled as HDMI 1, HDMI 2, etc.
After connecting, power on your smart board and use the input source button on the remote control or front panel to select the correct HDMI input channel.
Step 3: Connect the USB Cable
Connect the USB cable from your computer to the designated USB port on your smart board. This connection enables touch functionality and allows your computer to recognize the smart board as an input device.
When properly connected, your computer should automatically detect the smart board. Windows users may see a notification indicating “Installing device driver software,” while macOS users will see the device appear in System Preferences under Displays.
Step 4: Install Required Drivers
Most modern operating systems include generic drivers for smart whiteboards, but installing manufacturer-specific drivers ensures optimal performance and access to advanced features.
- Visit the manufacturer’s official website and navigate to the support or downloads section
- Enter your smart board model number to locate the correct driver package
- Download the driver compatible with your operating system version
- Run the installer and follow the on-screen instructions
- Restart your computer if prompted to complete the installation
Step 5: Configure Display Settings
After driver installation, configure your display settings to optimize the viewing experience:
For Windows 10/11:
- Right-click on the desktop and select “Display settings”
- Scroll down to “Multiple displays” and choose your preferred mode (Duplicate or Extend)
- Set the resolution to match your smart board’s native resolution (typically 4K: 3840¡Á2160)
- Adjust scaling if text appears too small or too large
For macOS:
- Open System Preferences and click “Displays”
- Select the “Arrangement” tab to configure display positioning
- Check “Mirror Displays” for duplicate mode or arrange displays for extended desktop
- Adjust resolution in the “Display” tab for optimal clarity
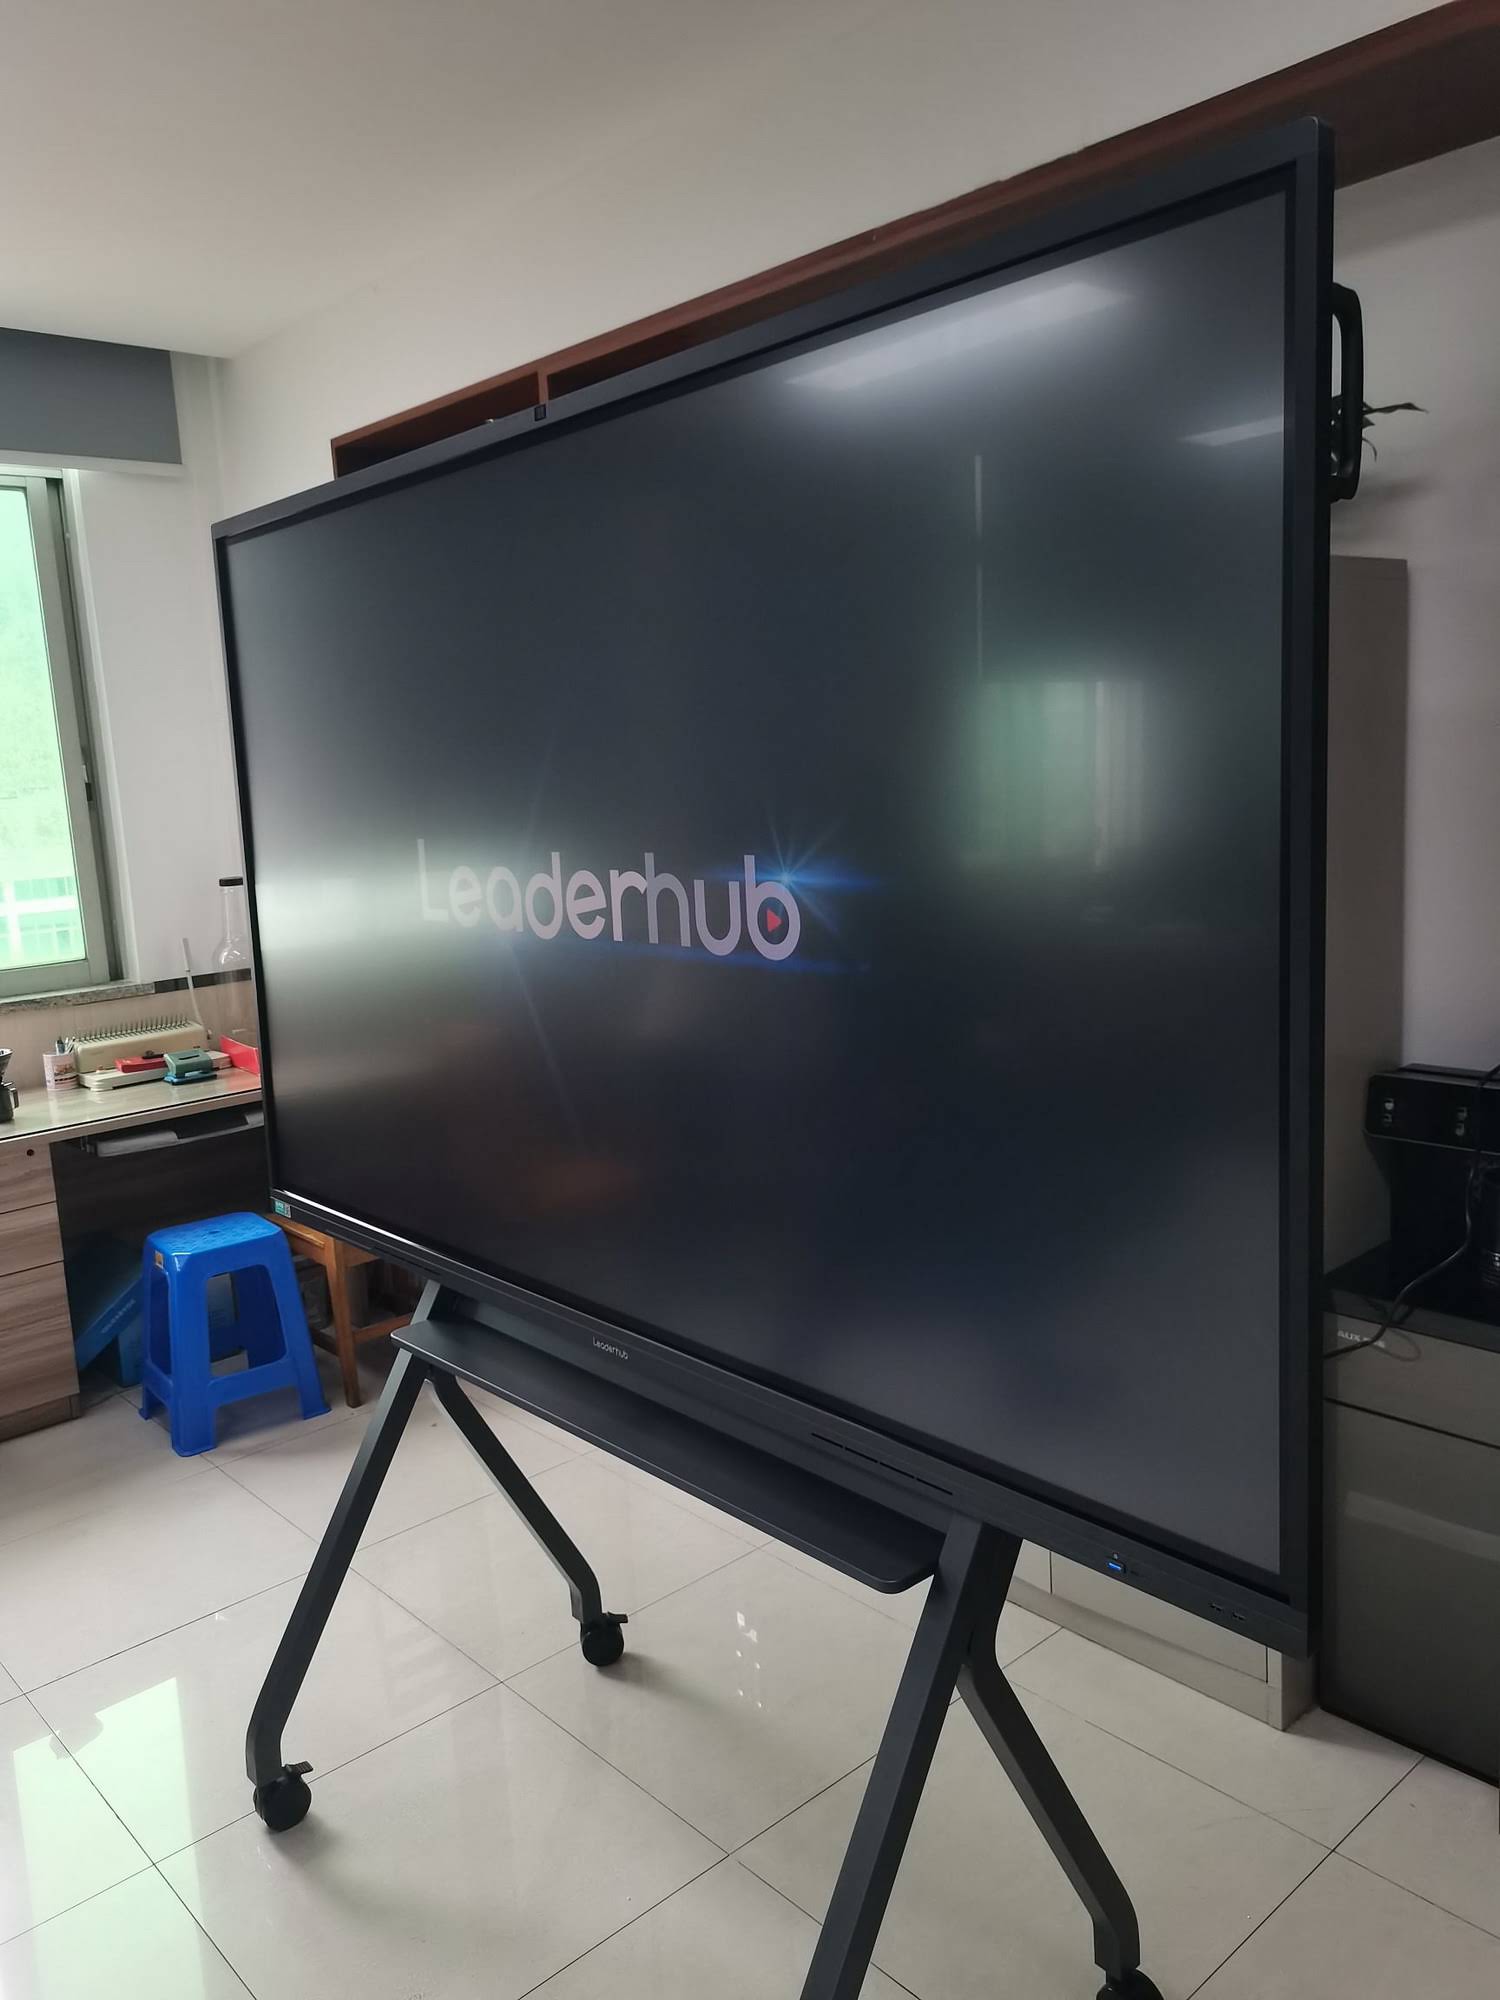
Step 6: Calibrate Touch Functionality
Touch calibration ensures accurate pointer positioning when interacting with the smart board. This process maps the touch surface coordinates to the display output.
Launch the calibration utility provided by your smart board software. Follow the on-screen prompts, typically requiring you to touch specific points that appear on the screen. Complete all calibration points for optimal accuracy.
Professional smart board manufacturers like LeaderHub provide intuitive calibration tools that complete this process in under two minutes, ensuring immediate productivity.
Method 2: Wireless Connection Setup
Wireless connectivity eliminates cable clutter and enables multiple users to connect seamlessly¡ªideal for collaborative environments and portable smart screens.
Step 1: Enable Wi-Fi on Your Smart Board
Access your smart board’s settings menu using the remote control or on-screen interface. Navigate to “Network Settings” and enable Wi-Fi connectivity. Select your wireless network from the available networks list and enter the password if required.
Step 2: Install Screen Mirroring Software
Download and install the screen mirroring or collaboration software recommended by your smart board manufacturer. Common solutions include:
- Proprietary casting software (manufacturer-specific apps)
- Miracast (built into Windows 10/11)
- AirPlay (for macOS and iOS devices)
- Third-party solutions like ScreenBeam or Airtame
Step 3: Connect Your Computer Wirelessly
Launch the screen mirroring software on your computer. The application should automatically detect your smart board on the network. Select your smart board from the list of available devices and initiate the connection.
Depending on your setup, you may need to enter a PIN code displayed on the smart board screen to authenticate the connection. Once connected, your computer screen will appear on the smart board display.
Step 4: Optimize Wireless Performance
For the best wireless experience, implement these optimization strategies:
- Position your smart board and computer on the same network subnet for reduced latency
- Use 5GHz Wi-Fi networks instead of 2.4GHz for higher bandwidth and less interference
- Ensure your router supports the latest Wi-Fi standards (Wi-Fi 6 recommended)
- Close unnecessary background applications to preserve network bandwidth
- Position the computer and smart board within optimal range of the wireless access point
Troubleshooting Common Connection Issues
Even with proper setup procedures, you may encounter occasional connectivity challenges. Here are evidence-based solutions to the most frequently reported issues.
No Display Output
If your smart board displays “No Signal” or remains blank after connecting:
- Verify cable connections: Ensure HDMI cable is firmly seated in both the computer and smart board ports
- Check input source: Confirm the smart board is set to the correct input channel matching your connection
- Test the cable: Try a different HDMI cable to rule out cable failure
- Update graphics drivers: Outdated GPU drivers frequently cause display detection issues
- Try a different port: If your computer has multiple HDMI outputs, test alternative ports
Touch Not Responding
When the display works but touch functionality does not respond:
- Confirm USB cable is properly connected to both devices
- Check Device Manager (Windows) or System Information (macOS) to verify the touch device is recognized
- Reinstall or update touch screen drivers from the manufacturer’s website
- Run the calibration utility to reset touch coordinates
- Test with a different USB port or cable to eliminate hardware failure
Poor Wireless Performance
If experiencing lag, stuttering, or disconnections during wireless use:
- Move closer to the wireless access point to improve signal strength
- Reduce the number of devices connected to the same network
- Switch to a less congested Wi-Fi channel using your router’s admin interface
- Lower the display resolution or frame rate in your casting software settings
- Consider upgrading to a wired connection for latency-sensitive applications
Resolution or Scaling Issues
When content appears distorted, blurry, or incorrectly sized:
- Set the display resolution to match the smart board’s native resolution (check manufacturer specifications)
- Adjust display scaling in your operating system’s display settings
- Ensure your graphics card supports the smart board’s maximum resolution
- Update graphics drivers to the latest version for improved compatibility
- Disable any custom display modes or enhancements that may interfere with output quality
Optimizing Your Smart Board Setup
Beyond basic connectivity, implementing these professional optimization techniques significantly enhances usability and productivity.
Audio Configuration
Many smart boards include integrated speakers, but proper audio configuration ensures clear sound output:
- Right-click the volume icon in your system tray and select “Open Sound settings”
- Under “Choose your output device,” select your smart board’s audio device
- Adjust volume levels using both the computer and smart board controls
- For presentations, consider connecting external speakers for enhanced audio quality
Software Integration
Maximize your smart board’s capabilities by integrating specialized collaboration and annotation software:
- Interactive whiteboard software: Enables drawing, annotation, and content creation directly on the display
- Screen recording tools: Capture presentations and lessons for future reference
- Collaboration platforms: Integrate with Microsoft Teams, Zoom, or Google Meet for remote participation
- Educational applications: Access subject-specific software optimized for interactive displays
Multi-Computer Setup
In environments requiring frequent switching between multiple computers, implement these strategies:
| Solution | Advantages | Considerations |
|---|---|---|
| HDMI Switch | Fast switching, no software required | Requires separate USB switching for touch |
| KVM Switch | Switches video, audio, USB simultaneously | Higher cost, potential compatibility issues |
| Wireless Switching | No physical cable switching needed | Requires network infrastructure, potential latency |
Accessibility Features
Modern smart boards include accessibility features that support diverse user needs:
- Enable high-contrast modes for users with visual impairments
- Configure text-to-speech functionality for reading displayed content
- Adjust touch sensitivity for users with motor control differences
- Implement closed captioning during video presentations
- Position the smart board at appropriate height for wheelchair accessibility
Maintenance and Long-Term Reliability
Regular maintenance ensures your smart board connection remains stable and reliable over extended use.
Cable Management
Proper cable management prevents accidental disconnections and extends cable lifespan:
- Use cable organizers or conduits to secure HDMI and USB cables
- Avoid sharp bends or kinks that can damage internal wiring
- Label cables clearly when managing multiple input sources
- Keep cables away from high-traffic areas to prevent tripping hazards
- Inspect cables regularly for wear, fraying, or connector damage
Software Updates
Keeping software current ensures compatibility, security, and access to new features:
- Enable automatic updates for your operating system
- Check the manufacturer’s website quarterly for firmware updates
- Update graphics drivers when new versions become available
- Maintain current versions of collaboration and annotation software
- Document version numbers for troubleshooting purposes
Physical Maintenance
Smart board displays require periodic cleaning to maintain optimal touch sensitivity and visual clarity:
- Power off the smart board before cleaning
- Use microfiber cloths specifically designed for electronic displays
- Apply display-safe cleaning solution to the cloth, never directly to the screen
- Clean in gentle circular motions, avoiding excessive pressure
- Allow the display to dry completely before powering on
Advanced Configuration Scenarios
Dual Smart Board Setup
Organizations implementing multiple smart boards for extended workspaces require specialized configuration:
Connect both smart boards to separate video outputs on your computer (e.g., HDMI and DisplayPort). In display settings, arrange the screens according to their physical positioning. Each smart board will require its own USB connection for independent touch functionality.
This configuration works effectively in large conference rooms or collaborative workspaces where teams need expanded digital canvas area.
Integration with Video Conferencing
Smart boards serve as excellent displays for hybrid meetings when properly configured:
- Connect your computer to the smart board using the methods outlined above
- In your video conferencing software settings, select the smart board’s camera and microphone if available
- Configure the smart board as a secondary display to keep meeting controls on your laptop while sharing content on the board
- Enable annotation features to mark up shared content during meetings
- Test audio levels before important meetings to prevent feedback or echo
Mobile Device Connection
Modern smart boards support connections from smartphones and tablets for increased flexibility:
- iOS devices: Use AirPlay to wirelessly mirror or extend your device to compatible smart boards
- Android devices: Utilize built-in casting features or Miracast technology
- USB-C devices: Connect directly using USB-C to HDMI adapters with simultaneous touch support
- Wireless presentation systems: Install dedicated apps provided by smart board manufacturers
Security Considerations
When connecting smart boards to corporate or educational networks, implement these security best practices:
- Change default passwords on smart board systems immediately after installation
- Disable unused connectivity features to reduce attack surface
- Keep firmware and software updated to patch known vulnerabilities
- Use VLANs to segment smart boards from sensitive network resources
- Enable encryption for wireless connections when available
- Implement network access control to restrict connections to authorized devices
- Regularly review connection logs for unusual activity
Platform-Specific Best Practices
Windows Environment
Windows systems offer extensive smart board compatibility with some platform-specific optimizations:
- Enable Windows Ink Workspace for enhanced pen and touch functionality
- Configure Windows Hello if your smart board includes a camera for biometric authentication
- Use Windows Display settings to create custom display profiles for different usage scenarios
- Leverage PowerPoint’s Presenter View with the smart board as the presentation display
macOS Environment
Mac users can optimize smart board integration with these approaches:
- Use Sidecar functionality if your smart board supports it for wireless extension
- Configure Mission Control to manage multiple displays effectively
- Utilize Keynote’s powerful presentation tools optimized for external displays
- Enable Handoff to seamlessly transfer content between your Mac and smart board
Linux Environment
Linux users may need additional configuration steps but can achieve full functionality:
- Install xinput or evtest packages for advanced touch device configuration
- Configure X11 or Wayland settings for proper multi-display support
- Use xrandr commands to script display configurations for different scenarios
- Compile manufacturer-provided Linux drivers if generic drivers lack features
Real-World Implementation Examples
Case Study: Corporate Training Center
A Fortune 500 company implemented 15 smart boards across their global training facilities. By standardizing on USB and HDMI connections with centralized KVM switching systems, they achieved 99.7% uptime and reduced technical support calls by 65%. Training facilitators could switch between presenter laptops in under five seconds, maintaining session flow and participant engagement.
Case Study: University Lecture Hall
A major research university deployed smart boards in 200 classrooms using a hybrid wired-wireless approach. Professors use wireless connections for easy content sharing, while the AV system maintains a wired backup connection for critical presentations. This redundant approach resulted in zero class disruptions due to connectivity issues over an entire academic year.
Future-Proofing Your Connection
Technology continues evolving, but these strategies help ensure your smart board investment remains relevant:
- Choose smart boards with USB-C connectivity for emerging devices
- Ensure your smart board supports the latest HDMI standards (HDMI 2.1 for 8K capability)
- Select models with firmware update capabilities for future feature additions
- Invest in high-quality cables rated for the speeds you need
- Consider smart boards with modular computing units that can be upgraded independently
Professional Support Resources
When facing persistent connection issues, leverage these professional resources:
- Manufacturer support: Contact your smart board manufacturer’s technical support team for expert guidance
- IT departments: Corporate and educational IT professionals can address network and policy-related connectivity challenges
- Professional installation services: Consider certified installers for complex multi-device setups
- Online communities: Join user forums and communities where experienced users share solutions
- Professional development: Attend training sessions to maximize your smart board investment
Conclusion
Successfully connecting a smart board to your computer enables powerful collaboration, presentation, and interactive capabilities that transform how teams work and learn together. Whether using traditional wired connections for maximum reliability or wireless methods for flexibility, following the systematic approaches outlined in this guide ensures optimal performance and user experience.
From basic USB and HDMI setups to advanced multi-device configurations, the key to success lies in proper preparation, attention to detail during setup, and ongoing maintenance. By understanding connection types, following platform-specific best practices, and implementing security considerations, organizations can deploy smart board technology that delivers consistent value across education, business, and collaborative environments.
As interactive display technology continues advancing, manufacturers like LeaderHub remain committed to developing solutions that simplify connectivity while expanding capabilities. With proper setup and configuration, your smart board becomes an indispensable tool for modern communication and collaboration.