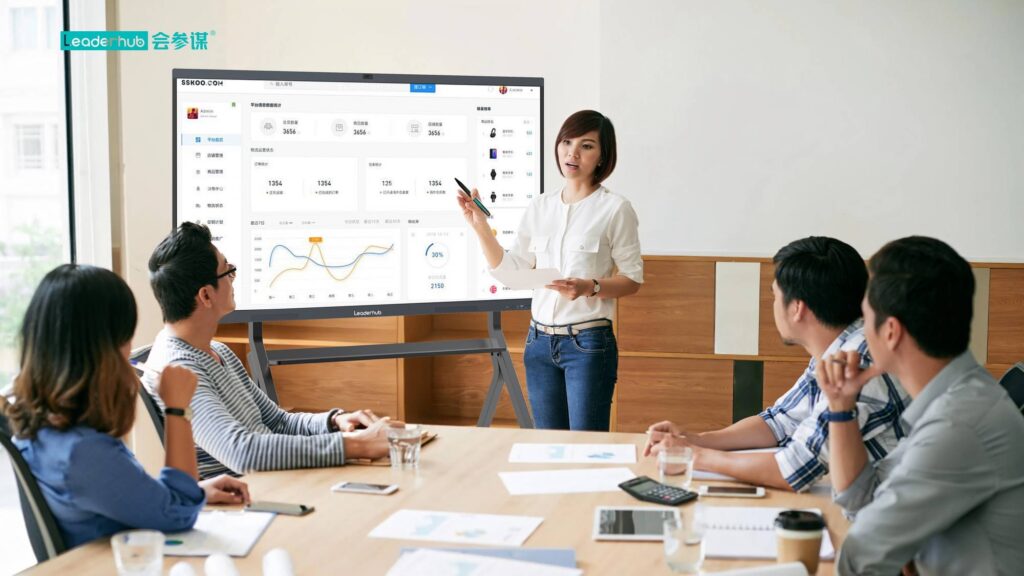
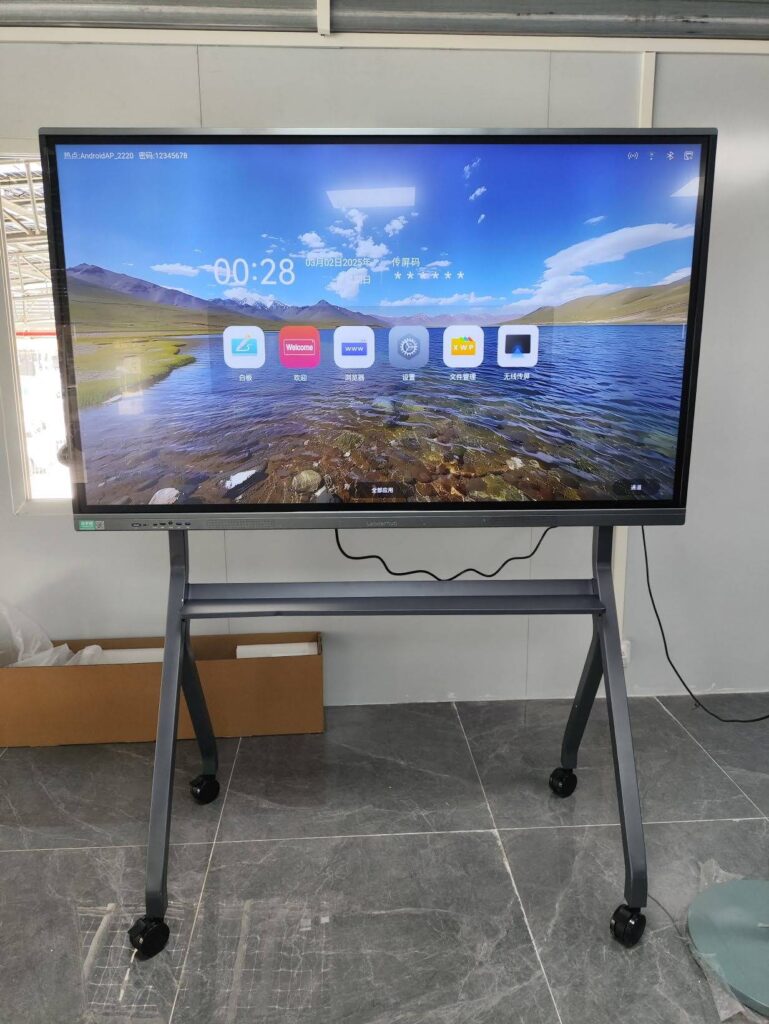
Connecting a smart board to your laptop transforms any workspace into an interactive collaboration environment. Whether you’re setting up a classroom presentation, running a business meeting, or delivering remote training, understanding the proper connection process ensures smooth operation and maximizes your interactive display’s potential. This comprehensive guide walks you through every step of connecting your smart board to a laptop, troubleshooting common issues, and optimizing your setup for the best performance.
Understanding Smart Board Connection Types
Modern smart boards support multiple connection methods, each offering distinct advantages depending on your hardware, environment, and usage requirements. Before starting the setup process, identify which connection type works best for your situation.
Wired Connection Options
HDMI connections remain the most popular choice for connecting smart boards to laptops due to their widespread compatibility and reliable performance. HDMI cables transmit both high-definition video and audio through a single cable, eliminating the need for separate audio connections. Most modern laptops and smart boards feature HDMI ports as standard equipment.
USB-C connections have become increasingly common on newer laptops, particularly MacBooks and premium Windows devices. Many contemporary smart boards now include USB-C ports that support video output, touch functionality, and power delivery simultaneously. This single-cable solution simplifies setup and reduces cable clutter significantly.
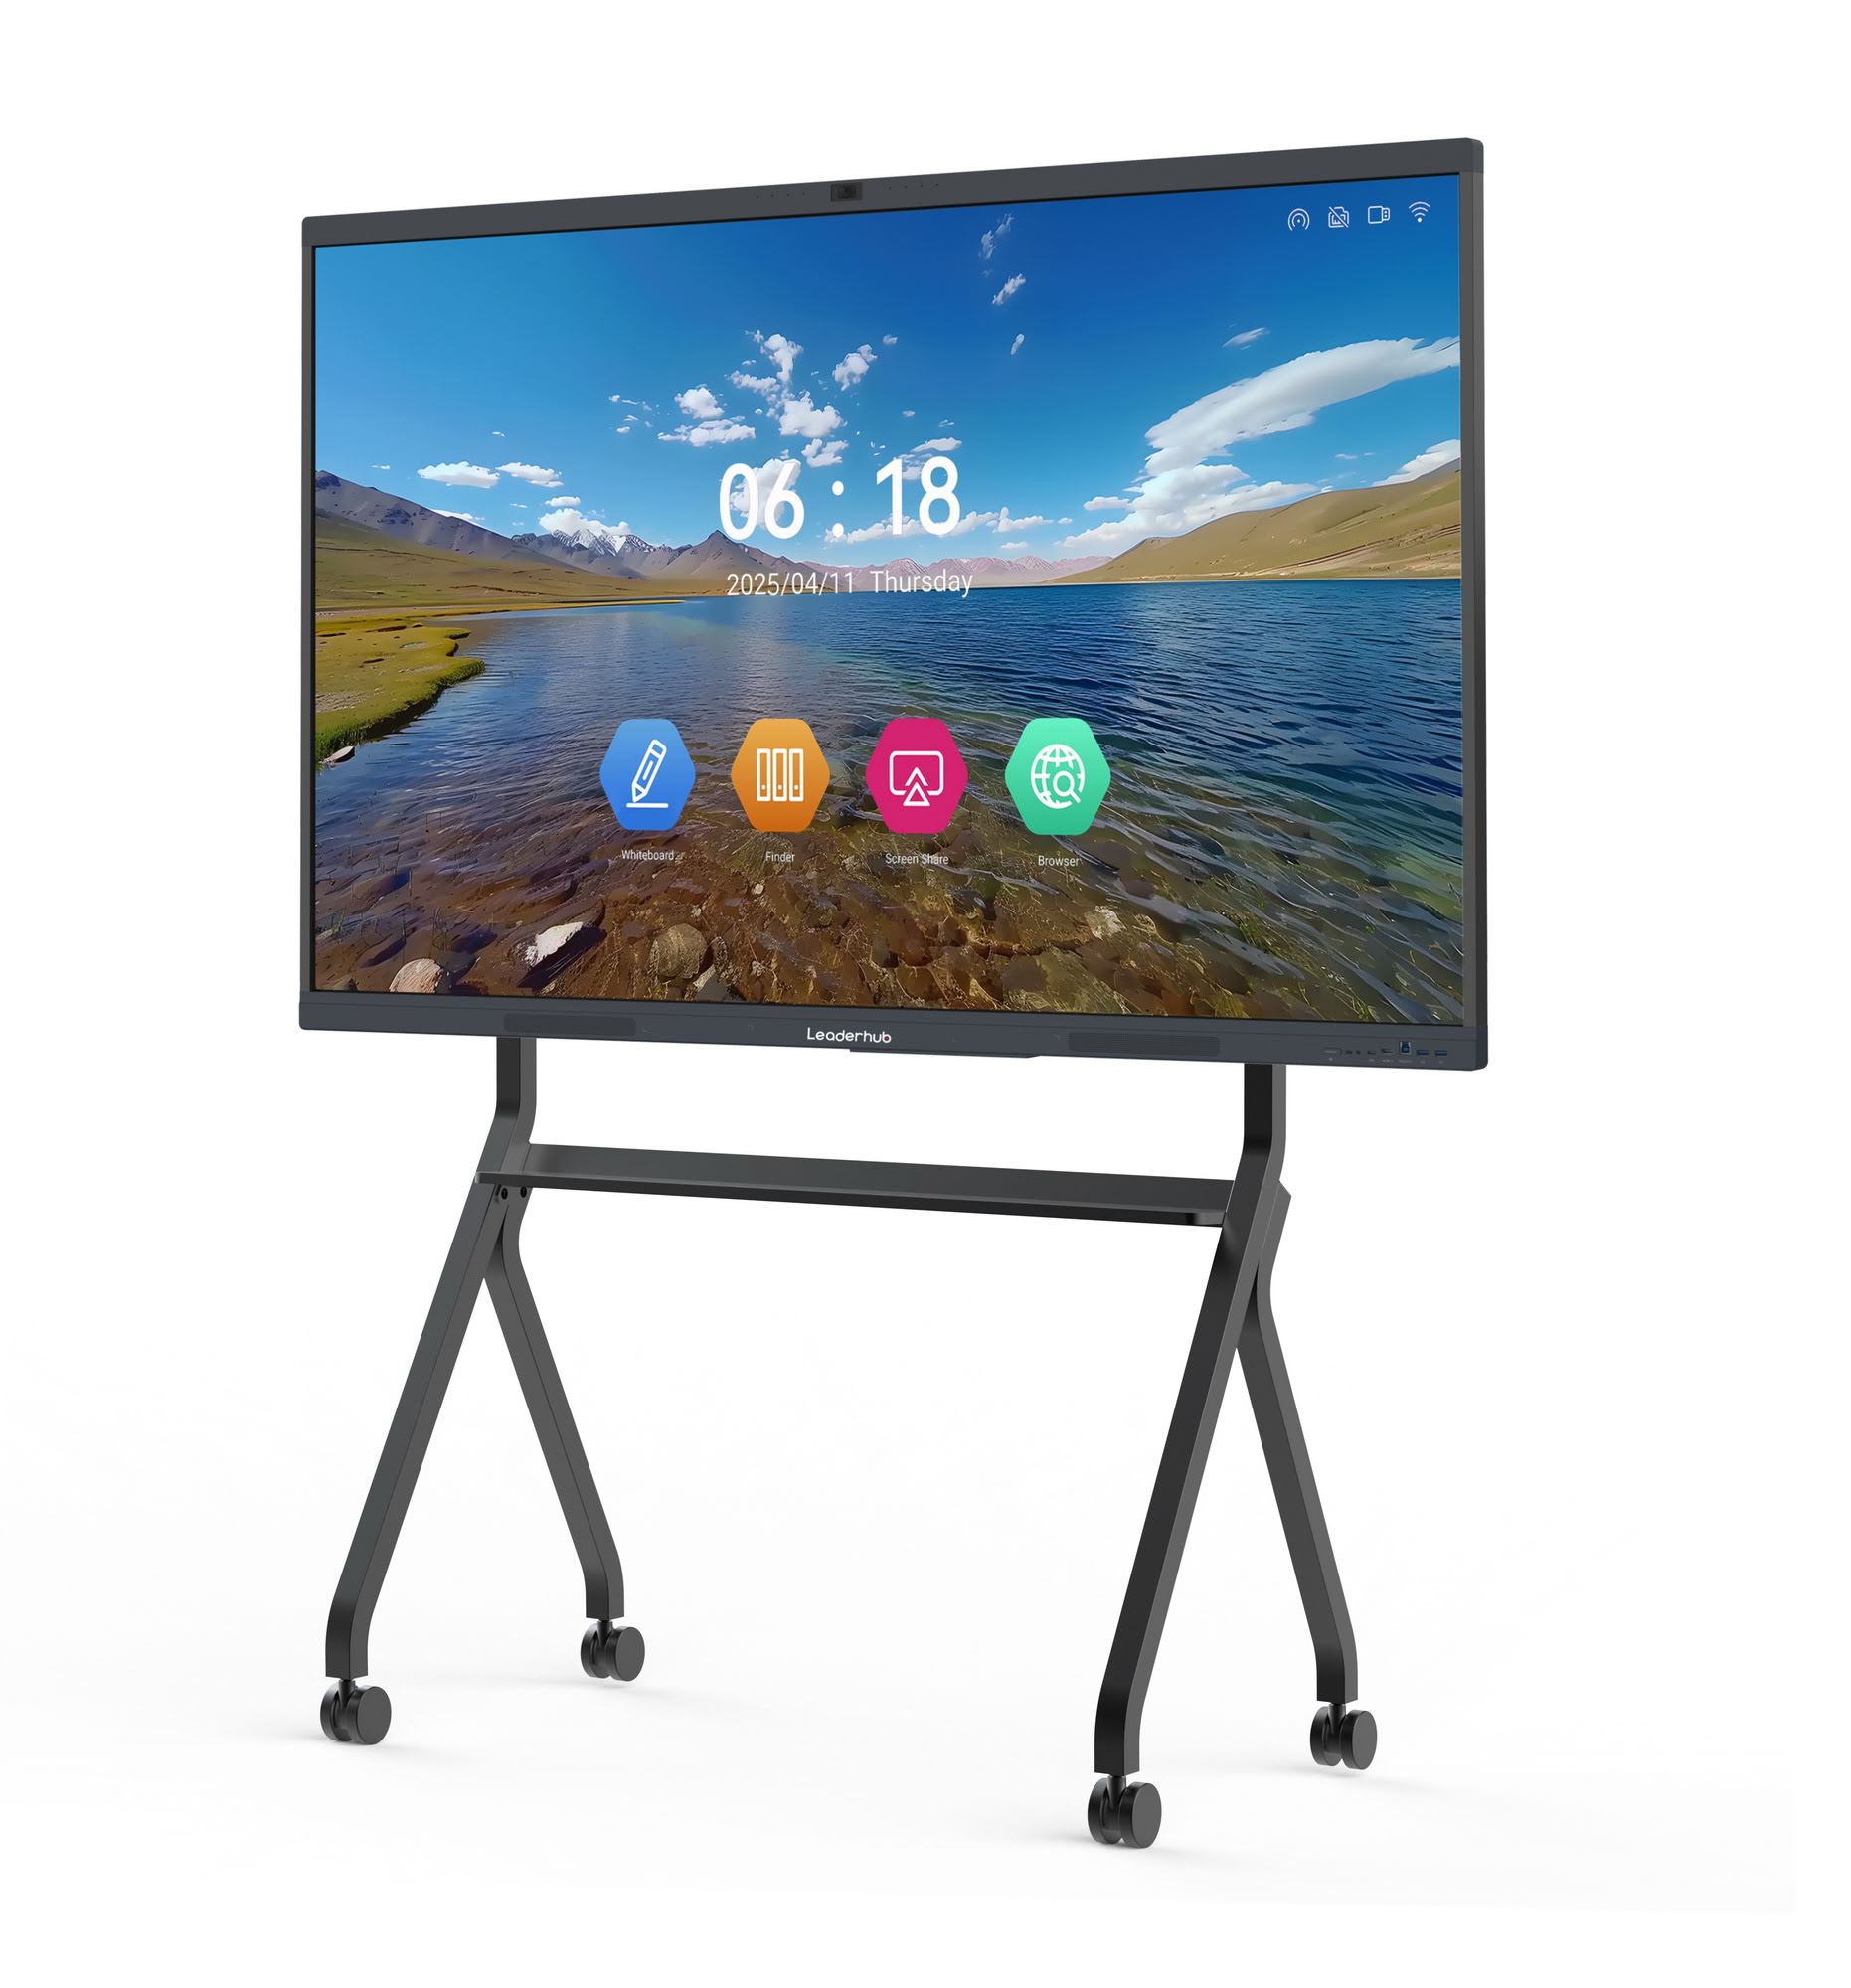
VGA connections, while older technology, still appear on legacy equipment and budget-conscious installations. VGA transmits video signals only, requiring a separate 3.5mm audio cable for sound. If your laptop lacks a VGA port, affordable adapters convert HDMI or USB-C to VGA output.
DisplayPort connections offer another high-quality video transmission option, particularly common on business-grade laptops and workstations. DisplayPort supports higher resolutions and refresh rates than HDMI in some cases, making it ideal for detailed presentations and design work.
Wireless Connection Methods
Wireless connectivity eliminates cables entirely, providing greater flexibility for presenters who need to move around the room. Most modern interactive displays support wireless protocols like Miracast, AirPlay, or proprietary wireless presentation systems.
Screen mirroring technologies like Miracast (Windows) and AirPlay (macOS/iOS) enable wireless display sharing without additional hardware. However, wireless connections may introduce slight latency and require both devices to connect to the same WiFi network or support direct wireless display protocols.
Pre-Connection Hardware Check
Before connecting your smart board to your laptop, verify that you have the necessary equipment and that all hardware functions properly. This preparation prevents frustration during setup and identifies potential issues before they interrupt your presentation or lesson.
Required Equipment Checklist
| Item | Purpose | Alternatives |
|---|---|---|
| HDMI Cable | Primary video/audio connection | USB-C, DisplayPort, VGA |
| USB Cable (Type-A to Type-B or USB-C) | Touch functionality and interactive features | Wireless touch via proprietary software |
| Power Cable | Smart board power supply | N/A (required) |
| Adapter (if needed) | Port compatibility between devices | USB-C hub, HDMI-to-VGA, etc. |
| Driver Software/CD | Smart board drivers and software | Download from manufacturer website |
Laptop Port Identification
Examine your laptop’s ports carefully. Modern laptops often feature USB-C ports that support multiple functions, including video output. Check your laptop’s specifications or manufacturer documentation to confirm which ports support display output. Some USB-C ports only support data transfer and charging, not video transmission.
If your laptop lacks the necessary ports, quality adapters provide reliable solutions. USB-C to HDMI adapters, for example, enable connection between newer laptops and smart boards with traditional HDMI inputs. Choose adapters from reputable manufacturers to ensure signal quality and compatibility.
Step-by-Step Connection Process
Follow these detailed steps to establish a stable connection between your laptop and smart board. While specific steps may vary slightly depending on your equipment models, this process applies to most smart board and laptop combinations.
Physical Connection Setup
Step 1: Power on the smart board. Connect the smart board’s power cable to an electrical outlet and press the power button. Wait for the display to fully initialize before proceeding. Most smart boards display a startup screen or logo during initialization.
Step 2: Connect the video cable. Insert one end of your HDMI cable (or alternative video cable) into your laptop’s video output port. Connect the other end to the corresponding input port on the smart board. Many smart boards feature multiple input ports¡ªnote which port you’re using, as you’ll need to select this input source later.
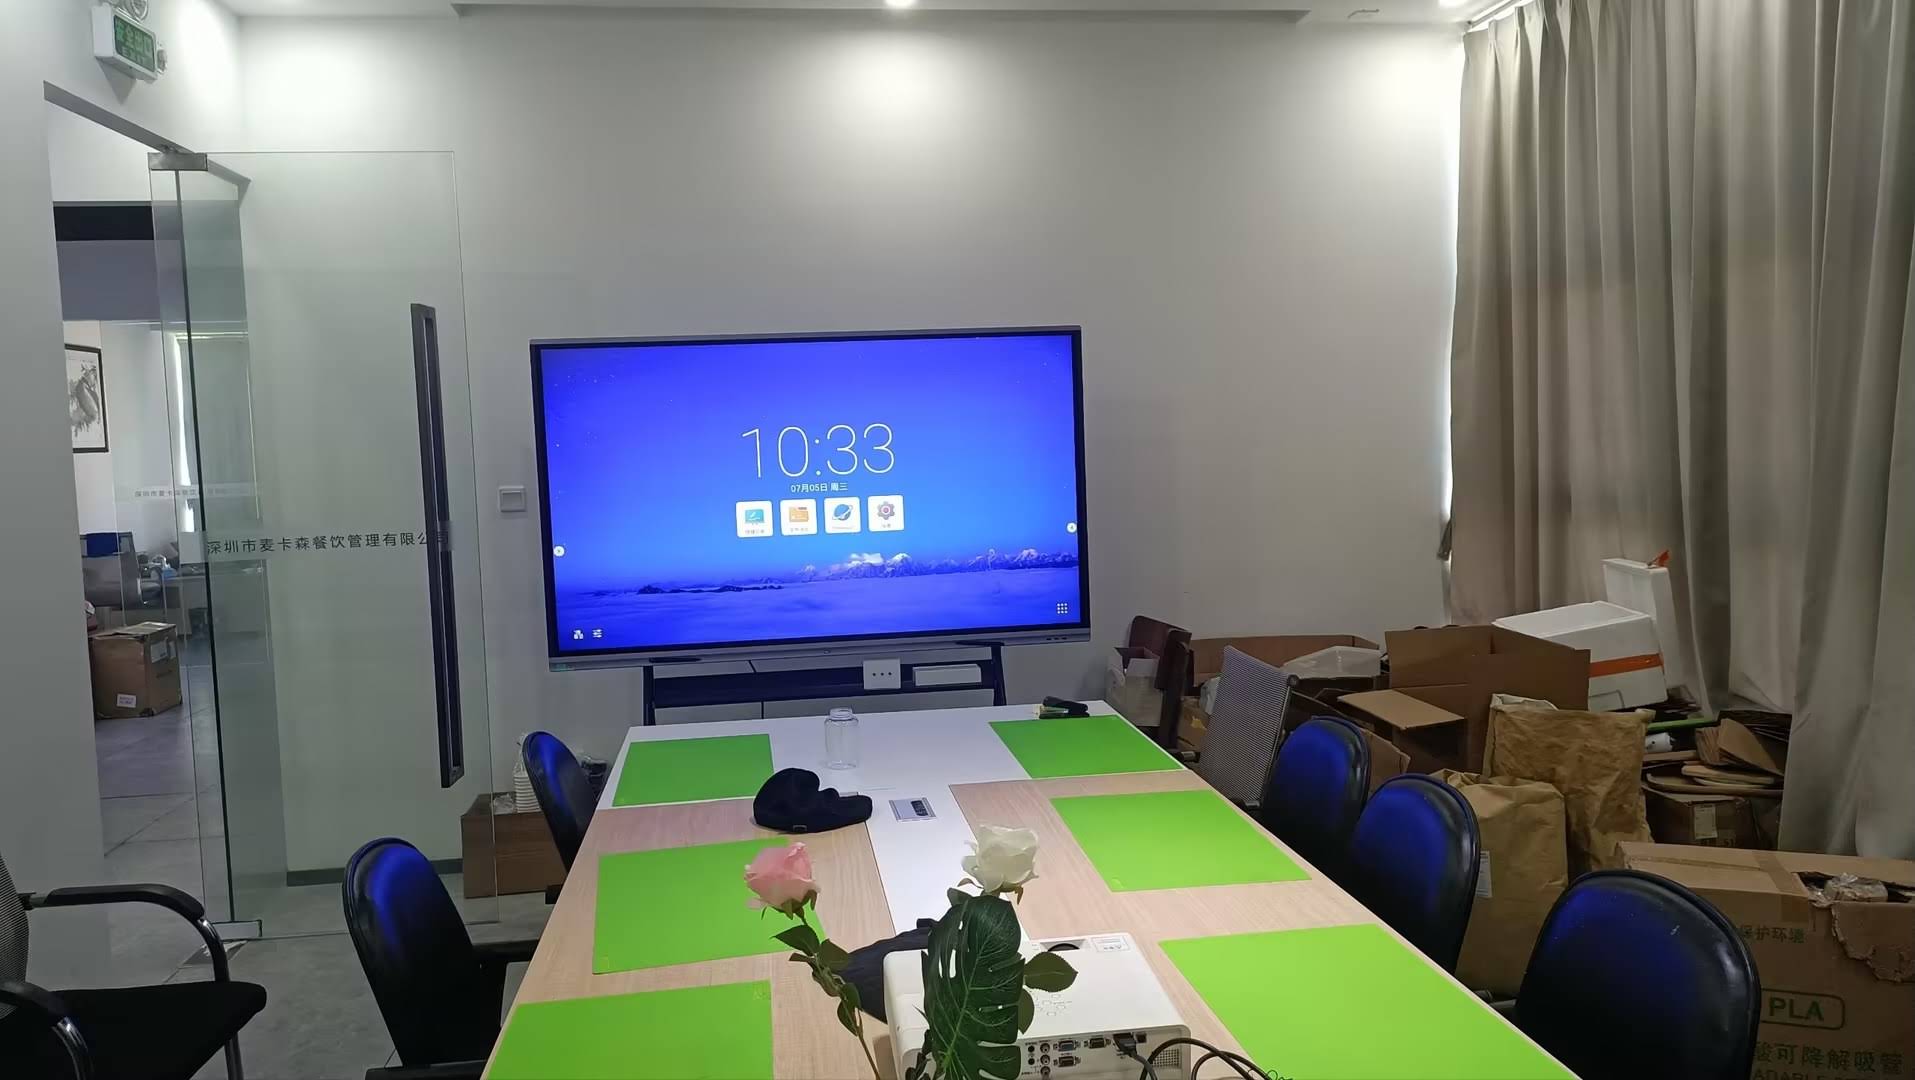
Step 3: Connect the USB cable for touch functionality. If your smart board supports touch interaction, connect a USB cable from your laptop to the smart board’s USB port. This connection enables the smart board’s touch screen to function as an input device for your laptop, similar to a mouse or touchpad.
Step 4: Select the correct input source. Using the smart board’s remote control or on-screen menu, select the input source corresponding to the port you connected to (e.g., HDMI 1, HDMI 2, VGA). The smart board should now display your laptop’s screen.
Display Settings Configuration
Once physical connections are complete, configure your laptop’s display settings to optimize the smart board output. The configuration process differs slightly between operating systems.
Windows Display Configuration
- Right-click on your desktop and select “Display settings” from the context menu
- Scroll down to the “Multiple displays” section
- Choose your preferred display mode:
- Duplicate: Shows identical content on both screens¡ªideal for presentations
- Extend: Treats the smart board as a second monitor with additional workspace
- Second screen only: Disables the laptop display and uses only the smart board
- Adjust the resolution to match your smart board’s native resolution for the clearest image
- Click “Apply” to save your settings
macOS Display Configuration
- Click the Apple menu and select “System Preferences” (or “System Settings” on newer versions)
- Click “Displays”
- Select the “Arrangement” tab to configure multiple display behavior
- Choose between mirrored displays or extended desktop mode
- Adjust resolution settings under the “Display” tab if needed
- For AirPlay connections, enable “Show mirroring options in the menu bar when available” for quick access
Installing Smart Board Software and Drivers
While basic display functionality works with just the video connection, installing manufacturer-specific software unlocks your smart board’s full interactive capabilities. Most smart board manufacturers, including LeaderHub, provide comprehensive software packages that enable advanced features like screen annotation, interactive whiteboarding, and collaborative tools.
Driver Installation Process
Smart board drivers enable your laptop’s operating system to recognize and communicate with the touch-sensitive surface properly. Without proper drivers, touch functionality may not work or may respond inaccurately.
Obtaining the correct drivers: Visit your smart board manufacturer’s official website and navigate to the support or downloads section. Enter your smart board’s model number to find the appropriate driver package for your laptop’s operating system. Download the latest version to ensure optimal compatibility and access to recent features.
For LeaderHub smart boards, the company provides regularly updated driver software compatible with Windows 10, Windows 11, macOS, and various Linux distributions. Their technical support team assists with driver installation issues and compatibility questions.
Installation steps:
- Locate the downloaded driver file in your downloads folder
- Double-click the installer file to launch the setup wizard
- Follow the on-screen prompts, accepting the license agreement and choosing installation options
- Restart your laptop when prompted to complete the installation
- After restarting, test the touch functionality by tapping various areas of the smart board screen
Calibrating Touch Accuracy
Touch calibration ensures that when you tap a specific point on the smart board, your laptop registers the touch at the correct screen location. Calibration becomes especially important for larger smart boards or when using projection-based systems.
Access the calibration tool through your smart board’s software interface. The calibration process typically displays a series of targets on the screen, which you tap in sequence. The software analyzes your input and adjusts the touch mapping accordingly. Recalibrate periodically if you notice touch accuracy degrading or after moving the smart board to a new location.
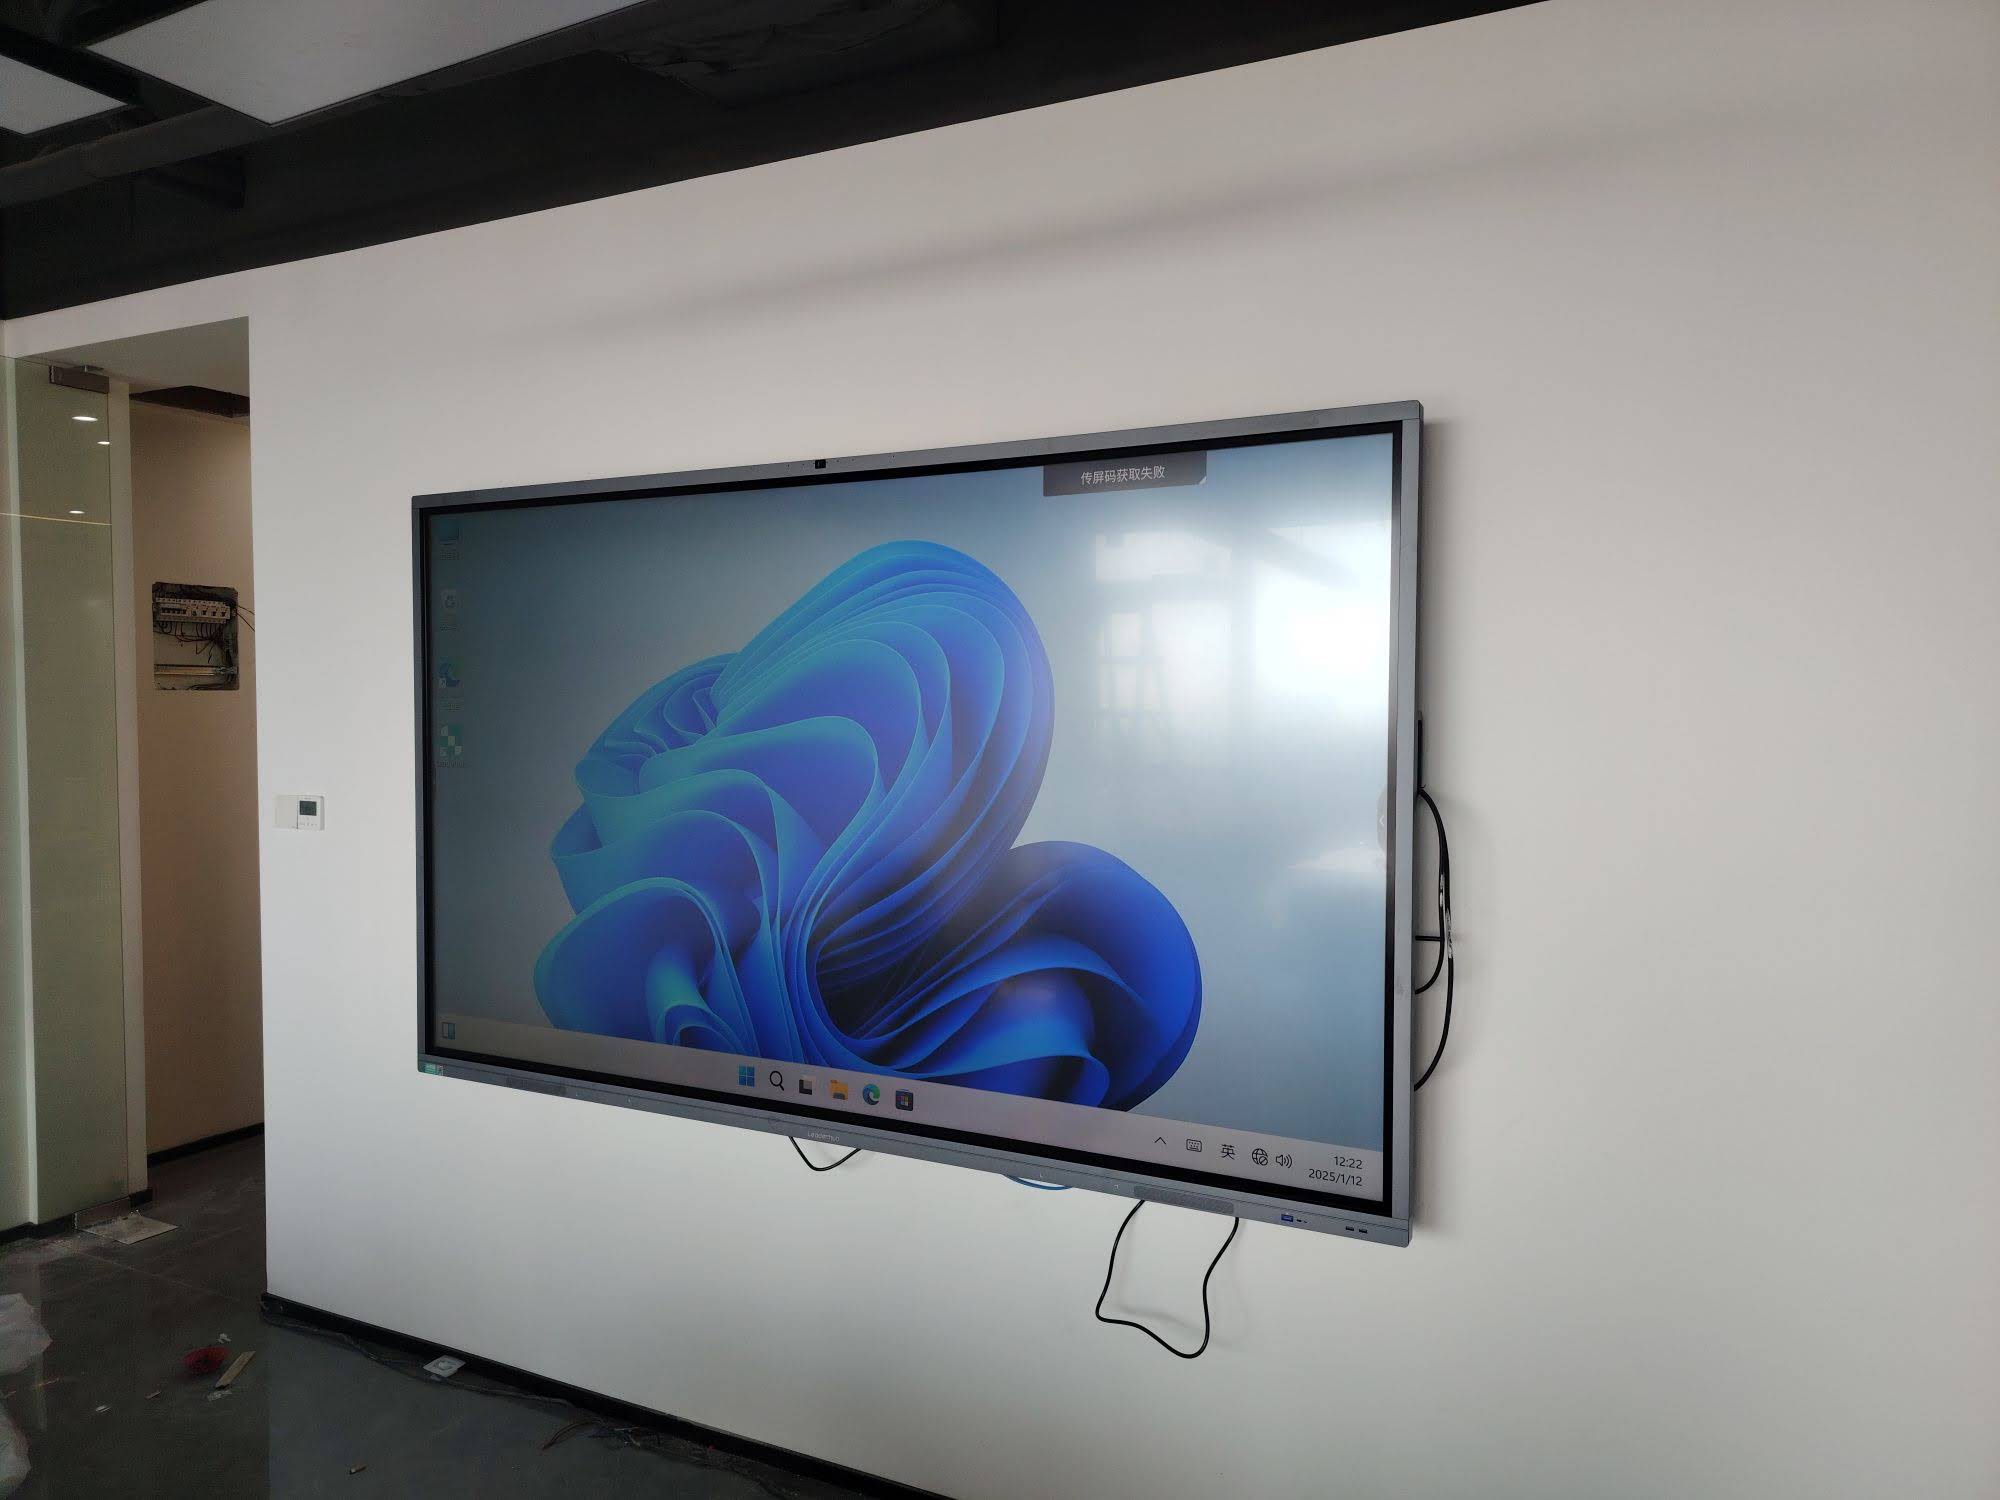
Wireless Connection Configuration
Setting up wireless connectivity between your laptop and smart board provides presentation flexibility without cable constraints. Wireless connections work particularly well for collaborative environments where multiple presenters need to share content quickly.
WiFi-Based Screen Mirroring
Most modern smart boards support standard wireless display protocols. For Windows laptops, use the built-in Miracast feature by pressing Windows key + K to open the Connect sidebar. Your smart board should appear in the list of available wireless displays if both devices are on the same network or if the smart board supports direct wireless connections.
Mac users can utilize AirPlay to wirelessly connect to compatible smart boards. Click the AirPlay icon in the menu bar (or access it through Control Center) and select your smart board from the available devices list. You may need to enter a code displayed on the smart board for first-time connections.
Proprietary Wireless Presentation Systems
Some smart boards include proprietary wireless presentation systems that offer enhanced features beyond basic screen mirroring. These systems often support:
- Multi-device simultaneous display (showing content from multiple laptops)
- Annotation and markup tools during wireless presentations
- Content sharing and collaboration features
- Lower latency compared to standard Miracast/AirPlay
- Enhanced security with password protection and encryption
Install the manufacturer’s wireless presentation software on your laptop and follow the setup instructions. Typically, you’ll connect to a WiFi network broadcast by the smart board or enter a session code displayed on the screen.
Troubleshooting Common Connection Issues
Even with careful setup, connection problems occasionally occur. Understanding common issues and their solutions helps you quickly restore functionality and minimize disruption to your presentation or lesson.
No Display Output
If your smart board shows “No Signal” or remains blank after connecting your laptop, systematically check these potential causes:
Verify cable connections: Ensure both ends of the video cable are firmly seated in their ports. Loose connections are the most common cause of display issues. Try disconnecting and reconnecting the cable while ensuring you hear or feel the connector click into place.
Check the correct input source: Confirm that you’ve selected the proper input on the smart board corresponding to the port you’re using. Many smart boards feature multiple HDMI ports labeled HDMI 1, HDMI 2, etc.
Test with different cables: Defective cables fail more often than hardware. If available, try a different HDMI or video cable to rule out cable failure.
Update display drivers: Outdated graphics drivers on your laptop can prevent proper external display detection. Visit your laptop manufacturer’s website or graphics card manufacturer (NVIDIA, AMD, Intel) to download the latest drivers.
Touch Functionality Not Working
When the display works correctly but touch input doesn’t respond, focus on USB connection and driver issues:
- Confirm the USB cable is properly connected to both devices
- Try different USB ports on your laptop¡ªsome ports may not support the required data transfer
- Check Device Manager (Windows) or System Information (Mac) to verify the smart board appears as a recognized USB device
- Reinstall the smart board drivers, ensuring you download the correct version for your operating system
- Run the calibration utility to recalibrate the touch screen
- Restart both devices¡ªsometimes a simple reboot resolves driver conflicts
Poor Image Quality or Resolution Issues
Blurry or incorrectly scaled images on your smart board typically result from resolution mismatch between your laptop and the display:
Access your laptop’s display settings and manually set the resolution to match your smart board’s native resolution. Common smart board resolutions include 1920×1080 (Full HD) and 3840×2160 (4K). Using non-native resolutions causes scaling artifacts that reduce image clarity.
Adjust the refresh rate if you notice flickering. Most smart boards operate at 60Hz, though some support higher refresh rates. Match the refresh rate to the smart board’s specifications for smooth display performance.
Wireless Connection Instability
Wireless connections may experience interruptions, latency, or failure to connect:
- Reduce distance between your laptop and smart board¡ªwireless display protocols work best within 10 meters
- Eliminate physical obstructions between devices that might interfere with wireless signals
- Check for wireless network congestion¡ªtoo many devices on the same WiFi network can impact performance
- Update wireless drivers on your laptop
- Restart both the smart board and laptop’s wireless functionality
- If using a 2.4GHz WiFi network, consider switching to 5GHz for better performance and less interference
Optimizing Your Smart Board Setup
Beyond establishing a basic connection, optimizing your configuration enhances usability, performance, and collaboration effectiveness. These optimization strategies apply to educational, corporate, and training environments.
Audio Configuration
Proper audio setup ensures that video content, presentations with narration, and video conferences transmit sound clearly through your smart board’s speakers or connected audio system.
In Windows, right-click the speaker icon in the system tray and select “Open Sound settings.” Under the “Output” section, choose your smart board as the playback device. Test audio playback using the built-in test feature or by playing a video file.
For Mac users, open System Preferences, click “Sound,” and select the “Output” tab. Choose your smart board from the device list. Adjust volume levels both on your laptop and using the smart board’s volume controls for optimal sound quality.
Multiple Display Arrangement
When using extended desktop mode, arrange your displays logically to make mouse cursor movement intuitive. Access display arrangement settings and drag the display icons to match their physical positions. This configuration ensures smooth cursor transition between your laptop screen and smart board.
Consider which screen should serve as the primary display. The primary display hosts the taskbar (Windows) or dock (Mac) and is where most applications open by default. In classroom settings, keeping the laptop screen as primary helps teachers maintain control while students view the smart board.
Power Management Settings
Adjust power settings to prevent your laptop from entering sleep mode during presentations. In Windows, navigate to “Power & sleep settings” and set both “Screen” and “Sleep” timeouts to “Never” when plugged in. Remember to restore normal power settings after your presentation to preserve battery life during regular use.
Advanced Features and Integration
Modern smart boards offer capabilities far beyond simple display mirroring. Exploring these advanced features maximizes your investment and creates more engaging, interactive experiences.
Interactive Whiteboarding Tools
Smart board software typically includes digital whiteboarding applications that transform the display into an interactive canvas. These tools enable you to:
- Draw, write, and annotate directly on the screen with your finger or a stylus
- Capture screenshots and save annotated content for later reference
- Import images, PDFs, and other documents for markup and discussion
- Use pre-built templates for brainstorming, lesson planning, and project management
- Export whiteboard sessions as image files or PDFs for distribution to participants
Multi-Device Collaboration
Advanced smart boards support simultaneous connections from multiple laptops, tablets, or smartphones. This capability enables collaborative presentations where team members contribute content from their own devices without physically disconnecting and reconnecting cables.
Split-screen features let you display content from two or more sources simultaneously, facilitating comparison discussions and multi-perspective presentations. Some systems support up to four simultaneous input sources displayed in a grid layout.
Cloud Integration and Content Sharing
Connect your smart board to cloud storage services like Google Drive, OneDrive, or Dropbox for seamless access to presentation materials without transferring files to your laptop first. Save whiteboard sessions directly to cloud storage for instant sharing with remote participants or absent students.
Video conferencing integration enables hybrid meetings where remote participants see both the presenter and smart board content simultaneously. Compatible smart boards feature built-in cameras and microphones optimized for conference room environments.
Maintenance and Long-Term Care
Proper maintenance extends your smart board’s lifespan and ensures consistent performance over years of use. Implement these maintenance practices as part of your regular routine.
Physical Cleaning
Clean the touch surface regularly using a microfiber cloth slightly dampened with water or screen-safe cleaning solution. Avoid harsh chemicals, abrasive materials, or excessive moisture that could damage the touch-sensitive surface or internal electronics. Power off the smart board before cleaning to prevent accidental touches from triggering unwanted actions.
Software Updates
Check for firmware and software updates from your smart board manufacturer quarterly. Updates often include bug fixes, security patches, new features, and improved compatibility with evolving laptop operating systems. Enable automatic updates if available, or set calendar reminders to check manually.
Cable Management
Organize cables using cable clips, ties, or conduits to prevent tripping hazards and cable damage from foot traffic. Label cables at both ends for quick identification during troubleshooting or reconfiguration. Replace frayed or damaged cables immediately to prevent connection failures during critical presentations.
Conclusion
Successfully connecting your smart board to your laptop opens up powerful possibilities for interactive presentations, collaborative work sessions, and engaging educational experiences. By following the systematic connection process outlined in this guide, you’ll establish reliable connections whether using traditional wired setups or modern wireless technologies.
Remember that the initial setup represents just the beginning of what’s possible with your smart board. As you become more comfortable with the basic connection process, explore the advanced features, collaboration tools, and integration options that transform a simple display into a comprehensive interactive workspace.
Companies like LeaderHub continue advancing smart board technology with AI-powered features, improved wireless connectivity, and enhanced collaborative capabilities. With over 16 years of experience developing interactive display solutions, LeaderHub delivers reliable products used in more than 82 countries across education, enterprise, and government sectors. Their commitment to quality and innovation ensures that smart board technology keeps pace with evolving workplace and classroom needs.
Whether you’re setting up your first smart board or optimizing an existing installation, the principles and techniques covered in this guide provide a foundation for successful implementation. Regular practice with the connection process, combined with exploration of your smart board’s unique features, will help you leverage this technology effectively and create more engaging, productive interactive experiences for your audience.